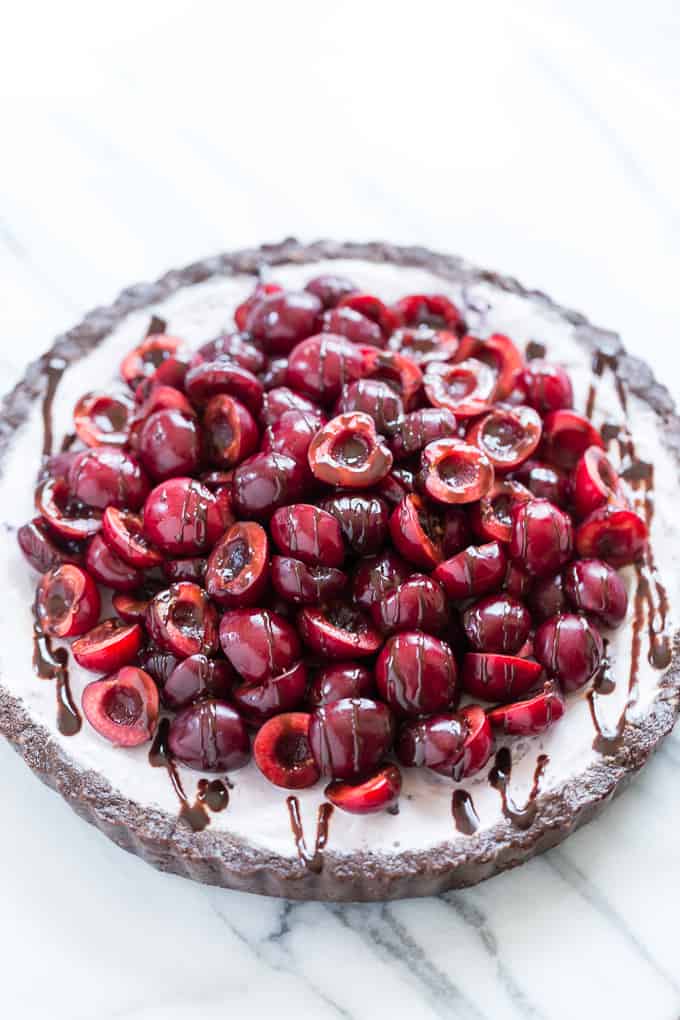
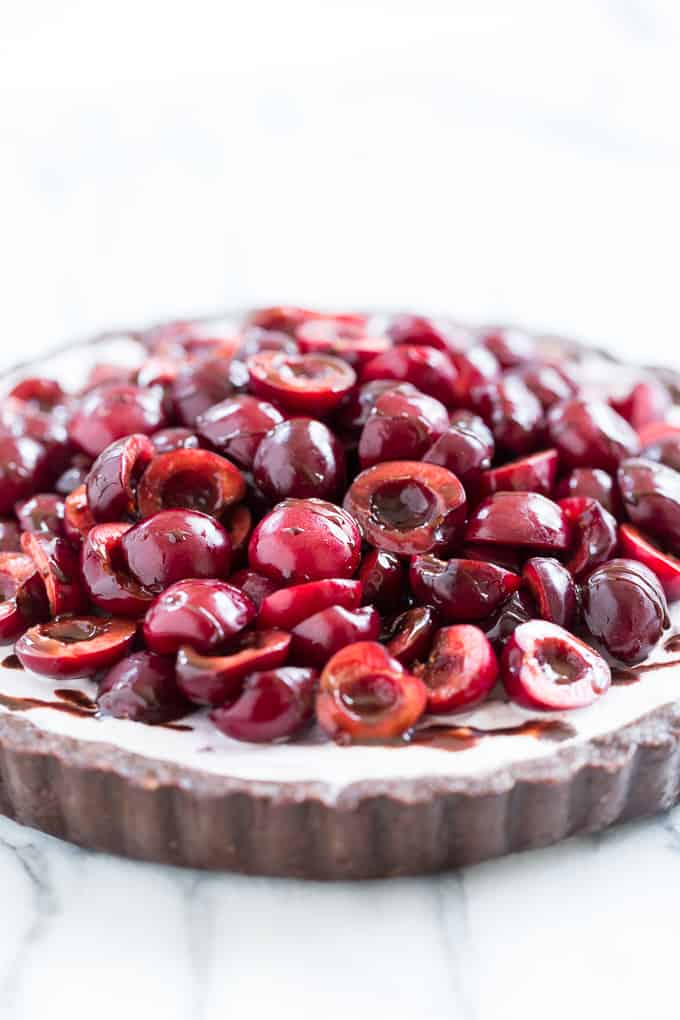
The Chocolate Covered Cherry Ice Cream Tart is a no bake wonder that’s the ultimate summertime dessert because there’s no cooking involved! The brownie crust comes together easily in the food processor, and to shortcut things even further you can use your favorite store bought ice cream. Then just top with cherries or berries when you’re ready to serve!
Do you ever find yourself in need of a showstopper dessert, something that looks impressive but doesn’t take 3 hours and countless layers/fillings/frostings to assemble? I find myself in this situation all the time, and so I developed this recipe that even the busiest person can manage. It’s most definitely the easiest dessert I’ve ever made, and you don’t even have to turn on the oven!
It’s a simple brownie crust that comes together in mere minutes in the food processor. Then it’s filled with store bought ice cream, topped with fresh fruit, and a 2 ingredient fudge sauce (once again absolutely no cooking involved). I’ll admit that cherries are a little more work than most fruits, so feel free to sub in raspberries, sliced strawberries, or blueberries for the ultimate quick dessert.

Let’s talk about how to make this Chocolate Covered Cherry Ice Cream Tart!

For the brownie crust, you just place all the ingredients in the food processor and process until you like the texture. I prefer mine on the soft side with little bits of crunchy almond here and there.
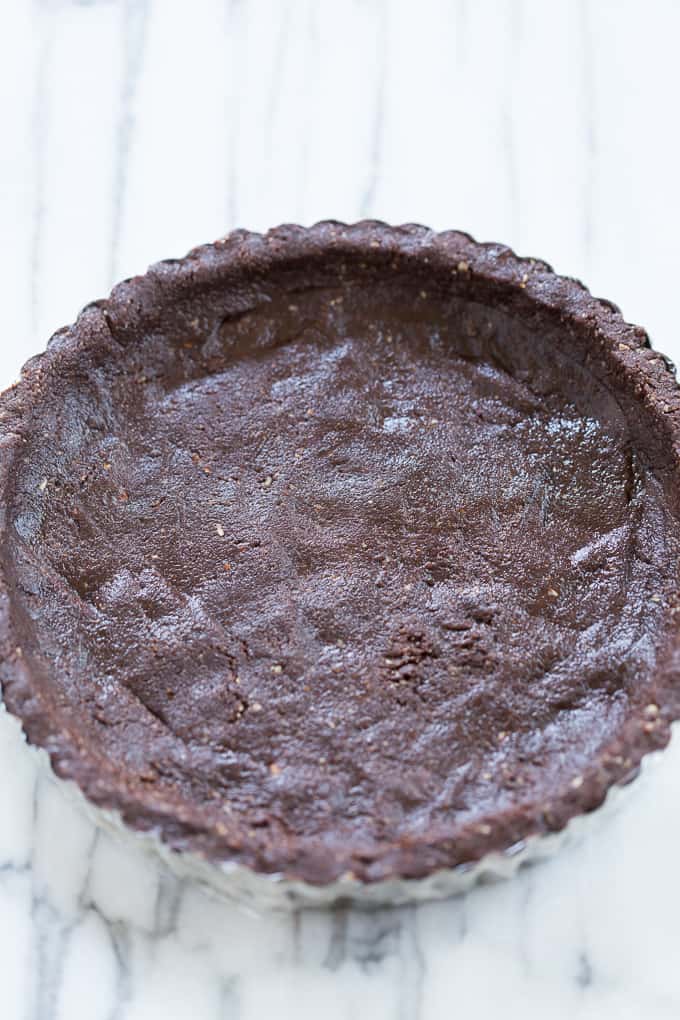
I love tart pans for the lovely fluted look they give to the overall presentation, and as a bonus they make it really easy to unmold your dessert and place it on a cake stand for even more drama if you’d like! For any no bake crust I always line the tart pan (with a removable bottom) with plastic wrap first to make it easy to remove it from the pan later.
The concept of this dessert is infinitely adaptable to all sorts of flavor combinations, and I think I see some sort of caramel rendition in my near future. I’m thinking of some sort of blondie brownie type crust filled with a caramel ice cream and topped with peaches and blueberries (or huckleberries if they’re in season)!
I don’t want to overwhelm you with ice cream tarts, so let me know if you’d like to see another recipe! I’ve already inundated you with all sorts of recipes for my variations on the slaw theme, and there’s still another one to come. And in the meantime, you might enjoy my Strawberry Brownie Tart.
Print
Chocolate Covered Cherry Ice Cream Tart
- Total Time: 20 mins
- Yield: 8 generous slices 1x
- Diet: Gluten Free
Description
This no bake wonder is the ultimate summertime dessert because there’s no cooking involved! The brownie crust comes together easily in the food processor, and to shortcut things even further you can use your favorite store bought ice cream. Then just top with cherries or berries when you’re ready to serve!
Ingredients
Brownie Crust:
2 cups raw walnuts
1 cup raw almonds
1/2 cup cocoa powder, I used Dagoba
1/3 cup pure maple syrup
pinch of sea salt
1–2 Tablespoons water
Filling:
2 1/2 cups ice cream, 3 cups for a really full tart, (I use either Coconut Bliss Cherry Amaretto flavor or my Homemade Coconut Ice Cream)
Fruit Topping:
1 pound cherries, pitted and halved, or berries of choice
Fudge Sauce:
2 Tablespoons pure maple syrup, Grade A
1 Tablespoon cocoa powder
Instructions
Soften the ice cream in the refrigerator for 20 minutes or so, or until you can spread the ice cream with a spatula.
While the ice cream is softening, place all the ingredients for the Brownie Crust in a food processor except the water. Secure the lid and turn the food processor on for 30 seconds to 1 minutes. The crust will start to clump and stick a bit when it’s ready. Turn the food processor off and scrape down the sides. Secure the lid again, turn the processor back on, and drizzle in 1 Tablespoon of the water to make a soft cookie dough like crust, if it’s still crumbly add a bit more water.
Line a 9″ tart pan with a removable bottom with plastic wrap. Scrape the brownie crust into the tart pan. Using a spatula and your hands, shape it to be as even as possible.
When the ice cream is soft enough, spread it evenly over the brownie crust. Cover the tart and freeze it until it’s completely frozen again, 3-4 hours.
When you’re ready to serve the tart, prepare the fruit topping. Mix together the maple syrup and cocoa powder to make the fudge sauce.
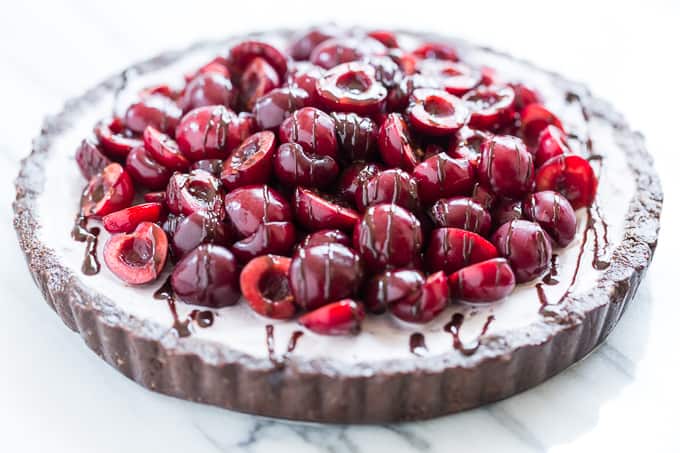
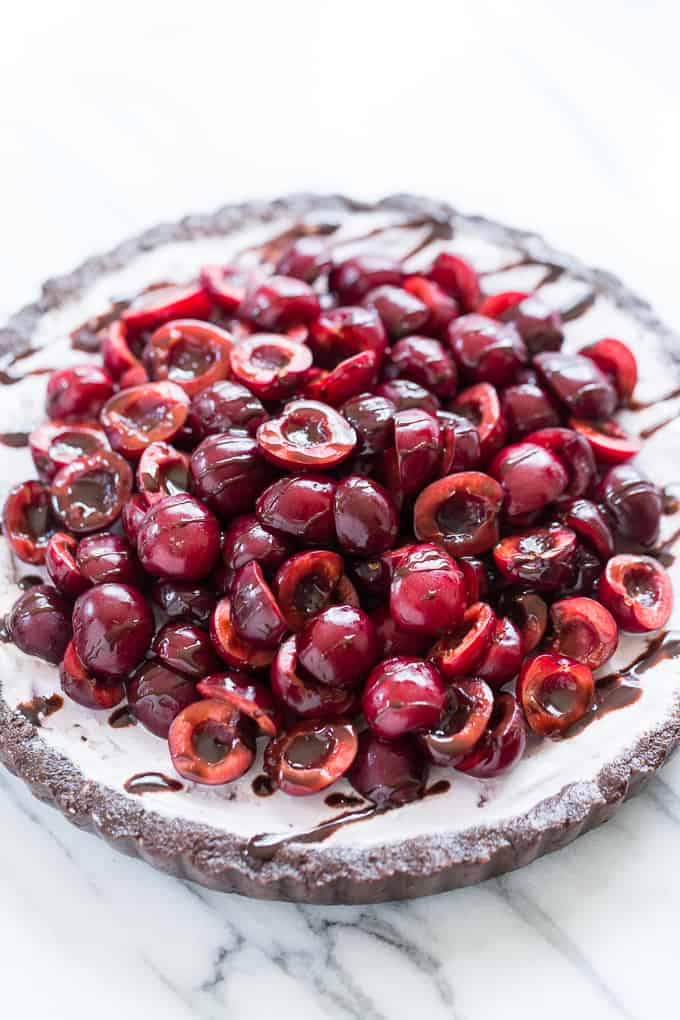
Arrange the fruit over the top of the ice cream tart and drizzle with the fudge sauce.
Serve immediately!
- Prep Time: 20 mins
- Category: Dessert
- Method: Food Processor
- Cuisine: American