This Easy Buttercream Lotion is a super simple homemade moisturizer with a lovely vanilla smell. It’s the perfect all body moisturizer with a high proportion of aloe vera gel for extra hydration. The avocado or jojoba oil sinks into your skin well and there’s a touch of coconut oil too for deep moisturizing. This easy DIY is perfect for at home spa days and as a homemade gift.
This is my favorite all-purpose lotion! It’s a mid-weight lotion that works well throughout the seasons, and it really moisturizes my skin without being greasy. I’ve been using it for many years (at least 15 years now!) since I first discovered that my skin hates almost any product I’ve ever purchased.
Out of desperation, I developed my own lotion recipe. This might sound crazy at first, but when you consider constant rashes and skin reactions to store-bought products, it doesn’t seem quite so radical! Especially when there didn’t use to be very many natural products to buy. And it’s so much more affordable to make your own. It also takes just a few minutes to make as well.
A little while ago I had a request for a lotion containing shea butter, but after all kinds of testing and several batches of homemade lotion, I scrapped the shea butter and went back to coconut oil in my old standby recipe. Every lotion I’ve made so far with shea butter has been really unstable.
After a couple of days, it seems to start separating a bit, and little bits of shea butter create a gritty texture in the lotion. Even though it melts when it touches the heat of your skin, I decided to go with something a bit less fussy. That being said, you can replace the coconut oil in this recipe with shea butter for an ultra moisturizing lotion that’s perfect for the winter months!
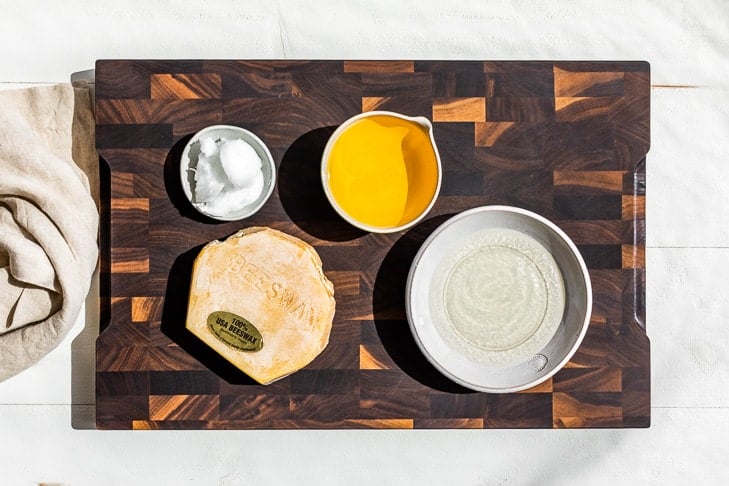
Let’s get started by talking about the ingredients for this Easy Buttercream Lotion!
- Jojoba or avocado oil – I like to use either of these 2 oils because they’re easily absorbable for the skin. Jojoba is my favorite since it’s the closest to our own skin’s oil and absorbs well for me. Also you can get vanilla infused joboba oil that gives this lotion a nice ‘buttercream frosting’ smell.
- Coconut oil – adds body to this lotion as well as deep moisturizing as well.
- Beeswax – is what emulsifies the aloe vera with the oils and makes this lotion stable.
- Aloe vera gel – adds the perfect amount of hydration to this lotion. I don’t personally use fresh aloe vera gel in my lotion because it spoils too quickly, and would need to be refrigerated.
- Essential oils – are optional here and I rarely add them. I love the light vanilla smell from the vanilla jojoba oil mentioned in the recipe notes.
There are 3 critical things you need to know to make it super easy to make your own lotion!
1. It’s really important to make sure you’ve completely melted the wax into the oil. If there are any bits of unmelted wax it will make you lotion gritty with bits of wax floating around in it.
2. It helps to have all the ingredients at room temperature before starting. After the oil and wax have melted together, you add the aloe vera gel, and if it’s cold it can cause your lotion to seize up. If this happens, just rewarm it until it liquefies again.
3. I like to place my lotion over an ice bath and whisk constantly for a couple of minutes until it thickens up, which really helps the lotion stay completely emulsified!
Now let’s make this recipe step by step!
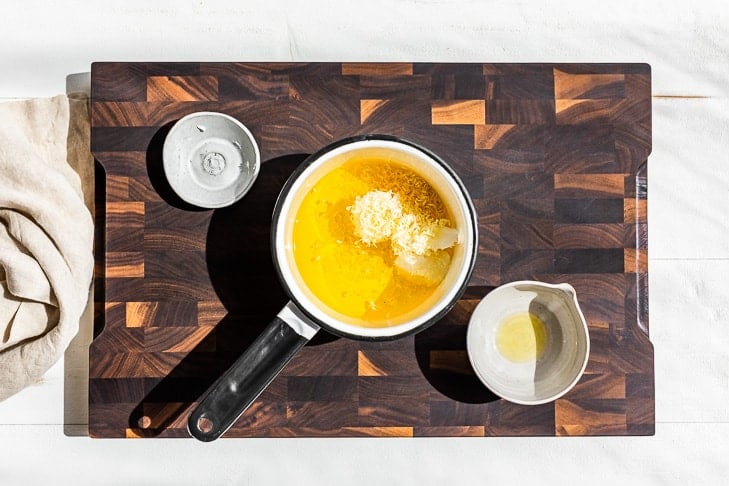
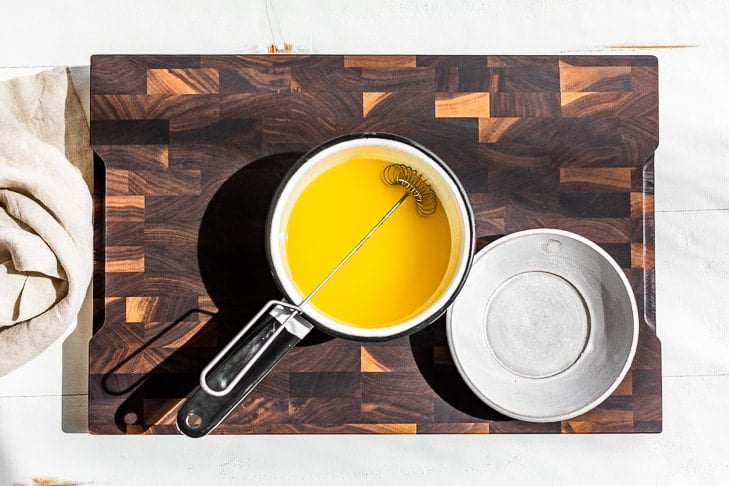
Step 1:
First up add the oils and beeswax to a small saucepan.

Step 2:
Next melt the oils and wax together. In this picture, you can see the oil and the wax have been completely melted together. At this point the liquid should be clear.
Step 3:
Then whisk in the aloe vera gel. It’s a bit loose at this point, but it’s definitely emulsified.
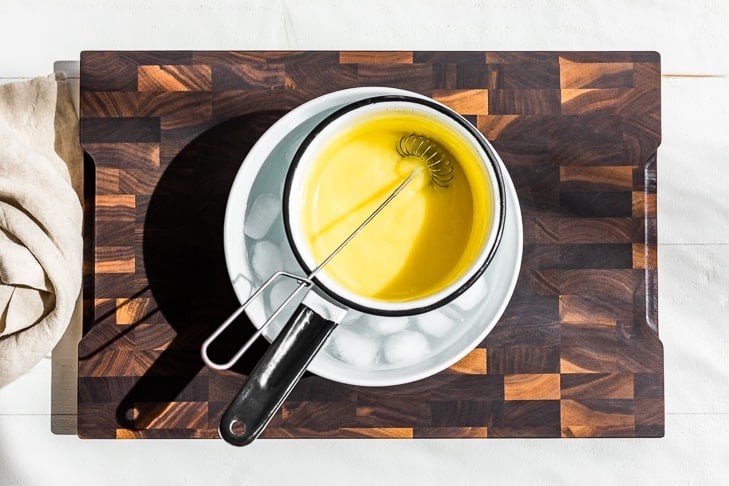
Step 4:
Next whisk your lotion over an ice bath until it thickens up and becomes a paler shade of yellow. It will become much thicker and you’ll notice it will start to leave ‘lines’ of lotion around the edges of the pan. When it’s first made it’s so loose it just falls back down the sides.
Step 5:
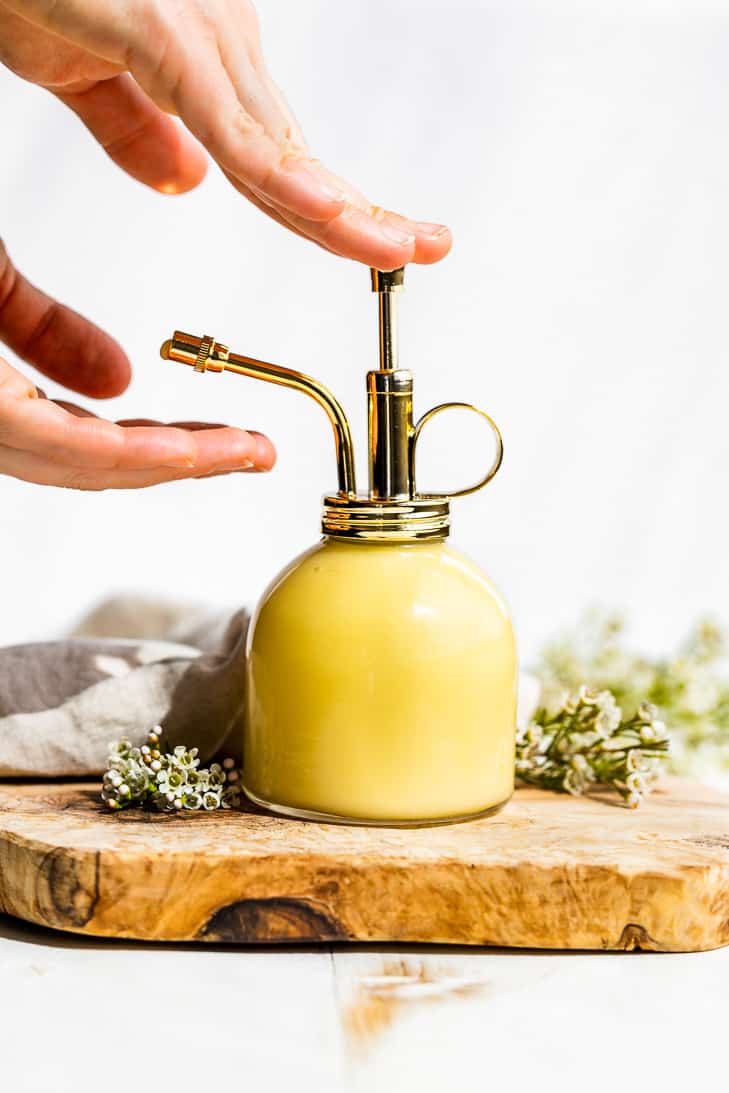
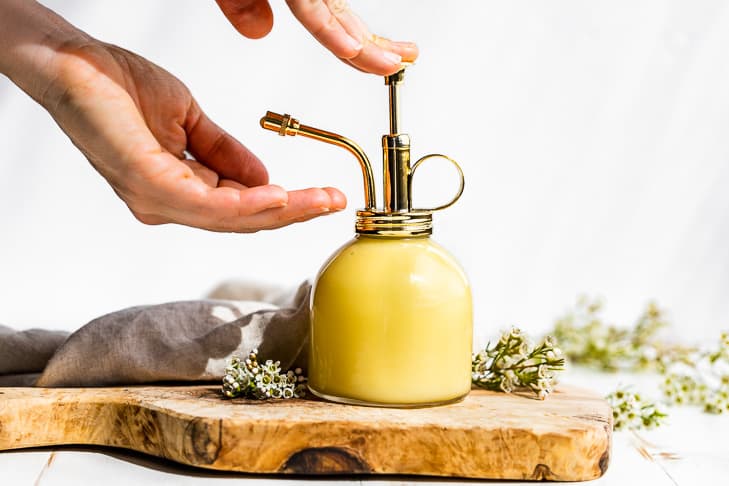
Once the lotion thickens, pour it into a clean container or pump dispenser. Use a funnel to make this part easier.
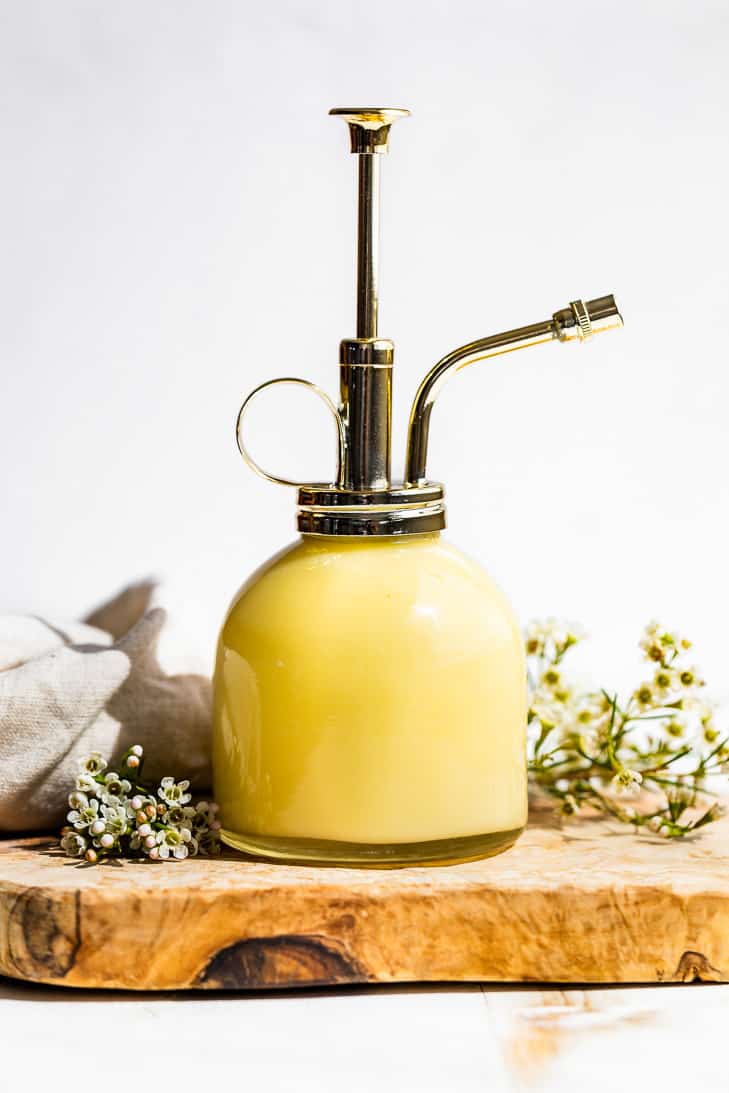
I really like using some sort of pump dispenser which lengthens the life of any homemade product. I bought the one you see in the pictures at Target (where else right?). It’s important to keep your hands out of the lotion as much as possible because there are no preservatives in it.
Tip 1: Beeswax can be a pain to work with when you’re grating it! I’ve found the best way to clean your grater after is to pour boiling water right onto the surface where the wax is. It’s the only thing that cleans the wax away with ease!
Tip 2: You can also buy beeswax in little pellets now. I’ve included both the ounces and grams in the recipe so that you can simply measure out the pellets. That way there won’t be any grating involved!
Easy Buttercream Lotion
- Total Time: 18 mins
- Yield: 1 cup or 8 ounces 1x
Description
This Easy Buttercream Lotion is a super simple homemade moisturizer with a lovely vanilla smell. It’s the perfect all body moisturizer with a high proportion of aloe vera gel for extra hydration. The avocado or jojoba oil sinks into your skin well and there’s a touch of coconut oil too for deep moisturizing. This easy DIY is perfect for at home spa days and as a homemade gift.
Ingredients
1/2 cup jojoba or avocado oil, see notes
3 Tablespoon coconut oil
2 Tablespoons grated beeswax – weighing 1/8 ounce or 7 grams
6 Tablespoon aloe vera gel, at room temperature, I use the Desert Lilly brand
Instructions
Melt the avocado oil, coconut oil, and beeswax together in a small sauce pan. Make sure all of the beeswax is dissolved or there will be bits of wax in the final product.
Remove the pan from the heat and whisk in the aloe vera gel. At this point the mixture will be very loose.
Next place the saucepan over an ice bath and whisk for 3-5 minutes until the lotion cools and starts to thicken. You’ll notice that it will start to leave lines of lotion on the edges or the pan instead of being totally liquid.
Pour the cooled lotion into a clean container using a funnel, and use within 2 months. A pump type of container is best for keeping homemade products so they don’t get contaminated from our hands.
Notes
I like to use vanilla jojoba oil for part of the jojoba called for, anywhere from 2-4 tablespoons is a nice balance. Vanilla jojoba oil is pure vanilla essential oil diluted in jojoba oil as a carrier oil. It’s much more affordable and has an incredible smell. I find mine at our local health food store.
- Prep Time: 15 mins
- Cook Time: 3 mins
This post was originally published in 2015, but has been updated with new photos, prep photos, and more tips and information.
I just tried your recipe, and I think you need to add some extra instructions for those of us who aren’t used to making our own lotion. I melted the beeswax and coconut oil in grape seed oil, and when I added the aloe vera, it’s exploded! I have burns on my forehead and a mess in my kitchen. I let everything sit on the counter for about 6 hours, so it was at room temperature. My kitchen is around 68°, so if if needs to be warmer, it should be in the recipe. Also, it doesn’t say what temp to set the stove on, so I used medium-high. I’m assuming the aloe vera was still too cold, but your recipe didn’t warm me that it would explode.
I’m so sorry you had so much trouble, and I’ll definitely try and reword the instructions to be more careful when adding the liquid to the beeswax mixture. I’ve never had it explode, and I’ve been making this for over 10 years. What I’m thinking must have happened is the oil and beeswax mixture must have been way too hot creating a bigger temperature difference. I’m going to add an instruction to be careful when adding the liquid to the oil, but also about heating it only until the beeswax just melts. Again, I’m really sorry you had trouble, but thanks for letting me know so I can add more details to the instructions.
Is there a plant based wax that can be used in place of the beeswax?
You could try using Candelilla wax, I haven’t personally tried it, but you usually use about half the amount of beeswax called for by measurement. I hope this helps, and be sure to let me know if you have anymore questions! 🙂
What brand of aloe vera gel do you use?
I use the ‘Lily of the Desert’ brand which has the least amount of preservatives of the brands we have here locally.
Hi Kari,
Where is the best place to purchase the beeswax?
I am 69 yrs of age & have problems with acne. I am looking forward to trying your oatmeal facial scrub, oil facial cleansing & the easy buttercream lotion.
I have totally given up on store bought.
Thank you, Linda
You can usually purchase beeswax at your local health food store, or buy it online. If you’re struggling with your skin, I would seek out a professional that could help you get to the root cause as well. Making your own skin care can be a really big help as well as drinking plenty of water every day. Giving up soap to wash my face was the best thing I ever did for my particular skin issues. Another thing that works really well for most everyone is my Pineapple Facial. It’s wonderfully exfoliating without any kind of abrasion, (even my oatmeal scrub is lightly abrasive). It cleans, softens, and exfoliates with further irritating the skin. I hope some of this helps, and be sure to let me know if you have anymore questions!
Thank you do much for this recipe! I have very dry skin and this lotion works wonderfully I don’t have to carry my lotion that I was using any more I am so greatful I made this lotion and boy it really works
I don’t have super dry skin and it works well for me, so I’m thrilled to hear it works just as well for very dry skin!
Kari Hello from México City !
The bottle is amazing , Do you know how can I get it?
Hi Lia, and greetings to you too! I bought this lotion dispenser from Target over a year ago now. I did some digging online and I’ll email you the link to the closest thing I could find. Mine had clear glass and this one is what they call ‘antique’ but the shape and size is the same. I hope you enjoy the recipe, and be sure to let me know if you have anymore questions! 🙂
I was wondering if you have tried using emulsifying wax instead of beeswax for this recipe. I was wondering if that would help with the emulsifying? I have been looking for a pump lotion to try and I am looking forward to trying this one!!
I haven’t tried emulsifying wax, my skin is super sensitive so I stick to beeswax to be on the safe side. The key with emulsifying lotions is to have the liquid at room temperature when you add it to the melted oil/wax mixture. I hope this helps, be sure to let me know how it goes, or if you have anymore questions!
I was so excited to try this lotion. I’ve been looking for the perfect lotion to use in a pump that isn’t overly greasy on my skin. I made it but it’s watery, did I use too much aloe? It’s not watery like like runny, the water is separating from the rest of the lotion. Thoughts?
Thanks!!
Whenever the water separates from the oil it’s because it wasn’t properly emulsified. Make sure that you get the beeswax completely melted into the oil before adding the aloe vera, it also helps to have the aloe vera at room temperature. Once you mix them together, then place the pan over an ice water bath and whisk vigorously until it becomes white and creamy, this helps the lotion cool down while remaining emulsified. Also if you have a scale, measure your beeswax to get the most accurate measurement, if there isn’t enough beeswax, lotions can sometimes separate. If you still have the separated batch of lotion, try rewarming it on the stove top over low heat just until melted, and then whisk it again over an ice bath until it’s completely white and creamy. I hope this helps, and be sure to let me know if you have anymore question!
Are you using fresh aloe or purchased? I puréed and strained some of the aloe that I grow in my back yard and used it in another DIY recipe, along with witch hazel and vitamin e, thinking that fresh aloe would have to be better than bottled, right? Maybe not! After a few days, it began turning pink-ish, even though it still smelled the same. Today it’s definitely rose colored, and I don’t think I’ll be using it. Any ideas? I did use the whole leaves, gel AND skin, but strained out all the solids. My plants are huge, and I’d love to use them for more than the occasional burn, but this pink stuff has me thinking how glad I am that I made only a half recipe of my solution!
Any kind of pink color is usually not a good sign, it generally means there’s some type of bacteria or mold growing in your product so I would throw it out. I use bottled aloe vera gel from the store because I can’t seem to get the plants to grow where I live. I think all the brands contain some type of preservative which is why it lasts for a month at a time. You might look into using a natural preservative like citric acid if you wanted to use your own homemade aloe gel, or you could try storing your lotion in the refrigerator but that’s kind of a pain. Another way you could use your aloe plant is to squeeze the gel out of the leaves as a simple 1 ingredient facial, that way you’re getting the benefits but you don’t have to worry about it spoiling.
This looks great. My skin hates most purchased lotions as well!
I hope you enjoy it, it’s been great for my sensitive skin!