I’m not sure why I’ve never made lotion bars before, but I’m making up for lost time now! They’re even easier to make than homemade lotion because there’s no need to be emulsifying liquid together with oil. Lotion bars are solid, with no liquid ingredients at all, which also makes them incredibly shelf stable.
As we’re finally nearing the end of the longest winter I can remember, (blizzarding right into April) my hands could use some TLC. Between the cold weather, and the crazy amount of dishes I do everyday to keep up with my recipe testing, my hands are always dry if I don’t keep up on them. In fact they’ll start to crack whenever I do nothing at all.
So I was trying to figure out what to do about this because it’s often inconvenient to use regular lotion. And I wondered if ‘solid lotion’ was a thing, sort of like chapstick for my hands. Of course a quick look online revealed that everyone else has known about the benefits of lotion bars for a long time!
I tinkered around with different ratios for a while, and came up with this recipe which is just the first of more lotion bars to come. I personally love the smell of lemon, but if your skin reacts to citrus essential oils, feel free to use whatever you favorite is, or nothing at all as a scent.
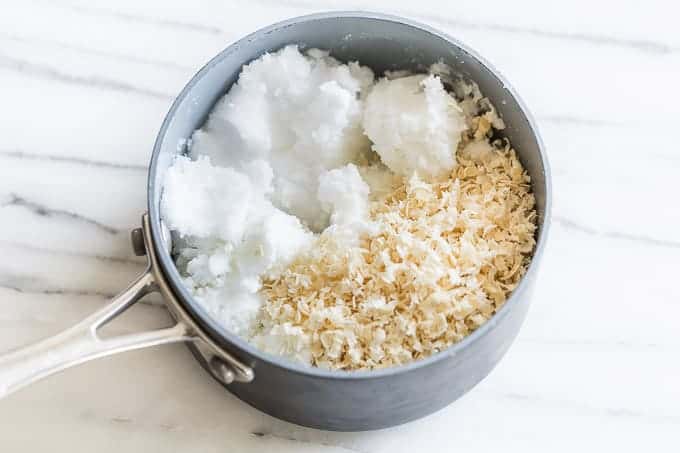
Coconut oil has always worked wonders for moisturizing my skin, but it seems to soak in quickly. So I added a little shea butter as well because it’s and incredible deep moisturizer. Then it’s only a little beeswax to hold it all together, and a touch of essential oil.
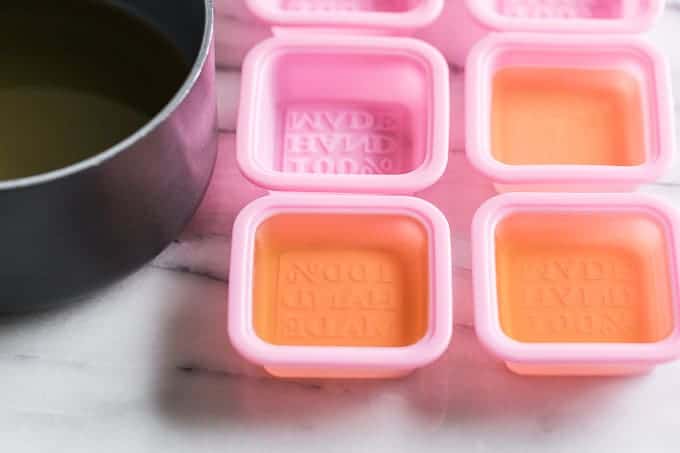
They set up fairly quickly, less than and hour, or around 15 minutes in the fridge. I used some silicone molds I ordered from Amazon, but you can also use muffin cup holders if you don’t have any flexible molds on hand/don’t want to make an order.
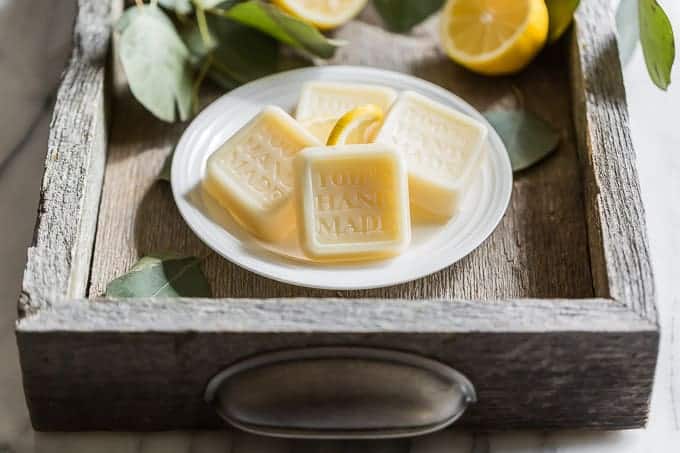
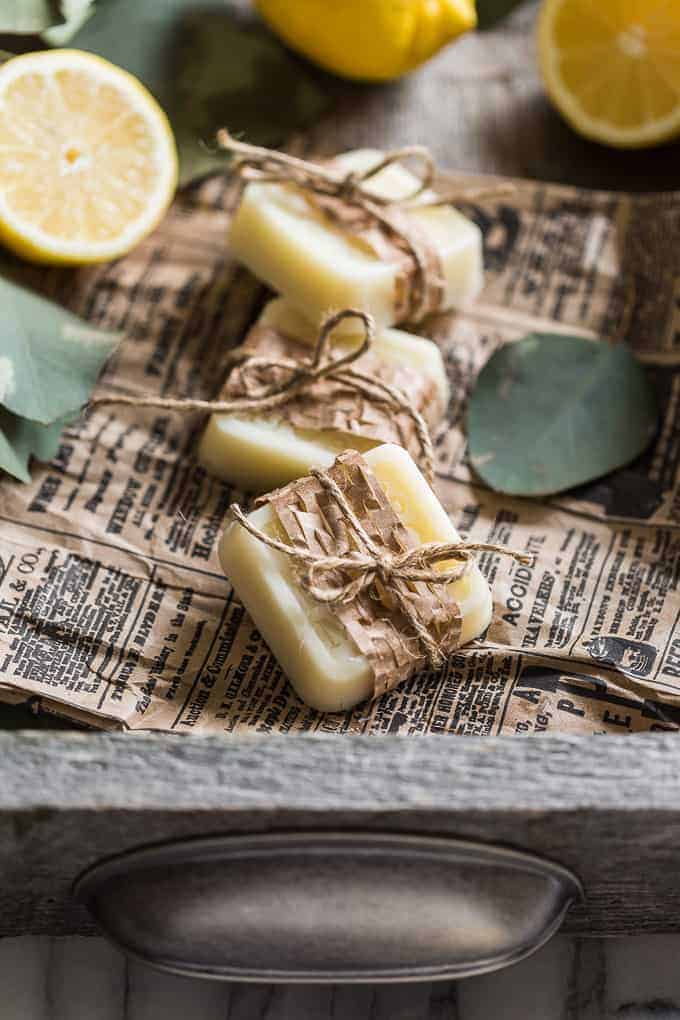
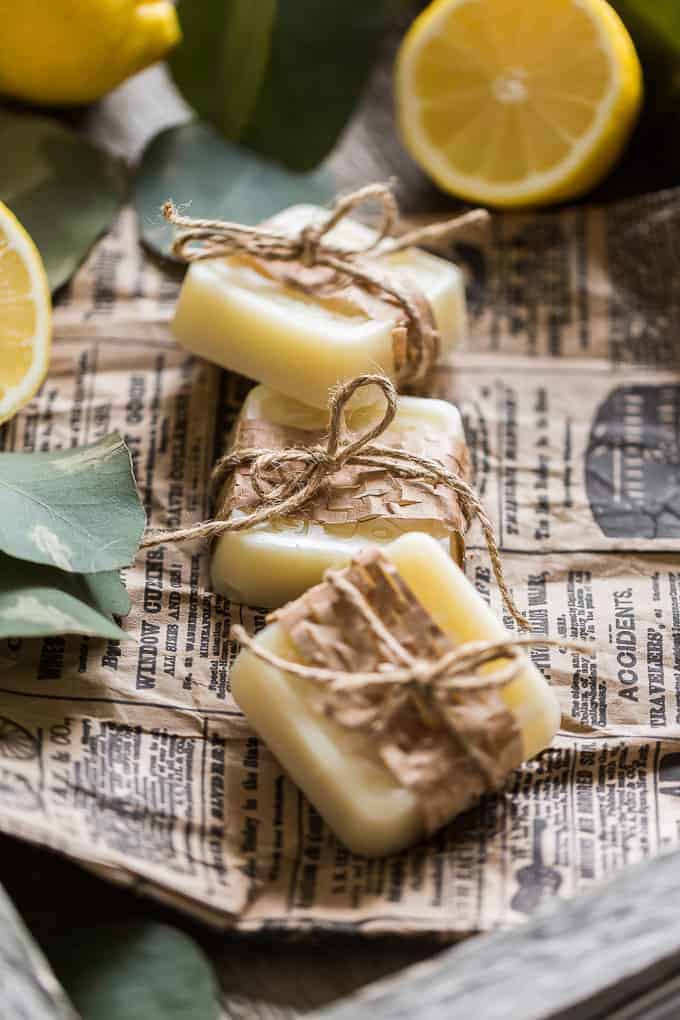
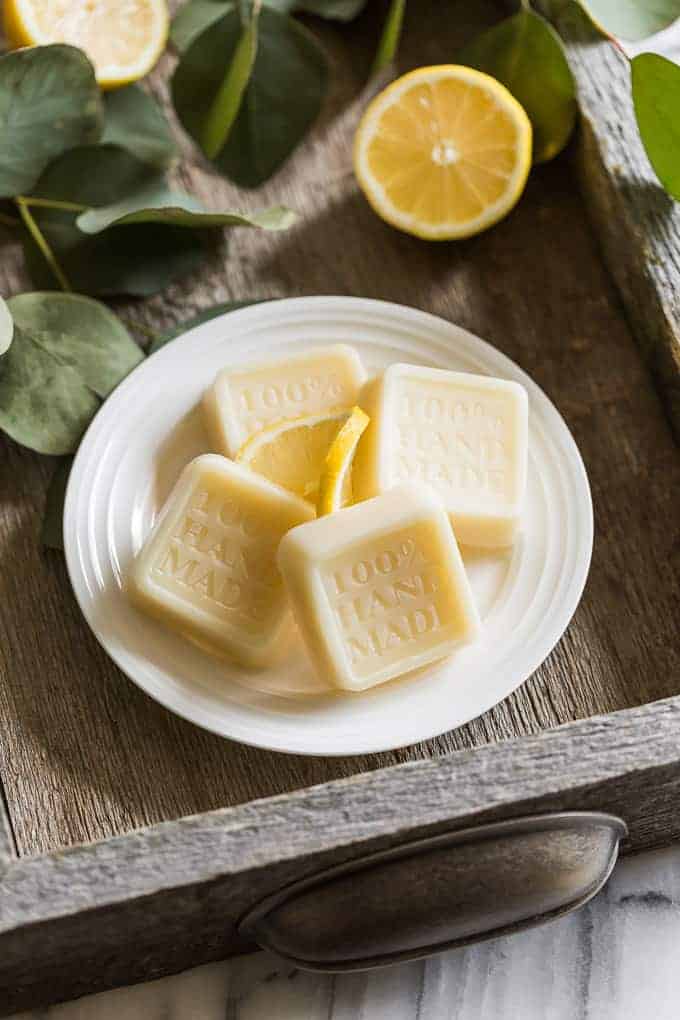
One benefit of ordering some molds though is the cuteness factor. These lotion bars make great gifts, and the 100% homemade across the front just adds a little something extra.
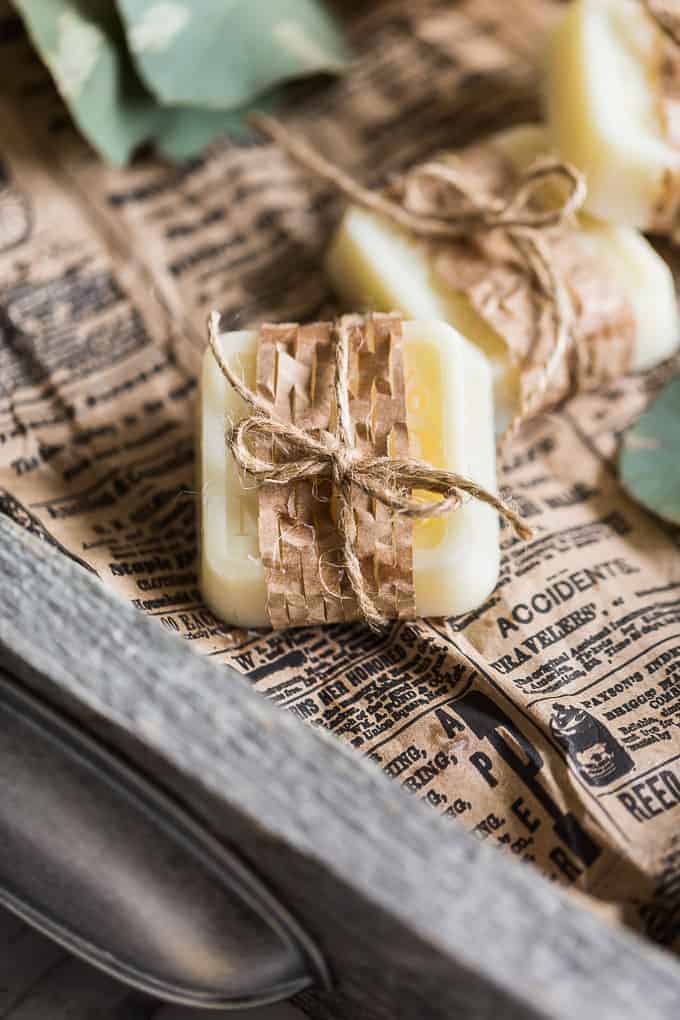
And if you do decide to give these as a gift, they’re really easy to wrap up with a bit of packing paper and jute twine. The wrapping I used in these photos is actually repurposed from a Christmas present from my sister. And she had repurposed that wrapping from some packing papers she had from online orders. It’s amazing how cute bits of what is essentially garbage looks with a little twine added in!
Print
Homemade Lemon Lotion Bars
- Total Time: 20 mins
- Yield: 8 lotion bars 1x
Ingredients
- 3/4 cup room temperature shea butter, 4 ounces, 115 grams
- 2/3 cup room temperature coconut oil, 4 ounces, 115 grams
- 1 cup packed grated beeswax, 2 ounces, 58 grams
- 1 Teaspoon lemon essential oil, optional
Instructions
- In a medium sized saucepan, melt together the shea butter, coconut oil, and beeswax over low heat just until the beeswax melts.
- Remove the pan from the heat and stir in the lemon essential oil if you’re using it. Then carefully pour the mixture into the molds of your choice, or paper muffin cup liners. Let the lotion bars completely set up before using them. This takes at least 1 hour at room temperature, and around 15 minutes if refrigerated.
- When the bars are solid, remove them from the molds, and keep them in a cool dark place tightly sealed in a container for up to 6 months.
Notes
The shea butter and coconut oil need to be at room temperature simply to make measuring easier. When they’re cold or refrigerated they’re almost impossible to chip out of the container.
The molds I used are 2″ x 2″ x 3/4″.
To easily remove waxy residue from the surface of anything you use to create this recipe, carefully pour boiling water over the surface until it melts away.
- Prep Time: 15 mins
- Cook Time: 5 mins
I love the recipe and I want to make some lotion bars at home but I wonder how do you store it? I would love to have it with me in my bag but it seems a bit messy.
I personally haven’t tried to carry them with me, I store mine in a glass container on the bathroom counter. I think you could carry them in a freezer ziplock bag, or a sealed container of any kind. Just be aware they can melt at high temperature. I hope this helps and be sure to know what you come up with!
i like this recipe, but i’m wondering, if it’s a soap what then makes it foam? cos its all a combination of oils
This isn’t a soap, it’s lotion in a bar form, so it’s only for moisturizing not cleansing. I hope this helps and that you enjoy the recipe!