For many years I was super dedicated to a weekly at home facial, and my skin definitely thanked me for it. However life does get crazy at times, and I’ve fallen out of this weekly habit. But ‘now’ is always a good time to jump back on the wagon so to speak, and I’ve been working on taking better care of my skin again.
You can make an at-home facial as simple as you need to, and I’ve included my breakdown for a full facial vs. an ‘I have no time today facial’! Honestly the ‘I have no time’ facial is the one I use the most often. But doing a full scale facial is great when you can because the benefits are noticeably better.
For any facial, I find myself gravitating to the easiest homemade treatments, again because it’s time consuming to get too crazy with this stuff. So for the week and and week out routine of daily life, I rotate between a few favorite go-to’s below.

How to do a Full Facial at Home:
Step 1: Wash/cleanse – I don’t use soap on my face and haven’t for over a decade now, and my skin has done nothing but improve. So for ‘washing’ I like to use either my Baking Soda Exfoliation, Oil Cleansing Method, or my Pineapple Facial to both clean and remove the top layer of dead surface skin.
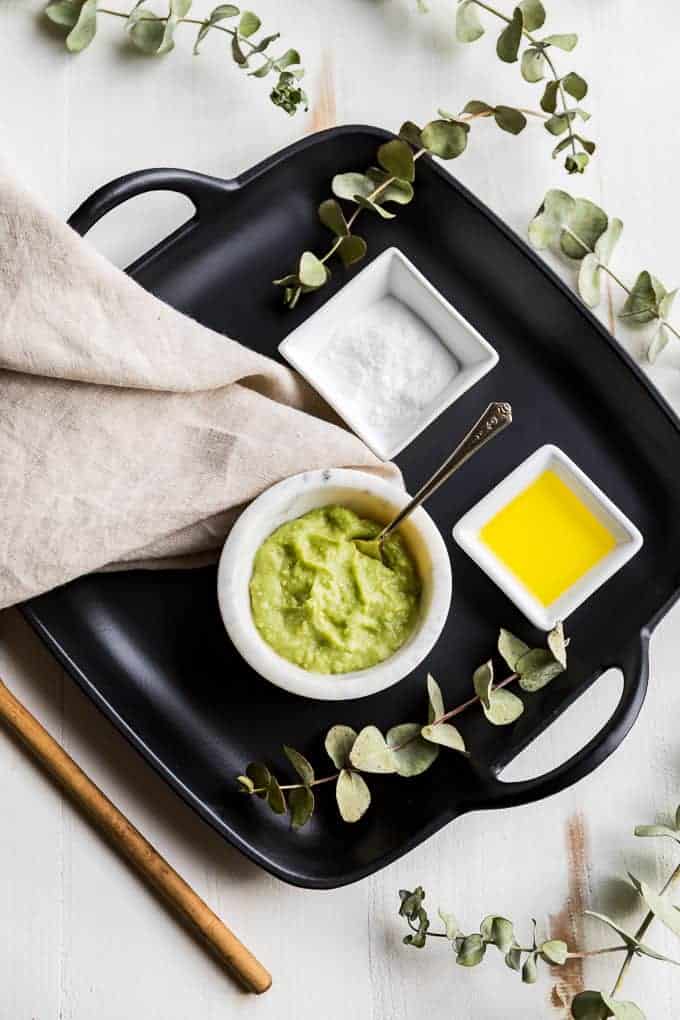
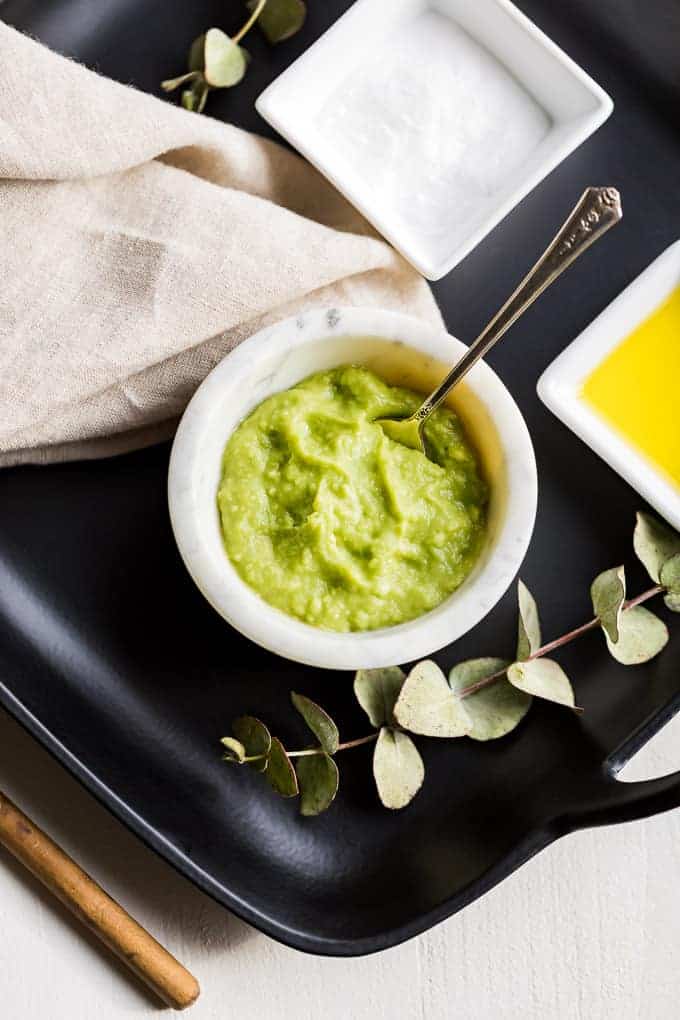
Step 2: Face mask and rinse – I like to use a nourishing face mask of either avocado or a spoonful of plain yogurt spread over my face, (let it sit 10-15 minutes). But sometimes if I want my skin to be extra smooth, (temporarily) I like to use this Egg White Firming Mask.
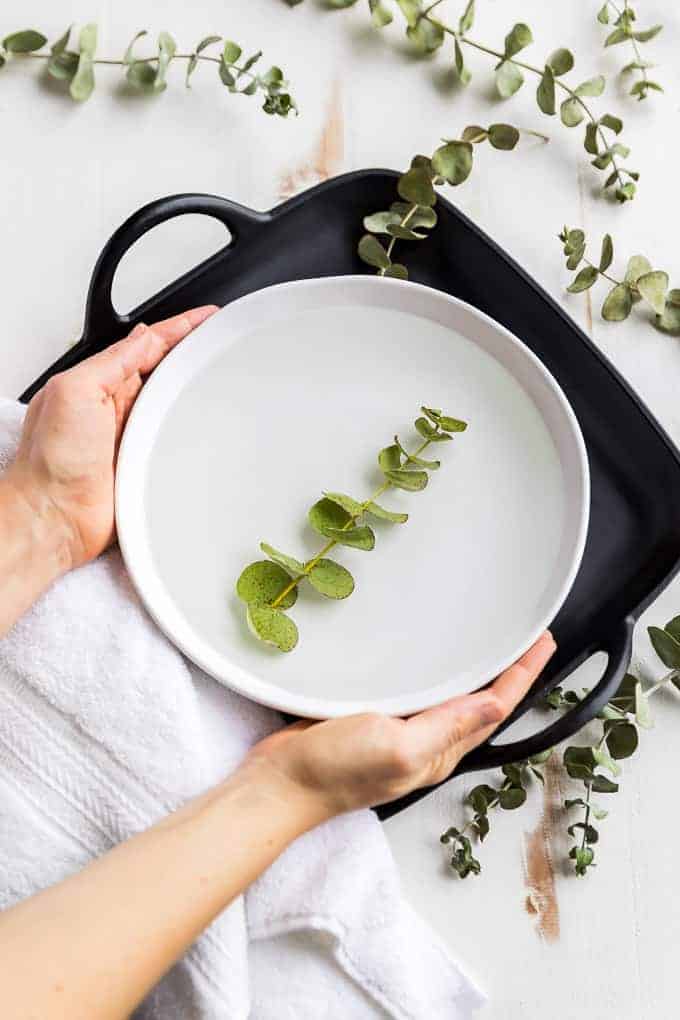
Step 3: Facial steam – this is perfect for deep cleaning your skin, and my face is always much smoother afterwards. Simply pour hot water, not too hot, into a bowl and add a few drops of essentials oil of your choice. Then lean over the bowl and cover your head with a towel to create a little ‘steam room’ for your face and sit for 10-20 minutes. You’ll know right away if it’s too hot, and if so, simply add a bit of cold water. You shouldn’t be suffering in your steam tent if it feels burning hot because that could damage your skin!
Step 4: Cold water splash and moisturize: after the steam – it’s important to close your pores by splashing with cool water, gradually moving to cold and use a toner/astringent if desired. My favorite is Humphrey’s Witch Hazel which is very soothing to the skin. Then moisturize with whatever you like to use on your face. I use a few drops of jojoba oil placed in my palm. Then I rub my hands together, get them lightly wet while still rubbing my hands together, and smooth my hands over my face. This really helps me lightly moisturize with just a few drops, which keeps my skin from looking oily.
So between the mask and steam alone, you’re looking at 20 minutes bare minimum. Which is why I like to do a quick facial or speed up the process of the full facial.
Tip: To speed up a full facial, once you have your mask on, you can clean the bathroom/do laundry/vacuum and such for the 15 minutes it needs to sit. Although if you want to do the Egg White Mask, you do need to lie flat for that one as it dries!

How to do a Fast At-Home Facial:
Step 1: Wash/cleanse – I start with either the Baking Soda Exfoliation or my Pineapple Facial to clear my face of any skin buildup.
Step 2: Face Mask on the fly – either apply the face mask of your choice and get some work done, or do my Oil Cleansing Method in the shower. I like to do the Oil Cleansing Method because it leaves my skin nicely moisturized which allows me to skip the final moisturizing step as well. But if you have extra dry skin, you can still moisturize at the end.
Step 3: Steam – skip the actual steam and just get in the shower which will lightly steam your face – this goes hand in hand with doing the Oil Cleansing Method in the shower.
Step 4: Splash your skin with cold water gradually running to cold to tighten up those pores, and use a toner/astringent if desired. My favorite is Humphrey’s Witch Hazel which is very soothing to the skin. Then finish it up with your choice of moisturizing. My skin doesn’t do well with any pre-made product, so I stick to using straight oil, as mentioned above.
And there you have it, a super simple at home facial either way you go! The full scale facial is really nice and the time dedication does show if you can be consistent with it. However, like I mentioned time is always at a premium, so I hope you’ll find my extra fast ‘2 for 1’ kind of facial useful for those extra busy weeks.
Bonus Tips: You can go all out and use a homemade sugar scrub as well on your body, (they’re too harsh for the delicate facial skin) that way you’re glowing from head to toe. My other favorite body treatment to use is my Pineapple Mojito Body Scrub because it leaves my skin incredibly soft. You can follow any body treatment with moisturizing if your skin is dry. I like to use my Easy Buttercream Lotion along with my Lemon Cream Body Butter for any really dry areas like my elbows or feet.
Doing this tonight! Thank you – love this!
Hope you enjoy it, I find facials so soothing and ultimately relaxing!