I feel a little weird telling you how to make homemade cheese today when usually we talk about how to get dinner on the table as fast as possible! Maybe it would help if I started by telling you that paneer cheese is the easiest homemade cheese I’ve ever made, and there are certain foods I make an exception for in the time department, where the end definitely justifies the means! If you’re lucky enough to buy fresh cheeses in your area, you probably would never need to get your cheesemaking on, but here in Montana if you want fresh cheese you’re probably going to be making it!
The best thing about making fresh cheeses, is they’re so easy and they’re outrageously delicious! If you’ve ever tackled weekend projects like making your own bread, jams, and such, then you’re more than ready to make fresh cheese because it’s way… easier! I’ve only made a fresh cheeses myself as the aged cheeses require more equipment and ingredients. For fresh cheeses you only need a large stockpot with a heavy bottom and sometimes a thermometer – that’s really all it takes to make ricotta or paneer cheese!
We’ll probably talk more about ricotta this summer because few things beat the pleasure of fresh cheese drizzled with good quality olive oil and sprinkled with chopped fresh herbs! Add to that a side of vine ripe heirloom tomatoes, some finishing sea salt, and you’ve got an unbeatable meal! But for now we’re talking about paneer cheese which is a fresh cheese the holds it’s shape when it’s cooked, meaning you can sauté or grill it just like you would with chicken or veggies. When it’s sautéed it takes on a mozzarella stick like flavor but it retains it’s shape instead of melting, making the possibilities endless!
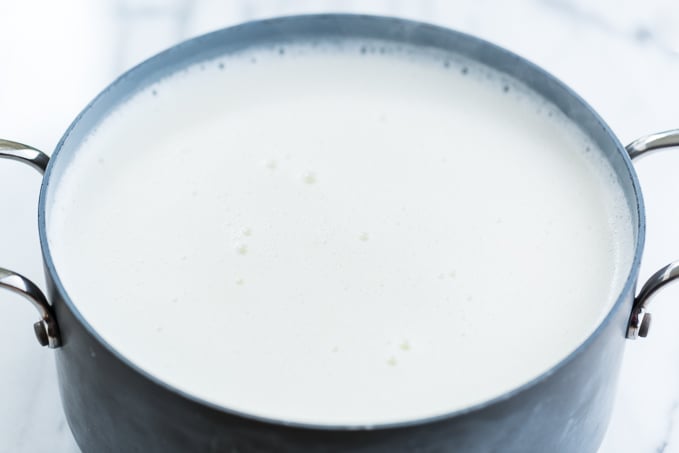
It’s really important to use a really large heavy bottomed pot when you’re making cheese. Right before milk comes to a boil it expands to almost double in size, so you want lots of extra room! In the above picture, you can see I pushed my limits a bit and there was definitely a little spill-over. When the milk comes to temperature, it will be all foamy on top like it is in the picture.
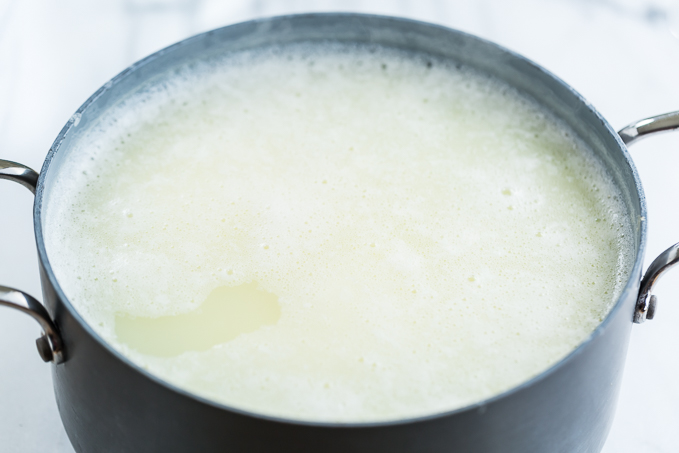
Once you add the lemon juice, the curds will start to form right away, leaving behind a yellowish liquid. One of the most important steps in cheese making is to let the cheese curds sit for the allotted time – there’s really no speeding it up! The cheese curds become more solid during this resting phase and that’s how they hold together when it’s time to drain off the extra liquid which is called whey in the cheese world!
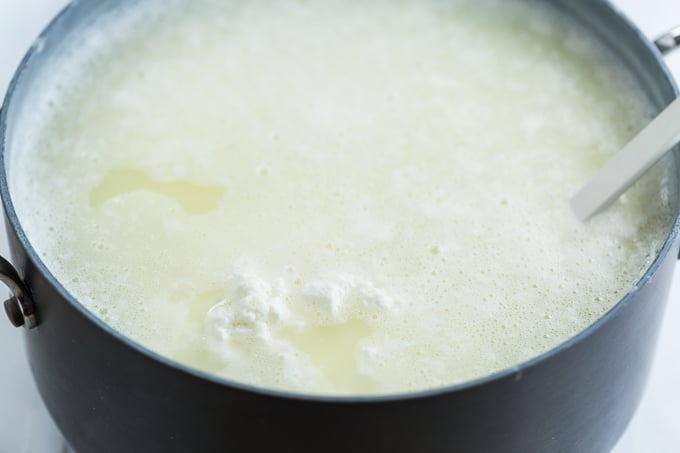
Here, you can see there’s definitely some well defined cheese curds visible after the resting time!
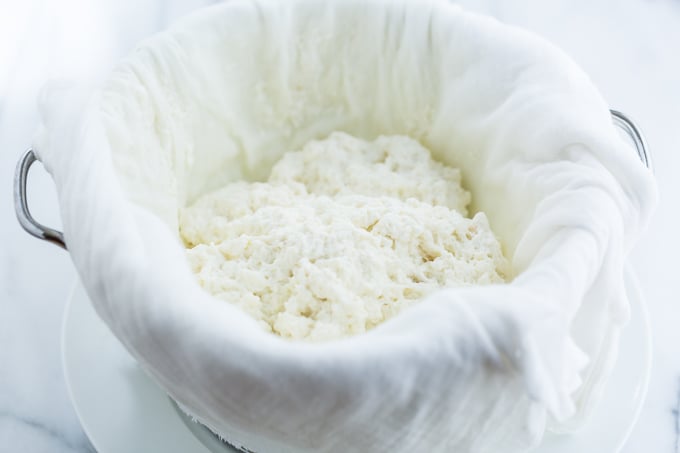
I use a cheesecloth folded into quarters for a 4 layer cheesecloth, this is useful for making sure your precious cheese curds don’t slip through a less dense cloth, and right down the drain! To achieve the firm texture of this cheese, it goes through a draining process where it’s been weighted down to help press any extra liquid out.
I didn’t use any fancy equipment for the pressing process, I just folded the corners of the cheesecloth together into quarters. Then I took a dinner plate and placed a salad plate on top of it turned upside down – when you place the cheese packet on the upside down salad plate, the extra liquid runs off onto the dinner plate below. For weighting down the cheese I just filled a large pot halfway up with water and placed the pot over the top of the cheese packet.
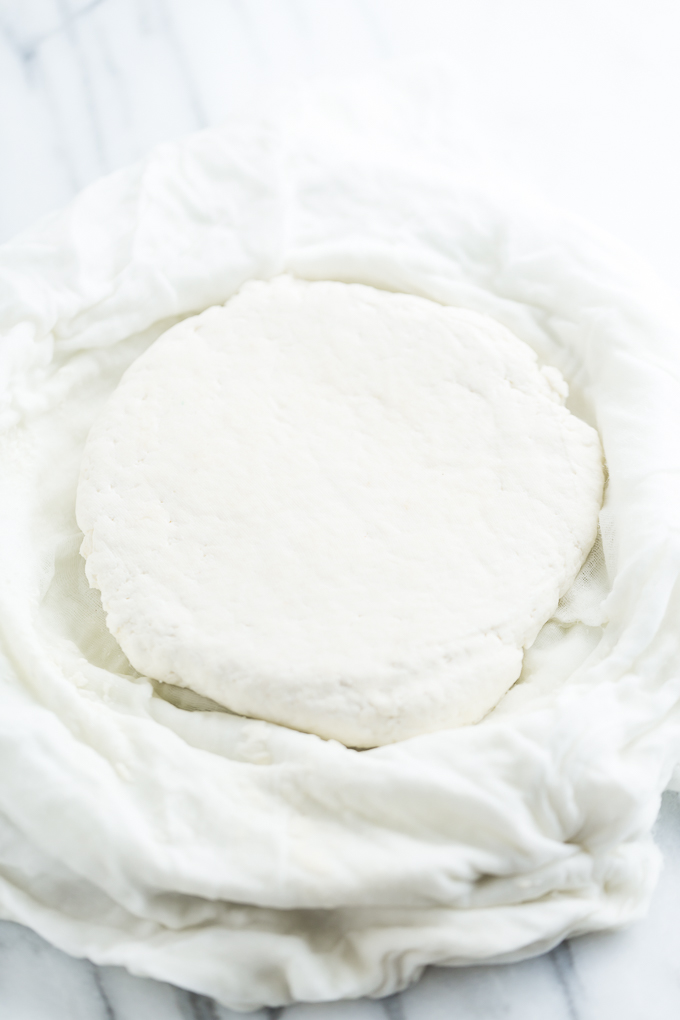
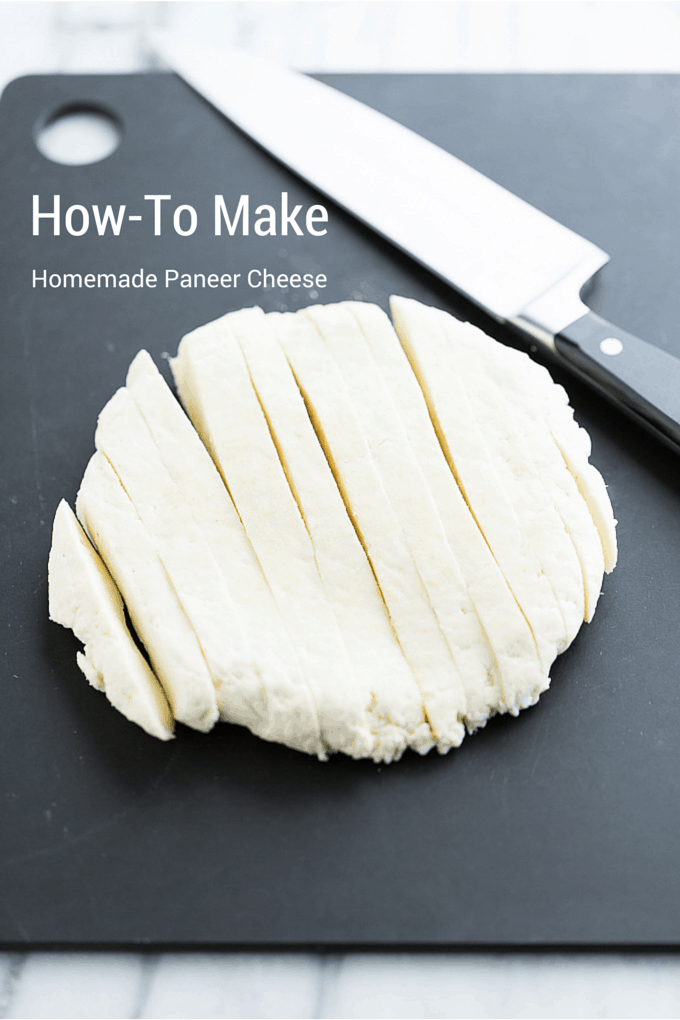
And… here’s the unwrapped final product – a thing of beauty!
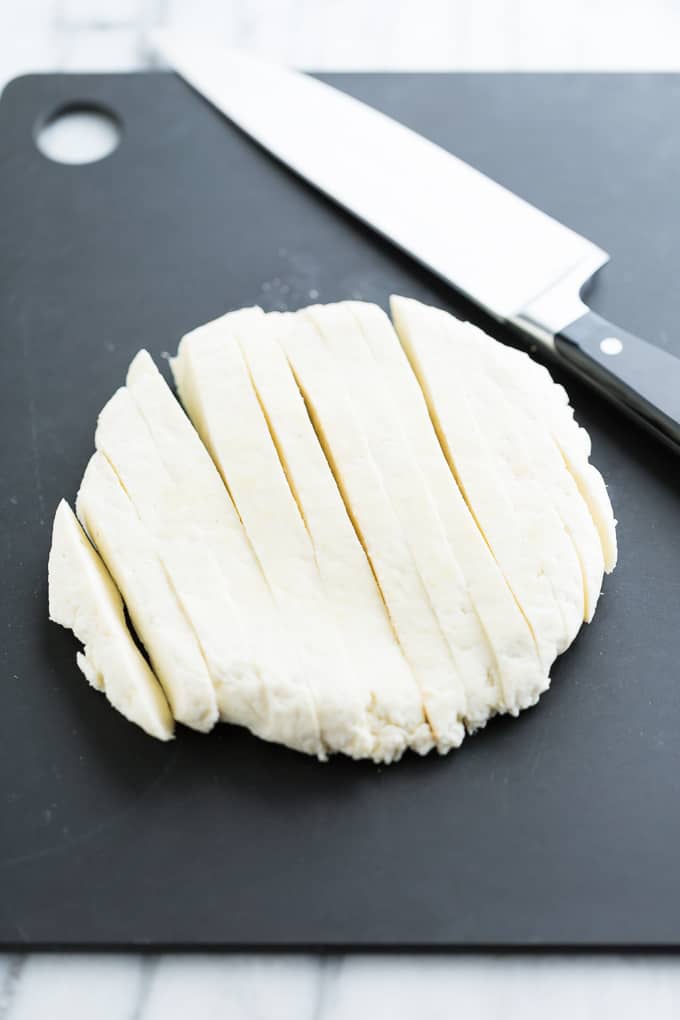
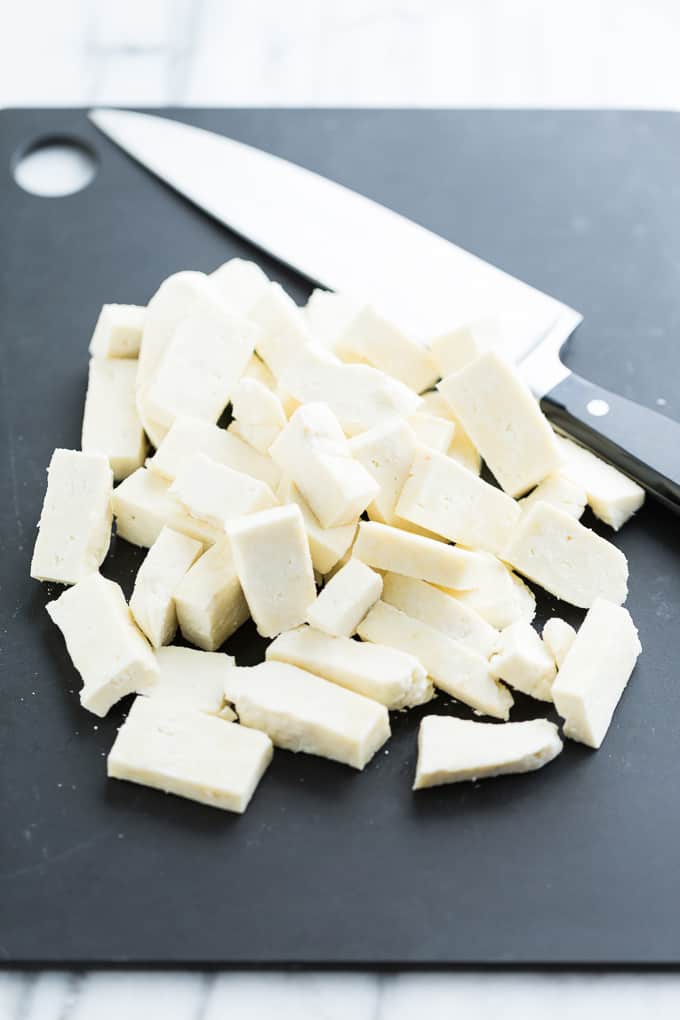
Once your paneer cheese has drained, you can cut it up and use it however you’d like! It keeps fresh in it’s uncooked state for about a week in an airtight container in the fridge.
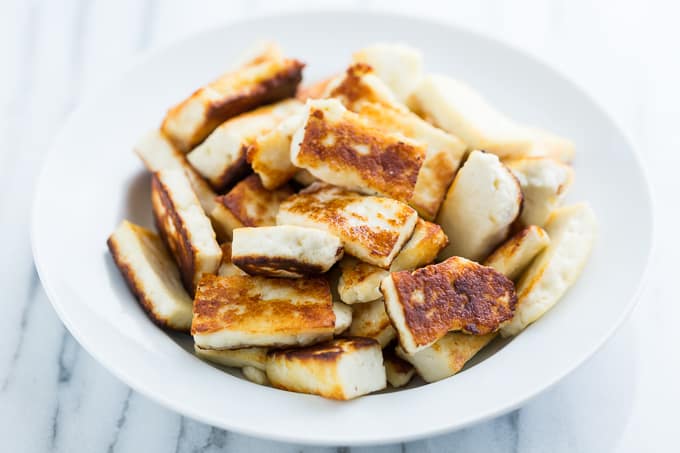
Here’s a little of that crispy goodness I mentioned earlier – sautéed paneer cheese is really addicting!
The most important thing when making your own cheese is to use pastuerized milk (or raw if that’s your choice). Ultra-pastuerized milk doesn’t work for cheese making, something about the high temperatures the milk is exposed to in the process renders it absolutely useless for cheesemaking!
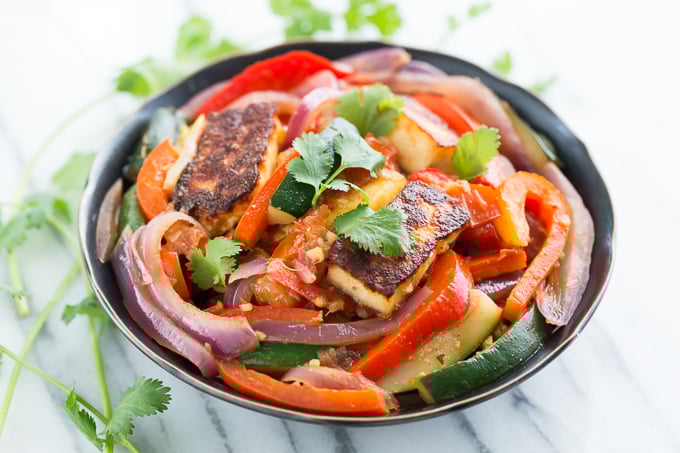
For recipe inspiration try my Indian Paneer Stir-Fry (picture above). Once you get that first taste of fried paneer cheese, I’m sure all sorts of ideas will start coming about how to use this marvel of a cheese!
Print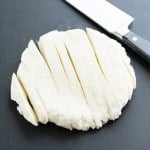
How To Make Paneer Cheese
- Total Time: 30 mins
- Yield: 1- 1 1/2 pounds of cheese 1x
Ingredients
- 1 gallon whole milk, not ultra-pasteurized
- 1/2 cup freshly squeezed lemon juice, 2-3 lemons
Instructions
- In a large, (2 gallon) heavy bottomed pot, bring the milk to a boil of medium-high heat. Stir the milk frequently while it’s heating to prevent it from burning on the bottom.
- Once the milk has come to a boil, reduce the heat to low and slowly add the lemon juice stirring as you go.
- Remove the pot from the heat and stir gently until you see curds begin to form and the liquid becomes a clear yellowish color.
- Once the curds have separated from the whey (the yellowish liquid) let the cheese curds set for 10 minutes to rest.
- After the cheese curds have rested they’re ready to drain. You need a tighly woven cheesecloth or muslin for draining, I use a cheesecloth folded into quarters and placed in a colander. You definitely don’t want to be able to see through the cloth you’re using, otherwise the cheese curds will slip right through.
- Ladle the cheese curds into the lined colander, reserve the whey for another use such as a smoothie or a whey cheese (a subject for another day).
- Fold the excess cheesecloth evenly over the cheese curds creating a packet. For the pressing process, take a dinner plate and place a salad plate upside down on it. This creates a platform for your cheese to set on where the liquid can drain away from it. Place the cheese on top of the upside down salad plate. Using a pot with the same size diameter as the cheese, fill it halfway with water, place a lid on it, and set it on top of the cheese to weight it down. This step is essential for removing the excess liquid from the cheese so that it will be firm enough for cooking.
- Transfer your cheese pressing set up to the refrigerator and let it drain for 2 hours.
- After the pressing, remove the cheese round from the cheesecloth and use as desired.
- Paneer cheese will keep for about 1 week in an airtight container in the refrigerator.
- Prep Time: 20 mins
- Cook Time: 10 mins
This looks simple and delicious!!!
We’ve really been enjoying making simple fresh cheeses lately, they’re really easy and they taste amazing!
I love making Paneer cheese, it’s so easy and so much fun (not to mention how good it’s the end result.)
Loving your step-by-step instructions, so useful!
I love making fresh cheeses because they’re so simple and so good!