I’m usually not super crafty in the home decor department, (probably because I rarely stop cooking long enough to do anything else). But ever since I stumbled upon the rolls of burlap garland at Joan’s Fabrics, I’ve been wanting to do something with them. I’d seen a number of super cute wreath tutorials on Pinterest so I bought everything I needed, and then it all just sat there in the closet collecting dust for the last 18 months, (all I can say is this behavior is pretty typical with me and decorating).
Since clearly the wreath wasn’t happening, I started thinking about whether or not I could repurpose the garland as a centerpiece for the holidays because maybe just maybe I wouldn’t still have pumpkins on the table when the holidays roll around! Since the garland is only about 6″ wide, it’s really too small to be a table runner, but that got me thinking that I could just braid it together to create a bit more width. To my surprise, it turned out great and it’s super easy to make – I mean you don’t even need glue or a sewing machine, just a pair of scissors.
The best thing about a burlap garland vs. burlap cut by the yard from a bolt of fabric is that it has finished edges so it won’t fray over time as it sits on your table. At the time of purchase, 1 garland cost $9 but they always have a 40% off coupon that helps knock the price down a bit. I also purchased all the small decorative branches at 50% off which is 1 bonus of buying any kind of decorations late in the holiday decorating game!
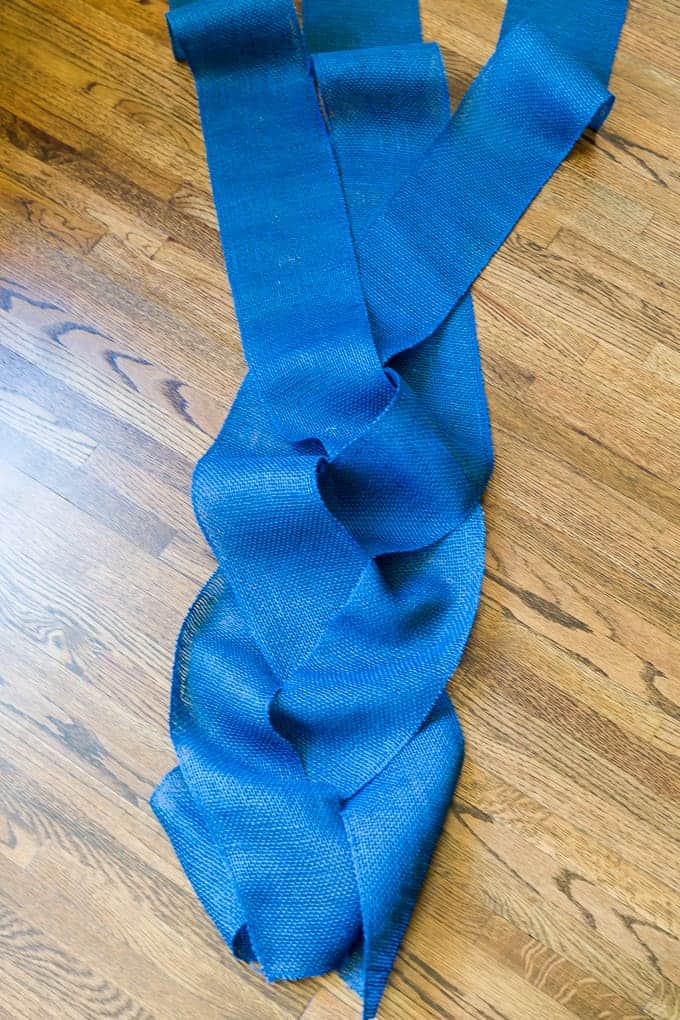
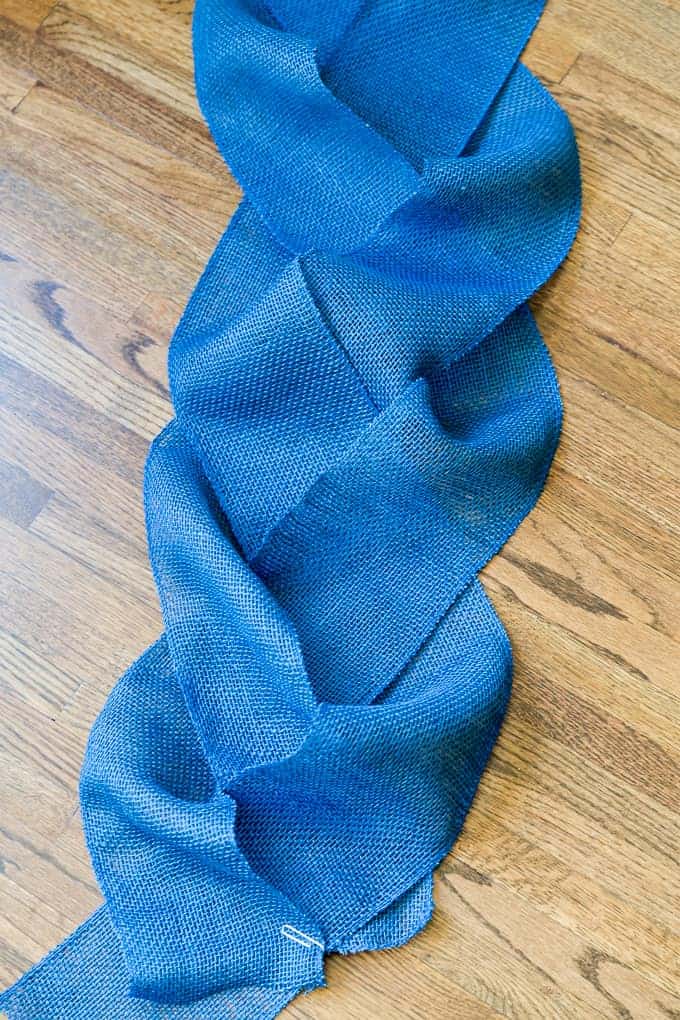
For the braided burlap, you start by unrolling the garland and folding it into 3rds, then cut it into 3 equal pieces. Next lay the pieces out on a long work surface and start braiding in the middle and working out to each end, (trust me it comes out nicer looking this way rather than braiding from one end to the other). When you come to the end, use the longer piece to wrap around the 2 shorter pieces, and secure it with a paper clip before tucking the end under to hide the paper clip, (see picture below). Repeat the process on the other side and you’ll have a braided piece of burlap.
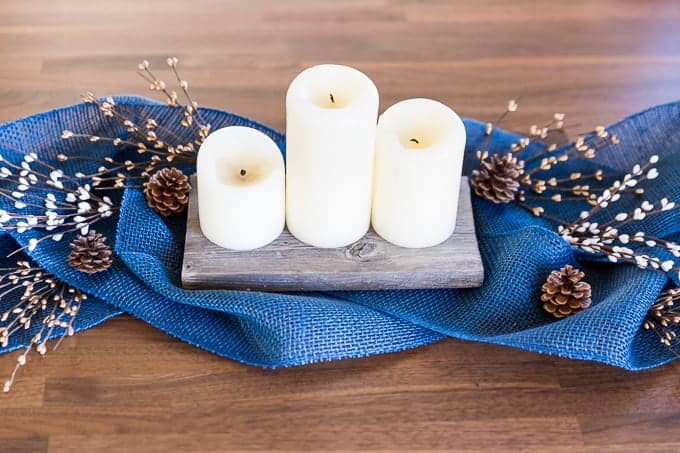
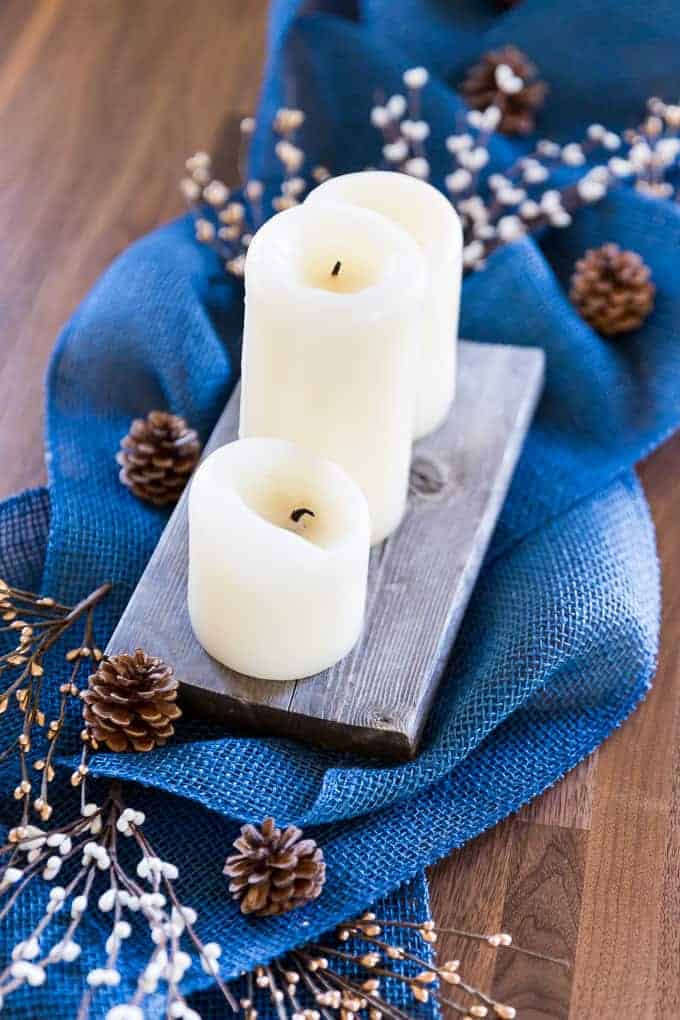
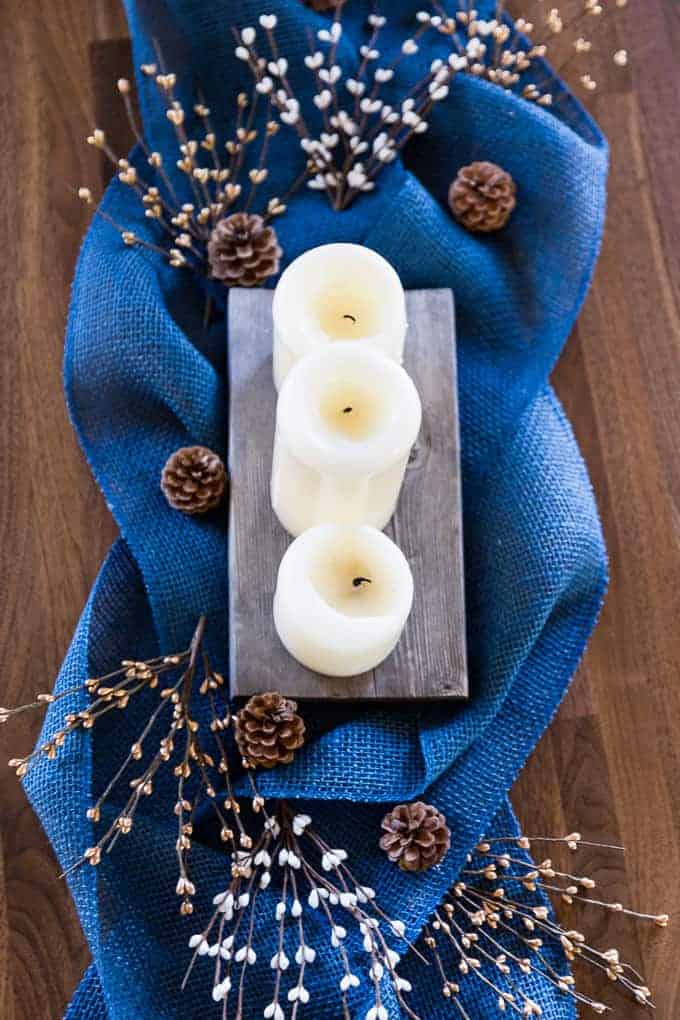
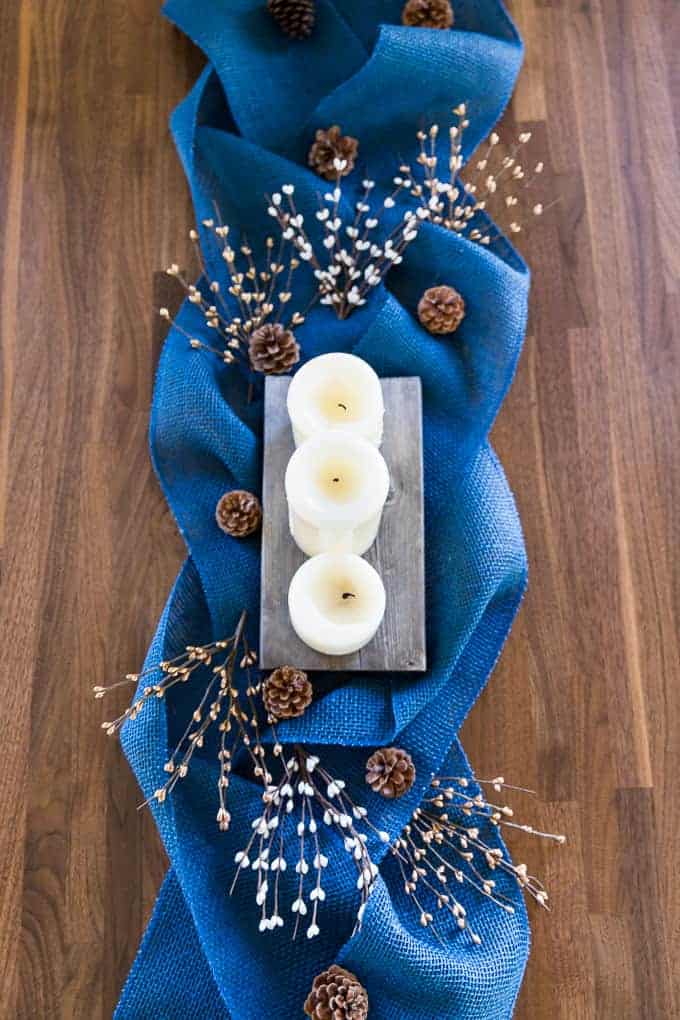
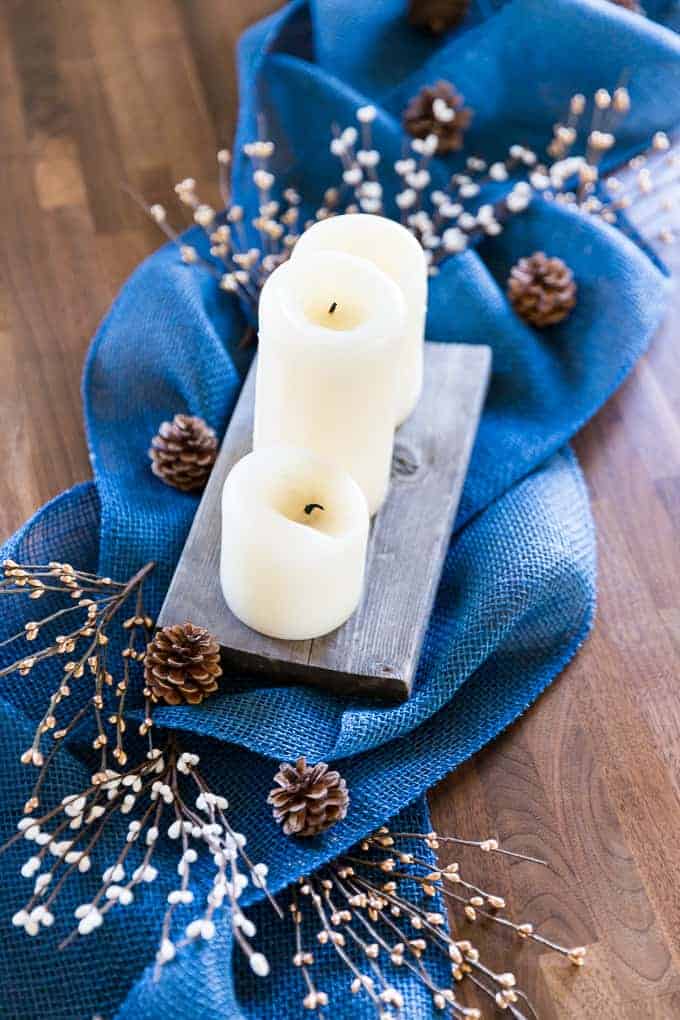
Next, place the braided burlap on the surface you’d like to display it and place a small piece of barn wood or plate in the middle of the braid. Place the pillar candles or your choice of candles on the barn wood or plate, and working with the candles as the center, tuck small decorative branches into the burlap to hide their stems. Then, scatter some mini pinecones down the length of the burlap braid, and that’s it!
If you wanted to make this more permanent, you could secure the ends with glue or sew them together, but I like the paper clip because it leaves me free to take this apart after the holidays, and use the burlap to finally make that wreath.
I went with a blue, white, and gold color scheme because it works really well right through February, and if we’re being honest here, I don’t really want to change my table decorations again until Spring! I actually love decorating for winter vs. decorating just for the holidays because you can leave the decorations out from the day after Thanksgiving right into March.
Print
Burlap Holiday Centerpiece
- Total Time: 30 mins
Ingredients
- 1 – 20‘ roll decorative burlap garland, see notes
- 1 package, 12 small pinecones, no more than 2-3″ in size
- 6 small decorative branches, about 8” long
- 1 small piece of barn wood, 10″x5″, you can also use a rectangular plate it’s just less rustic
- 3 pillar shaped candles with varied heights, 3″ in diameter
Instructions
- Start by cutting the burlap into 3 equal pieces. Lay the pieces out on a long table or clean floor and braid the 3 pieces together starting in the middle and working out to each end braiding under to create nice puffy look to the braid.
- To secure each end, I wrapped the longest of the 3 pieces over the other 2 and secured them with a paper clip before tucking under the end to hide the paper clip. You could secure the braid in a more permanent way if you’d like such as glue or sewing the ends together, but I plan on taking mine apart after the holidays and turning it into a summer themed wreath for the front door.
- Once you have your braided burlap, lay it out on the table and start tucking in the decorations. I placed the piece of barn wood in the center and set the candles on it. Then working with the candles as the centerpiece, I tucked in 3 small decorative branches on each side, and scattered the small pinecones at random down the length of the braid.
Notes
I purchased my burlap garland, pinecones, and decorative branches at Joan’s Fabrics. They have several colors of the burlap garlands so you can create your own color combinations.
- Prep Time: 30 mins
Must get the crafty from your Mom’s side of the family and the cooking from your Dad’s side. Glad you are up and running again after the computer host glitch. Very cool idea.
I sure got lucky with a combo didn’t I!?!
I love the blue burlap. To be completely honest, I prefer leaving the cooking to the um, professionals and get on with more fun stuff (I know…crazy to say to a food blogger!) Love to eat though. This centerpiece is adorable, need to go to Hobby Lobby!!
I love the blue burlap too, it’s fun for all seasons really, you just have to change the decorations!
Thank you for this tutorial! Back in the day I was more crafty and this is precisely the kind of thing I would have made. I love this. And feel newly inspired…off to Joanne’s I go!
Somehow the cooking hobby can really take over can’t it!?! Let me know how it goes! 🙂