I haven’t had the best luck with facial scrubs as they tend to irritate my super sensitive skin. However anytime you exfoliate, your face is going to look better without several layers of dead skin dulling your complexion.
Luckily I’ve found baking soda to be very effective for several reasons; for one it’s really easy to always have on hand and secondly, it exfoliates without irritating my skin.
Some of the coarser textured scrubs I’ve tried like cornmeal have irritated my skin, a little and so I found myself avoiding them. However, not exfoliating leaves a buildup, and I always notice my skin doesn’t look as good over time with all the playing outdoors.
After many years, (over a decade now) of experimentation I’ve found 3 facial treatments I rotate between from week to week. First up my everyday go-to treatment is the Oil Cleansing Method which is lightly exfoliating and perfectly moisturizing. Secondly to this treatment, I use both this Baking Soda Exfoliation and my Pineapple Facial 1-2x per week to keep my skin glowing without any buildup.
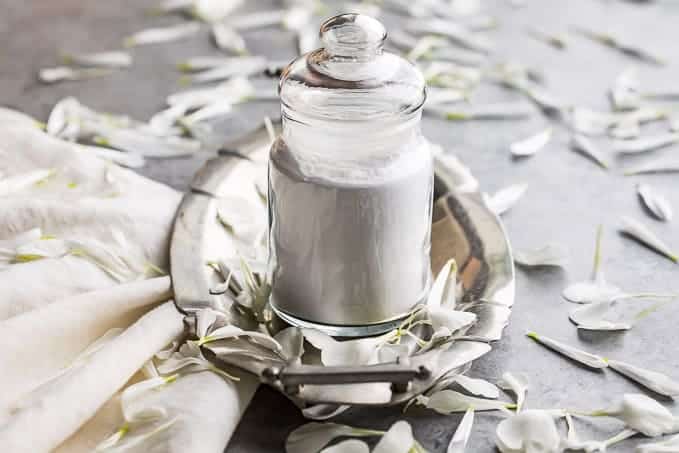
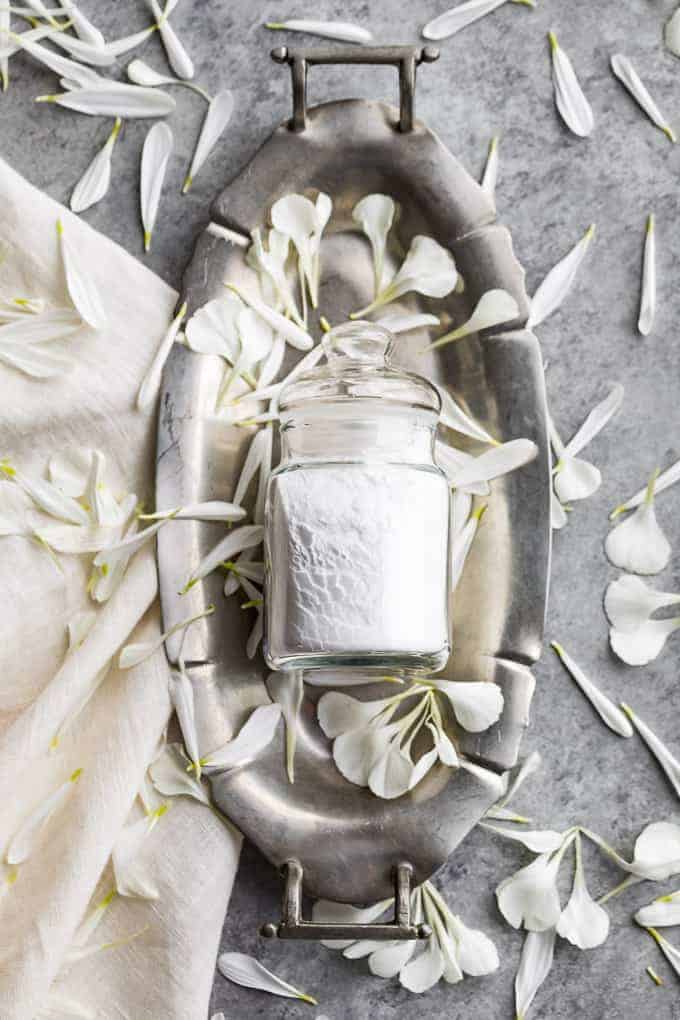
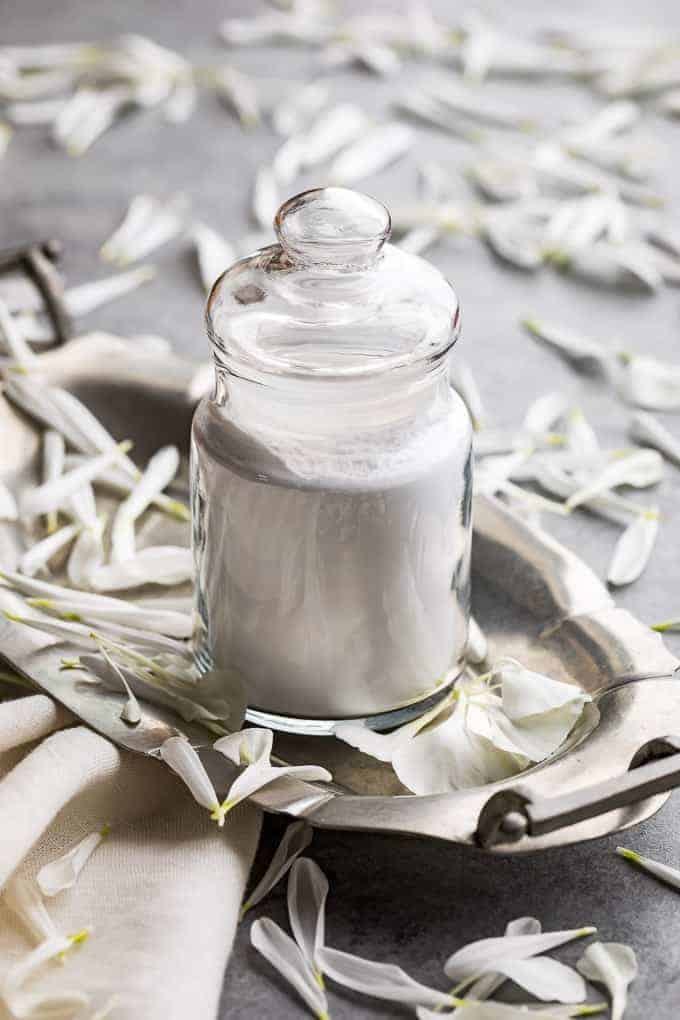
DIY Baking Soda Exfoliation
What to do:
Place a tablespoon or so of baking soda in the palm of your hand, add a little water to make a loose paste and begin to massage into your skin with gentle circular motions (don’t rub hard or ‘scrub’ vigorously you don’t want to damage your skin). You only want to rid yourself of the outermost layer of dead skin, and never to damage the new layer underneath. This process should never hurt, if it’s hurting try using less pressure.
Tip: Use your ring finger on the delicate skin closer to your eye, (in the cheekbone area).
As always, if you notice any discomfort rinse off immediately. Facial treatments are an individual thing so you can always try this on your hands first to see how you might react. I know a few people who use this now and no one has had any problems, but it is always good to proceed with caution.

And finally one last tip: baking soda is by far my favorite of these treatments to travel with because it’s the easiest. Let’s face it, traveling with fresh pineapple isn’t going to happen, and depending on how confident you feel about your container, the oil you need to oil cleansing could be a potential disaster in your suitcase!
I’ve used baking soda for years. I just add some to my facial cleanser or to some liquid soap and do my whole body. Husband comments all the time on how soft and smooth my skin is. I usually do this in the shower. Will try the pineapple for non-shower days. Thanks for all the information.
That’s a great idea! My skin definitely needs some exfoliation and TLC after being neglected this winter!
Can i mix it with some oils like olive oil
I’m not sure if it has the same effect when mixed with oils since I’ve never tried it. I’m sorry I can’t be of more help, but I hope you’ll let me know how it goes if you have anymore questions!
Hey Ijeoma, That’s actually my go to mixture (with Olive oil). I’m gonna try with water and see if there’s any noticeable difference.
Thanks so much for your tips, I’m definitely going to try it out with oil since I’ve always done this with just water!
Can another liquid besides water be used for this? I was thinking about using rose water or witch hazel instead.
I’m sure you can use a different liquid in place of water, but I’m definitely not trained in the chemical reactions that happen when you combine things like that, so I can’t give you a definite answer on which liquids would be ok.