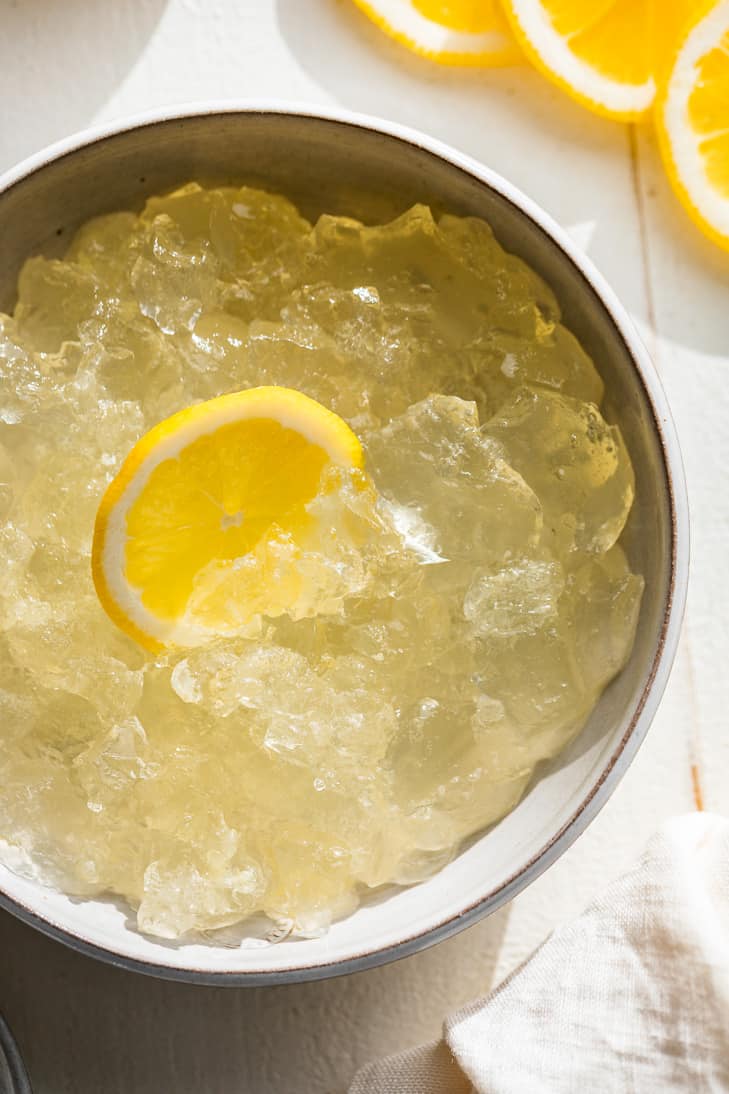
Making DIY Homemade Lemon Hair Gel is easy, all natural, and way more affordable than store bought! It takes just minutes to make and has been the perfect way to control frizz!
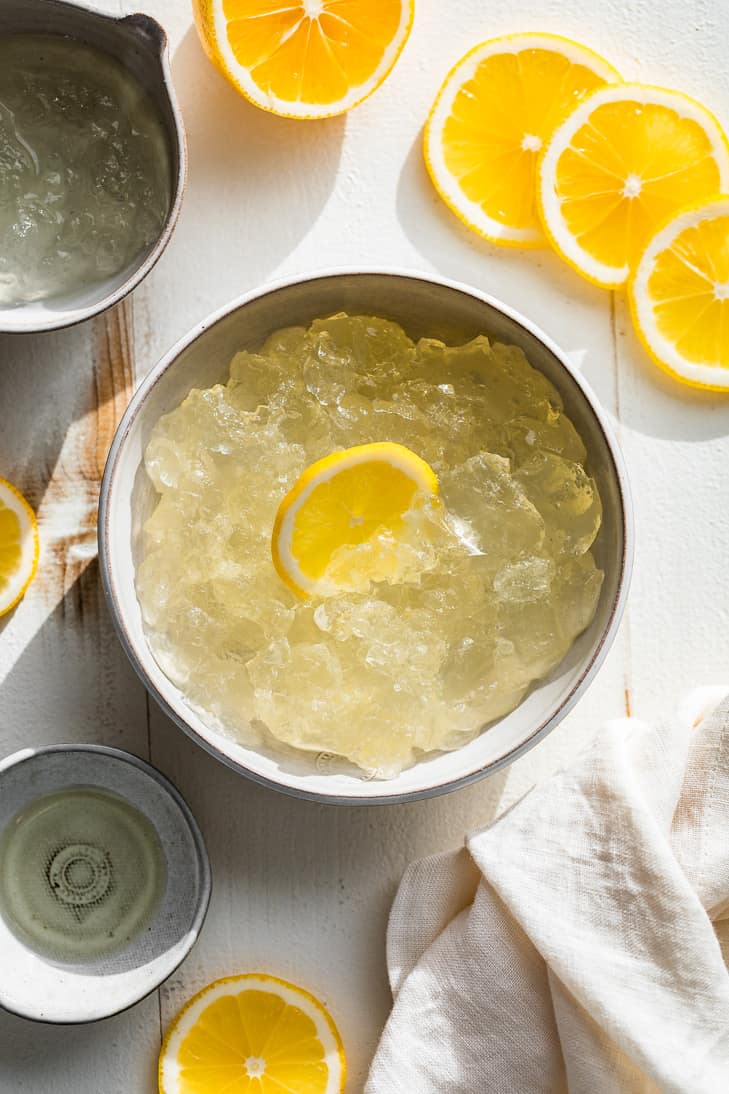
This lemon hair gel is great to have around for a little frizz control. My family and I have been making this hair gel for 20 years now! That feels so crazy to say, but it really has been that long.
My parents starting going more natural with bath and body products and eating organic back in the early 90’s. It was a wildly different time where options for natural bath and body products were almost non-existent. And things like health food cookies meant they most likely had carob chips in them. Thankfully times have changed!
But at the time, my mom got creative and started making her own gelatin based hair gel. It’s worked so well, I’ve been making it ever since. It’s just the perfect amount of hold for my curls. But I’ve also had so many people write in to say they’ve loved it on their straight hair as well.
At one point I tried the popular flaxseed gel, and it did work really well. But it’s a bit messy, and I’ve never made it again because it was too much hassle for me.
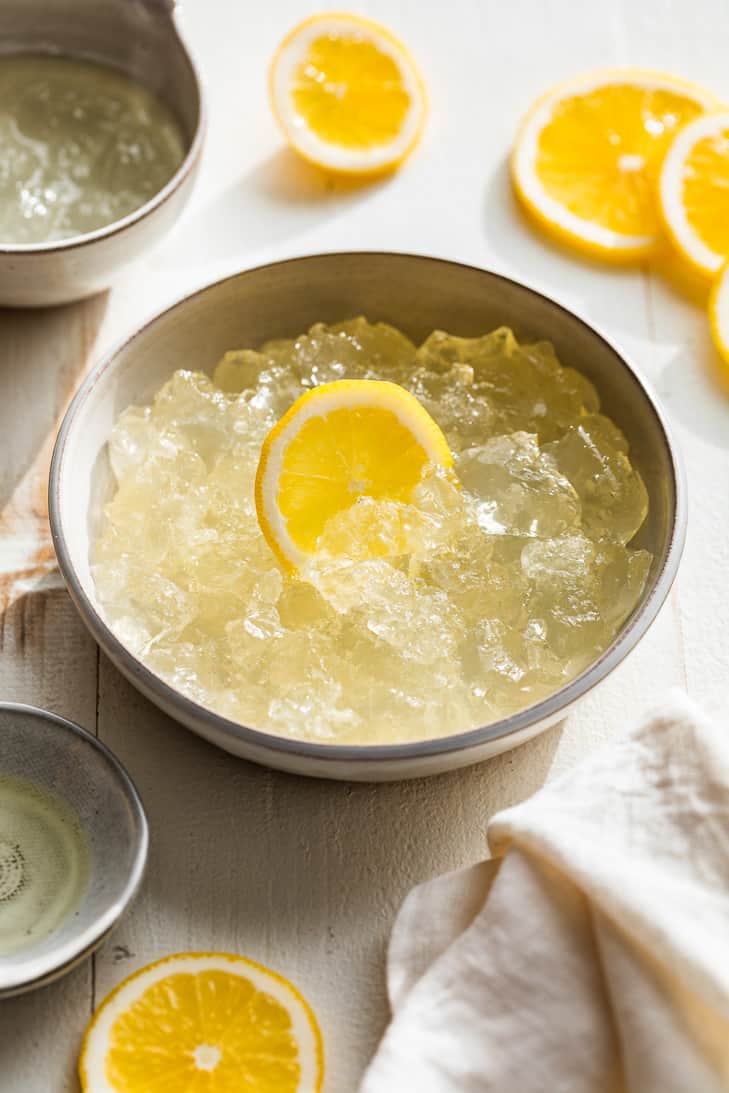
So… that’s where gelatin comes in. I need something around for those ‘we have an emergency’ frizz days, which let’s face it with curly hair is almost ever day! It keeps for several weeks in the fridge, and about a week at room temperature.
Let’s dive into some tips below for this DIY Lemon Hair Gel!
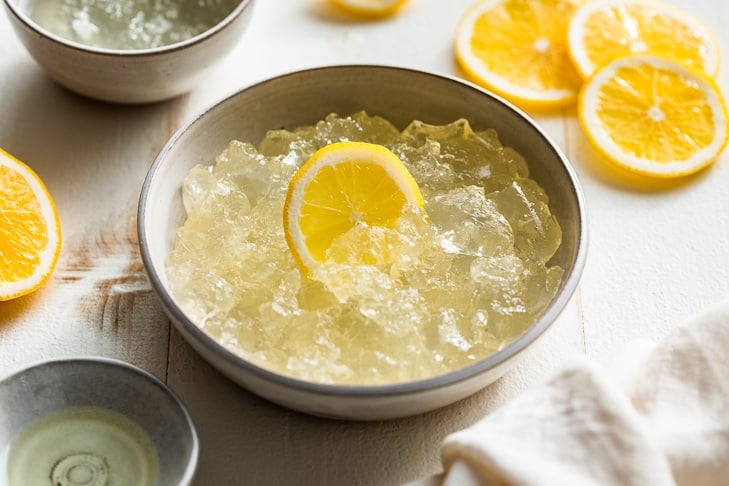
I make 3 different versions of this hair gel. For the first, after the gelatin has completely dissolved you can pour it into squeeze bottles.
Or you can add the moisturizing ingredients to the lemon-gelatin version as the second option.
And finally down in the recipe you’ll find my favorite most stable version which makes way less. It also omits the lemon juice and uses a few drops of essential oil. I love lemon, but you can use any essential oil you love the fragrance of.
Tip #1: Use a good quality gelatin like the Great Lakes brand for the best long lasting shelf life. You can definitely use the standard Knox brand. But I’ve found through a lot of testing it goes bad much faster.
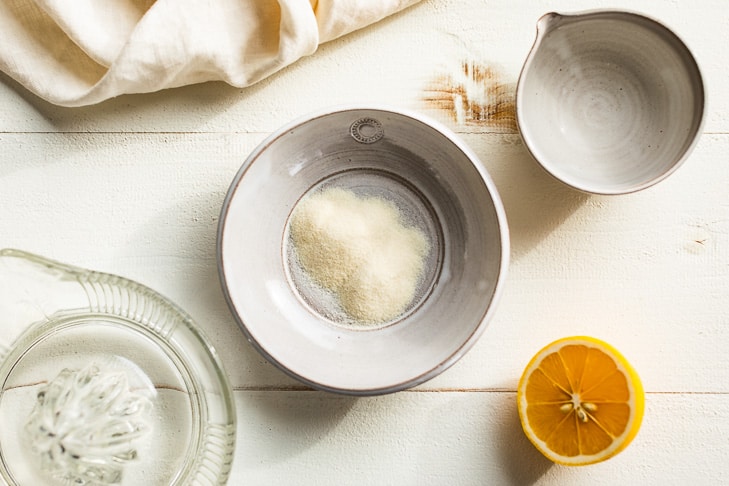
How to make natural hair gel:
Warm the gelatin and water in a saucepan over low until completely dissolved. Or heat up some water until it’s hot but not boiling and pour it over the gelatin. Stir until the gelatin dissolves. Remove from the heat and add the lemon juice or essential oil.
From here, you can leave it plain or follow the moisturizing variation. Refrigerate whatever you think you won’t use in a week. And if some of it does go bad there’s no need to worry because this recipe costs just pennies to make!
Tip #2: Use a small funnel to help you pour the gelatin mixture into the squeeze bottle.
Tip #3: Experiment with a less gelatin to water ratio for a lighter hold and softer gel.
I put my two different gels into small squeeze bottles for ease of use. You want to keep your hands out of it if you can, or it will spoil more quickly.
Tip #4: Pour the gel into several small squeeze bottles. That way you can put one in the bathroom, and refrigerate the rest to keep it longer.
As a bonus, it only cost me $0.60 to make my own hair gel. And it works just as good as the one from the store that cost $10.00.
Looking for more natural bath and body recipes? Check out my favorite basics below!
- Easy Buttercream Lotion
- Grapefruit Body Wash
- How to do an at home facial
- Facial Oil Cleansing Method
- Lavender Sugar Scrub
What’s your experience with natural hair care? Do you have any favorite natural products?
Print
DIY Lemon Hair Gel
- Total Time: 10 mins
- Yield: 1 cup 1x
Description
Making DIY Homemade Lemon Hair Gel is easy, all natural, and way more affordable than store bought! It takes just minutes to make and has been the perfect way to control frizz!
Ingredients
1 tablespoon plain gelatin
1 cup water
2 Tablespoons lemon juice
For Conditioner Version Add:
1–2 Teaspoons of coconut oil
4 Tablespoons of aloe vera gel
Small batch essential oil version:
1 teaspoon plain gelatin
1/3–1/2 cup water
a few drops of lemon essential oil, or oil you desire
Instructions
Mix together the water and gelatin in a saucepan. Then place it over medium heat and stir just until the gelatin dissolves.
Remove from heat and add lemon juice. Let cool until it’s set up.
For the conditioner version, add the coconut oil and aloe vera to the lemon-gelatin mixture, after the gelatin had set.
Place everything in the blender and blend on low until creamy. You can also whisk this together by hand, but you will need to melt the coconut oil first.
Store the first and second hair gel options in squeeze bottles and use within 5-7 days at room temperature. I’ve had both versions keep for 2+ weeks refrigerated. So you can store the extra and get the bottles out a week or 2 later to use at room temperature.
For the small batch essential oil version, heat the water and pour it over the gelatin. Stir until dissolved and add a few drops of essential oil. Store in a squeeze bottle and use within 10 days.
Notes
If at any point something seems ‘off’ with your hair gel, throw it away! Natural products go bad at different rates according to temperature and such. My small batch essential oil version easily lasts me 10 days, and the lemon and conditioning versions last 5-7 days.
- Prep Time: 10 mins
- Category: DIY
- Method: Mixing
This recipe was originally published in 2013, but has been updated in 2021 with more information, tips, and new photos!
I love this! I have super curly thick hair. I use lots of product and like to stay away from chemicals, but the natural products are sooo expensive. I tried this and I have wonderful results. There is no frizz at all and my hair is shiny and bouncy. Thank you soo much for this recipe!
I know what you mean, it seems like every natural hair product I’ve tried is so expensive and half the time they don’t even work. I’ve never found anything that works as well as this simple hair gel, and I’m so glad to hear it’s working great for you too! 🙂
I usually make my gel with guar gum or xanthan gum added t water. It is much easier than doing the flaxseed version. That is a huge mess and doesn’t work any differently than the gum version. Give it a try 🙂
Thanks so much, I definitely will try that out! I never could get on board with the flaxseed version of hair gel, just way too much mess for me. 🙂
Won’t the lemon juice lighten hair? I have very dark brown hair and don’t want to change the color. Is there a substitute for the lemon juice? Also, what is the shelf life?
I don’t know if such a small amount would lighten your hair, but you can leave it out. Lemon juice acts as a preservative but you could replace it with a small amount of alcohol like vodka, (I’m not sure if that’s known to lighten hair or not). The shelf life for the lemon version is usually around 7-10 days at room temperature, which is why I keep half of my batch in the refrigerator for the next week so that I don’t have to make it as often. I hope this helps, and be sure to let me know how it goes, or if you have anymore questions! 🙂
Hey can you use a vegetarian gelatin? ??
I think it should work fine, I used to use a plant based one but I lost my source when they quit making it so I don’t have a particular recommendation. I do know that not all vegetarian gelatins are a 1:1 ratio so you might need to do a little testing with whichever one you choose. I hope you enjoy the recipe, and be sure to let me know how it goes! 🙂
So the citrus acid from the lemon wont damage my scalp/hair at all???
The small amount of lemon juice shouldn’t be a problem, (I’ve personally been using this for over 10 years) but there’s no way I can give you a definitive answer because everyone reacts differently to different ingredients. I hope you enjoy the recipe! 🙂
Can you post a picture of your hair before and after using this gel and Conditioner?
Hi Sudha, while it might seem like a good idea to post a before and after pic, this gel works differently for each person so I don’t want it to be misleading. I hope you enjoy the recipe, and be sure to let me know how your experience goes! 🙂
This is the first time used gelatin for anything and OMG IT STINKS!!! My hair gel is setting now and I’m not going any
Gelatin shouldn’t stink a lot when you first make a product (however it can spoil over time), it has a fairly light smell when you first make something. In fact it’s so light, you’d have to put your nose right next to it to smell anything at all. I’m thinking there must be something wrong with the batch of gelatin you have, and I definitely wouldn’t use it! Regular store bought gelatin does work for this, but it doesn’t last as long as a higher quality gelatin like Great Lakes. I hope this helps, and be sure to let me know if you have any questions. 🙂
Hi Kari!
I literally found your post by way of so many links I wouldn’t attempt to count. ☺ I have natural curly hair that has such an attitude it hates everything I put on it especially gels with alcohol.
I’m going to put this recipe to the test and report back to you. I pray for amazing results!
I’m so glad you found us, and I hope this works for you! I’ve found a combination of this gel and a leave in conditioner works wonders for taming down the ‘wild’!
The best I have ever used is the GKhair gel for creating sculpted sleek, smooth style with long lasting strong hold. Generates best results when applied prior to blow drying. Amazing hair styling product. 🙂 <3
Thanks, I’ll have to check it out for when I need extra strong hold!
I happen to stumble upon your blog about 2 years ago and I still get excited when your email pops up in my email box. I am in love with all your recipes and I haven’t found one that I don’t enjoy, so thanks for your hard work. You can truly see you ❤️love❤️ what you do and again thanks! So this recipes is very cool, I have been making the gelatin hair gel for years now and I haven’t thought of adding extra ingredients to help with my hair. So anyhoo, the point of my comment is that you said that you had curly hair and I was tooling around with my recipes and I found a good spray “leave-in-conditioner”, so I thought I would share it with you.
6 tablespoons filtered water
6 tablespoons aloe vera
2 tablespoons rose water
1 tablespoon argan oil
5 drops rosemary essential oil
5 drops Ylang Ylang essential oil
I put it in a glass spray bottle. I use this after I have towel dried my hair and wowsers does it help with the curls and keeping them intact. I have found that I haven’t used my gelatin gel as much, just on my ends. Okay, now that I have talked your ears off I just thought you would like to try something a little different!
Thanks again for what you do….keeping my little butt healthy!!
Thank you so much for your kind words, and I’m so glad you’re enjoying the blog! I am beyond excited to try this leave in conditioner out because I like to use this hair gel in combination with a conditioner to make sure my curls stay moisturized, (I’ll let you know soon how it works out)!
This looks like an interesting recipe and I would love to try it. When you say “6 tablespoons aloe vera,” do you mean the juice or the gel?
I’m not sure if Stephanie meant gel, but since she said it’s a spray and leave in conditioner maybe aloe vera juice might combine better than gel? For my recipe I do mean aloe vera gel and I’ve just added that to the recipe to clarify.