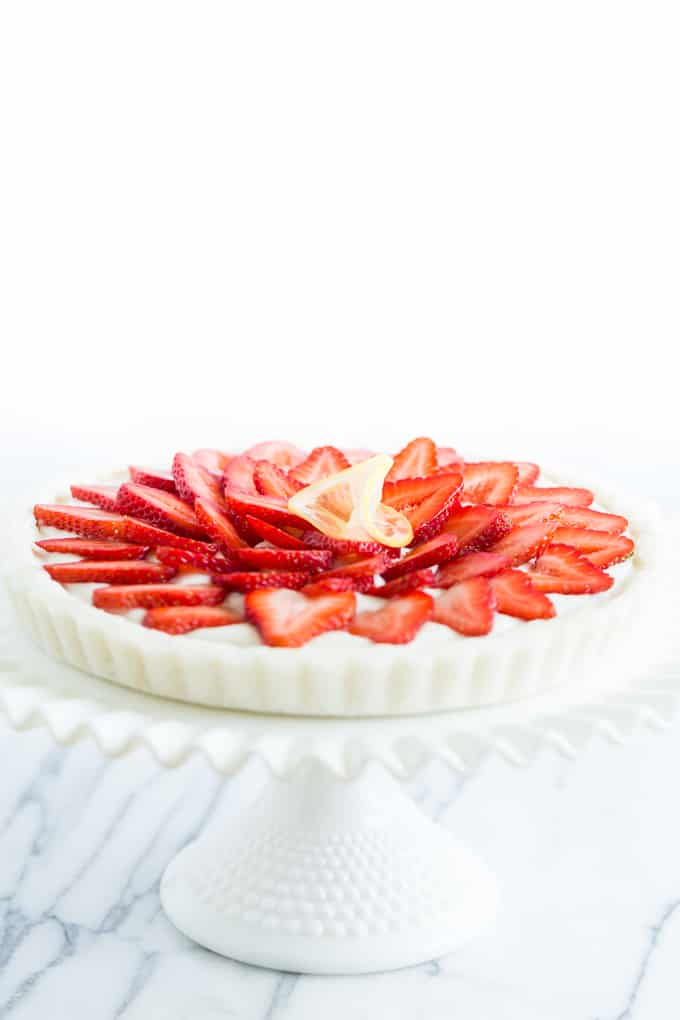
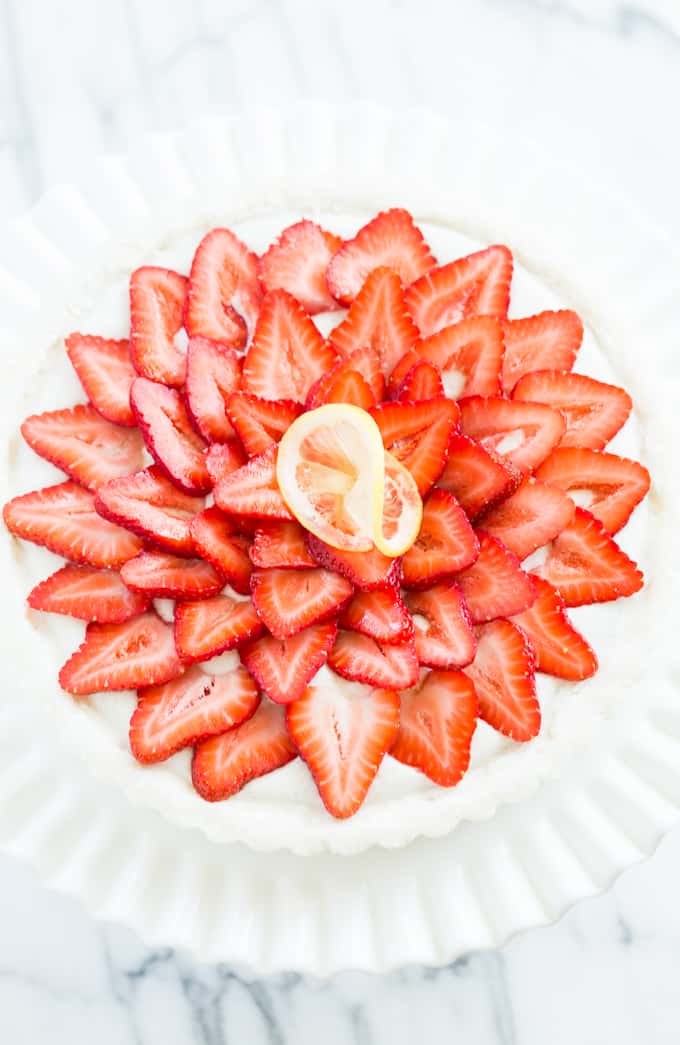
A creamy, slightly tart lemon filling fills a rich coconut crust, all topped off with fresh sweet berries! This is most definitely going to be my dessert of the summer for pinics, potlucks, and any other sort of occasion for that matter! It’s extremely easy to make, and on top of that it’s a no-bake dessert which is always a bonus in my book.
It’s rare in the whole foods world to find something pure white that isn’t processed, but coconut gives this a beautiful pristine white shade that had me thinking this would be perfect for bridal showers and baby showers alike. It’s super easy to customize according to color for the occasion as well, simply pick a fruit with the right color for your themed occasion.
The other thing I love about this dessert is I developed it to be allergy friendly on purpose (refined sugar free, dairy free, grain free, and nut free)! I used to think it was absolutely impossible to make a dessert that actually tastes like dessert once you start eliminating all the usual dessert suspects. I’ve been know to say on a number of occasions ‘dairy free, sugar free… = flavor free”. And… it does seem that often so called healthy desserts taste kinda bland and I’d rather just go without. But this is simply not the case when you get creative, and in this case super creative! It’s been a long process learning how to make healthier desserts that actually taste good, but the journey has been well worth it!
I got a request for a ‘cheesecake-like dessert’ a few months ago that would be dairy free and nut free, so in other words pretty much impossible! But I really gave it some thought, and while this is by no means a cheesecake, it has a pleasant tang and a creamy filling that has me completely addicted!
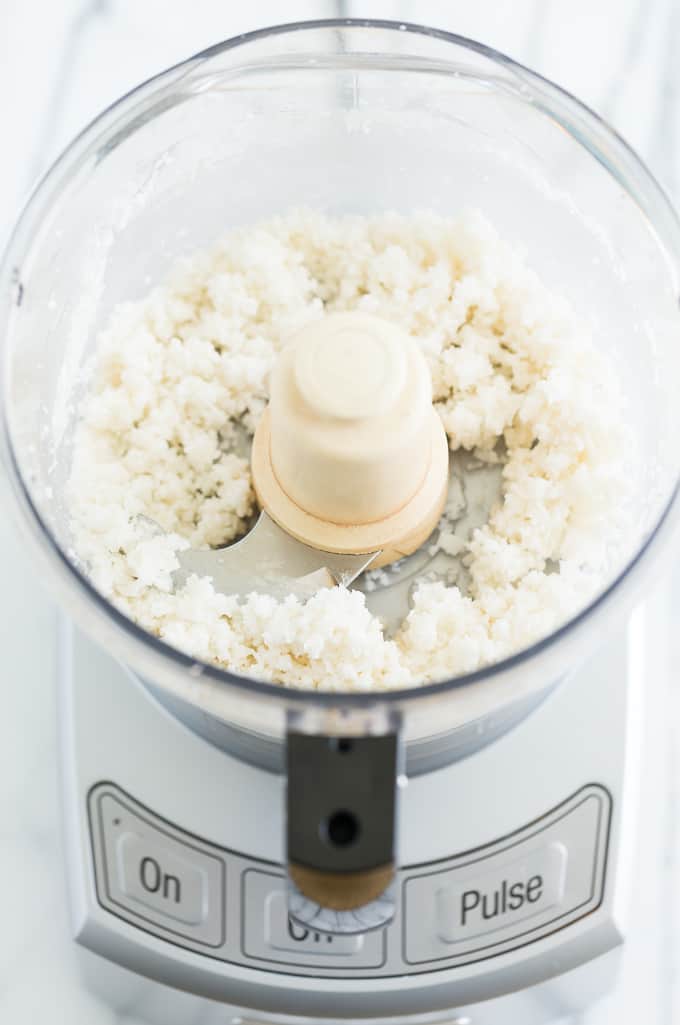
The crust for this dessert comes together really fast in the food processor. The food processor is your best friend when it comes to making healthier no-bake desserts.
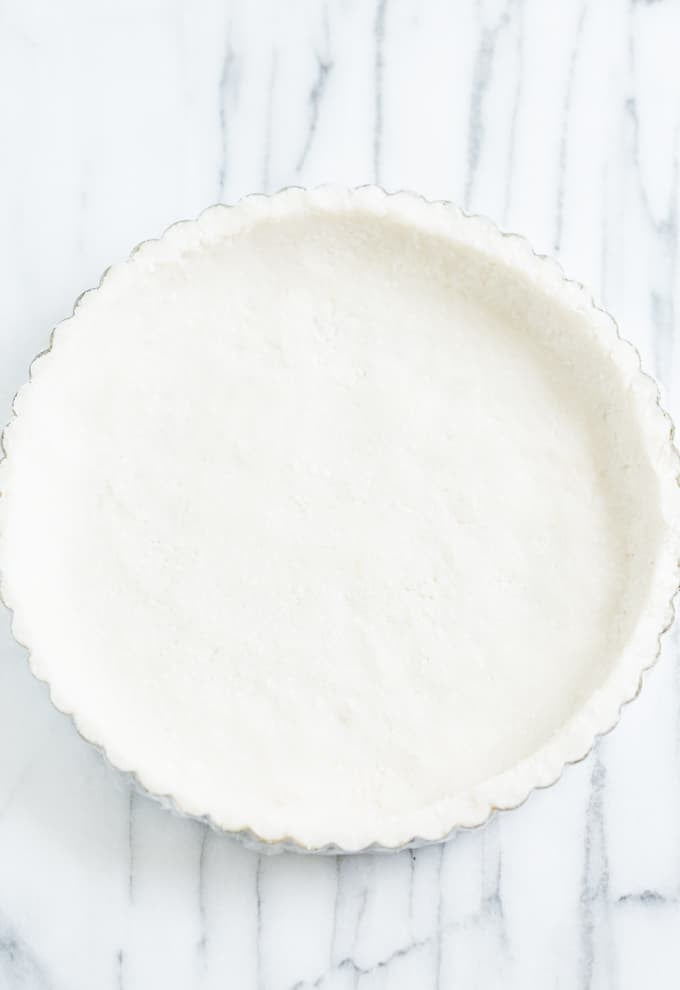
When I do coconut or nut based crust that are no-bake, I always line the tart pan with plastic wrap first. I’ve never had any success trying to get a crust out without the lining. You want to use a tart pan with a removable bottom so that you can easily remove the finished tart and place it on a serving plate or cake stand.
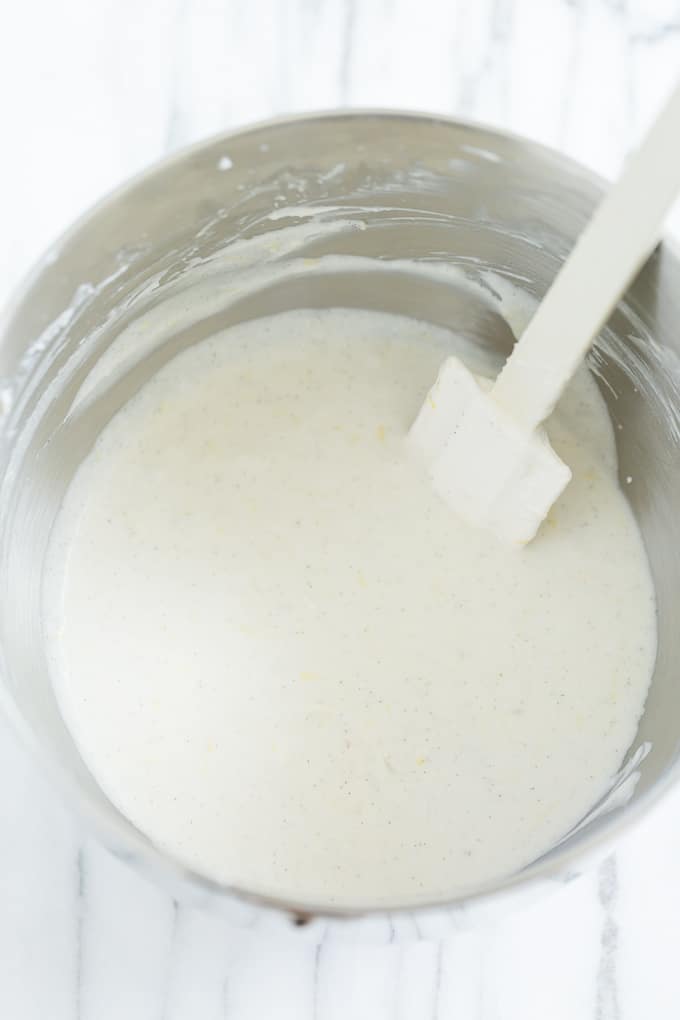
The filling starts with making a coconut whipped cream which will be thick and fluffy. After you add in the lemon juice it will look a bit looser, but don’t worry because the gelatin will thicken the filling right up during the refrigeration time!
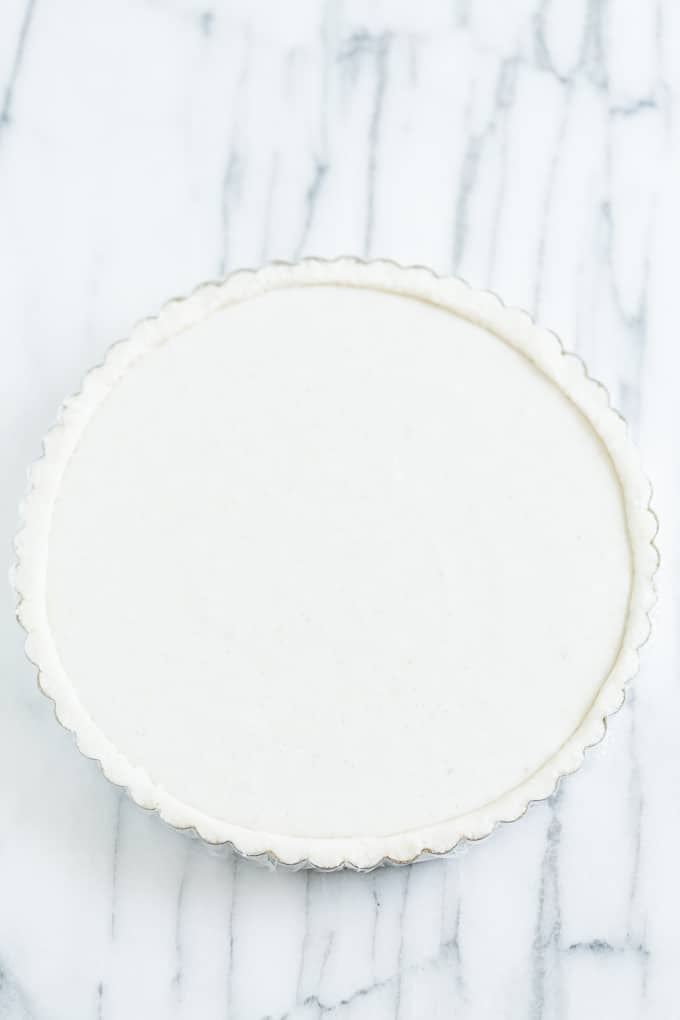
Next you pour the filling into the prepared crust and cover it with plastic wrap to refrigerate. It only needs 3-4 hours of refrigeration, but I find it’s easiest to make this dessert the day before and then just top it with berries right before serving.
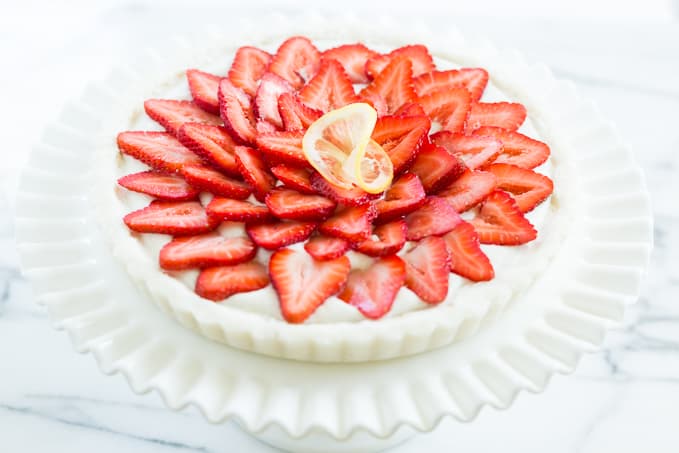
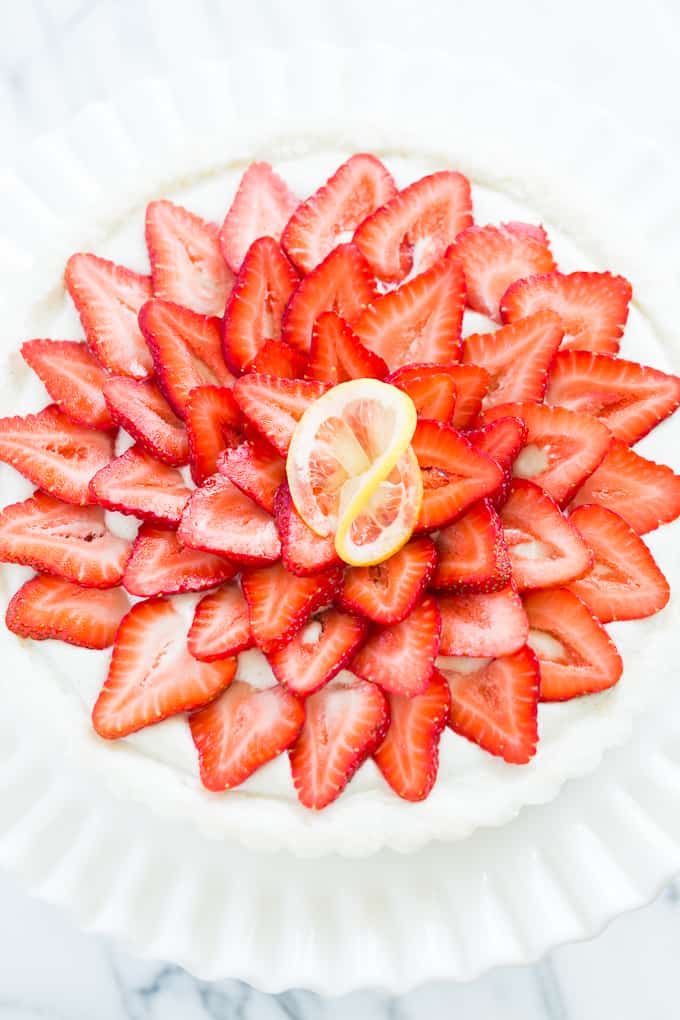
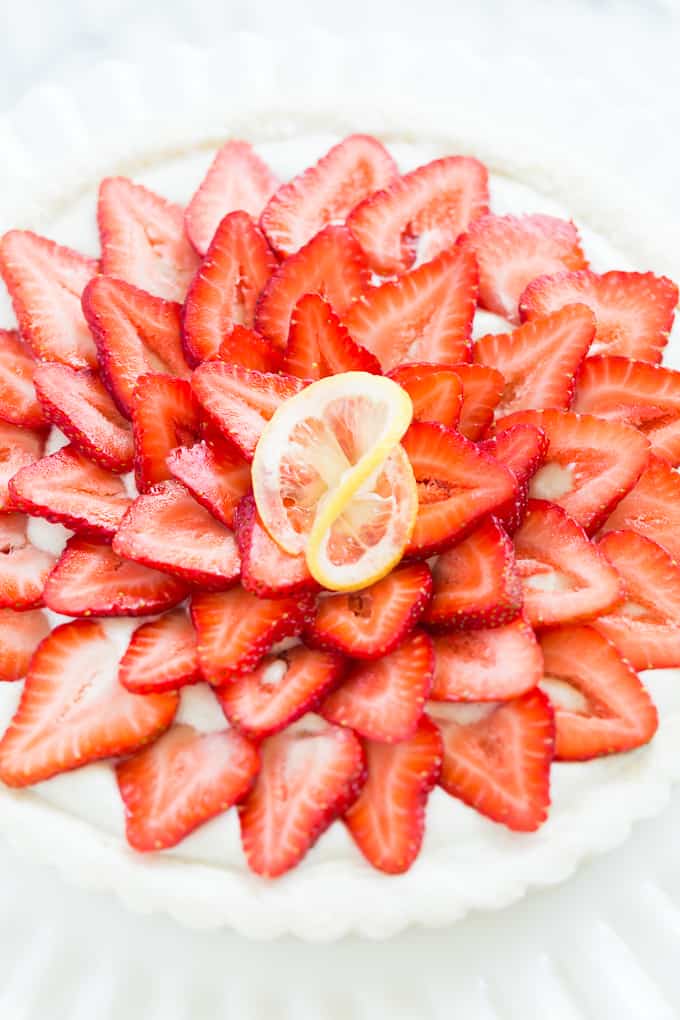
After chocolate and caramel (of course), lemon is one of my favorite flavors, especially in the summertime! Lemon pairs perfectly with strawberries, but it’s also perfect with every other berry, and it makes a great partner to perfectly ripe peaches as well!
Print
Lemon Cream Strawberry Tart
- Total Time: 30 mins
- Yield: 1 – 9” tart or 8–12 slices 1x
Ingredients
Coconut Crust:
- 4 cups big flake coconut, unsweetened
- 1/4 cup honey or Grade A maple syrup
- 1/4 Teaspoon sea salt
Lemon Cream Filling:
- 1/4 cup freshly squeezed lemon juice
- 2 Teaspoons gelatin, or a Vegan substitute of your choice
- 2 cups of coconut cream scooped from the top of 2 refrigerated cans of full fat coconut milk
- 1 vanilla bean, cut in half lengthwise
- 2 Tablespoons lemon zest, grated with a microplane grater
- 1/4 cup honey or Grade A maple syrup
Strawberry Topping:
- 1 1/2 pounds fresh strawberries, hulled and thinly sliced
Instructions
- Place all the ingredients for the coconut crust into a 12 cup food processor. Secure the lid and process just until the crust starts to come together, the honey will be mixed in and the crust will clump together.
- Line a 9″ tart pan with a removable bottom with plastic wrap. Using a spatula, scrape the coconut crust out of the food processor and start shaping the crust. Pat it out as evenly as you can with the spatula, and then use your hands to really even it out. Place the finished crust into the refrigerator while you make the filling.
- For the filling, start by sprinkling the gelatin over the lemon juice in a small bowl, and set it aside for at least 5 minutes to dissolve.
- Place the coconut cream into the bowl of a stand mixer, or a bowl big enough to use a hand held mixer. Using the point of a knife, scrape the vanilla bean seeds into the bowl with the coconut cream, and set the vanilla bean pods aside for another use like a smoothie.
- Add the lemon zest and honey to the bowl and turn the mixer on, starting on low speed and working up to high. Beat the coconut cream mixture for 10 minutes or until light and fluffy. Add the gelatin lemon juice mixture and turn the mixer back on just to combine. The filling will be a little different depending on which sweetener you use, but I’ve tried both and they both firm up after refrigeration so don’t worry if the filling seems a bit loose!
- Pour the filling into the prepared coconut crust, cover with plastic wrap and refrigerate 4 hours or overnight.
- When you’re ready to serve, remove the tart from the tart pan and tuck the plastic wrap under the removable bottom. Place the tart on a cake stand or serving platter and arrange the strawberries in circles around the top. You can garnish with a thin lemon slice too if you’d like!
- Serve immediately after topping the tart with the berries!
- This tart is best cold and both the filling and the crust will get progressively softer as they sit at room temperature. You can keep the tart for up to 3 days in the refrigerator before serving it if you’d like.
Notes
When you refrigerate coconut milk, the coconut cream rises to the top and hardens, from there you just need to scoop it out! I like to use the Native Forest brand because they’re the most consistent of all the brands I have available.
If your honey is really thick or you’re using raw honey, you may need to warm it up slightly before adding it to the filling, otherwise could clump.
- Prep Time: 30 mins

please forgive my ignorance – I never cooked with gelatin. Anything in particular to look for? Is there a brand you recommend?
I love the Great Lakes Gelatin Company and I’ll include the link below. They’re a high quality gelatin, (although not Vegan or Vegetarian) and I’ve found their product to be far superior to the supermarket brands, especially for making my DIY Lemon Hair Gel. Their gelatin seems to have the perfect amount of set for desserts and it lasts 3x longer than supermarket brands in my hair gel recipe. I hope you enjoy the recipe, and be sure to let me know if you have anymore questions!
http://www.greatlakesgelatin.com/