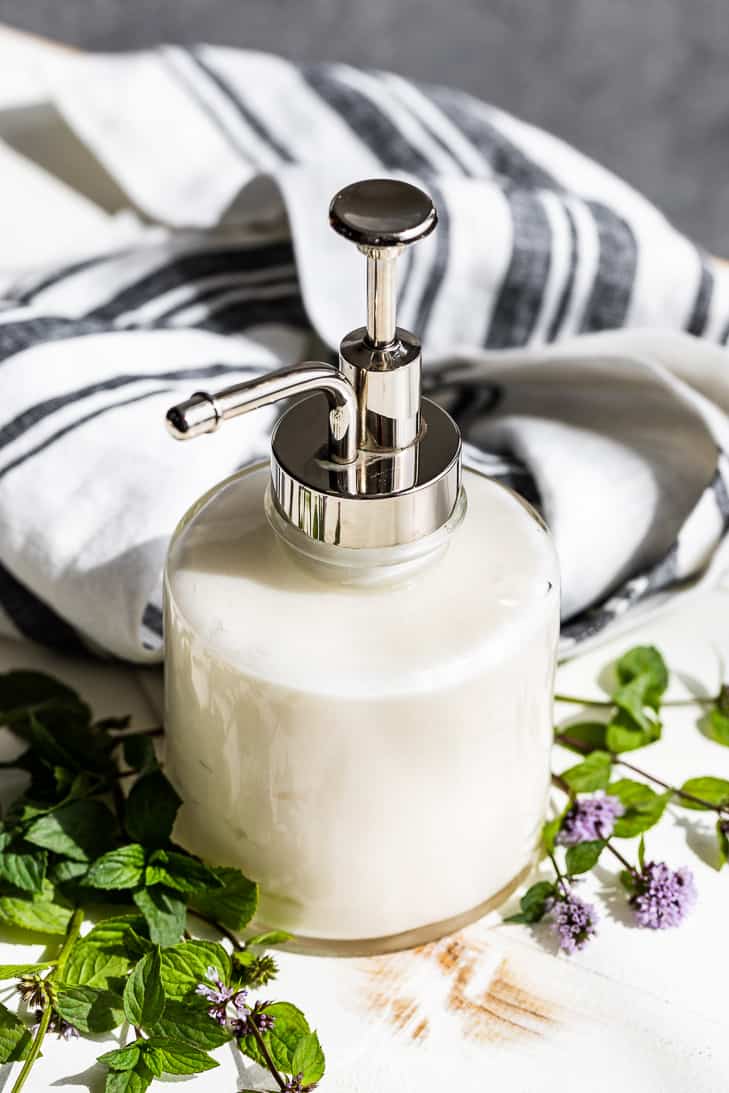
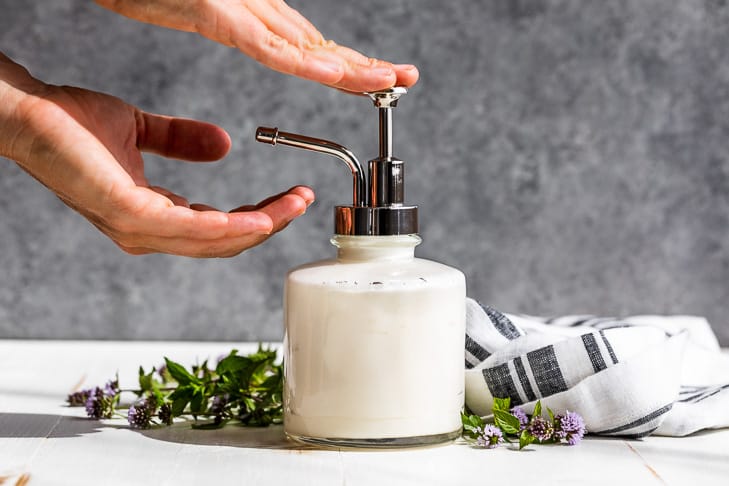
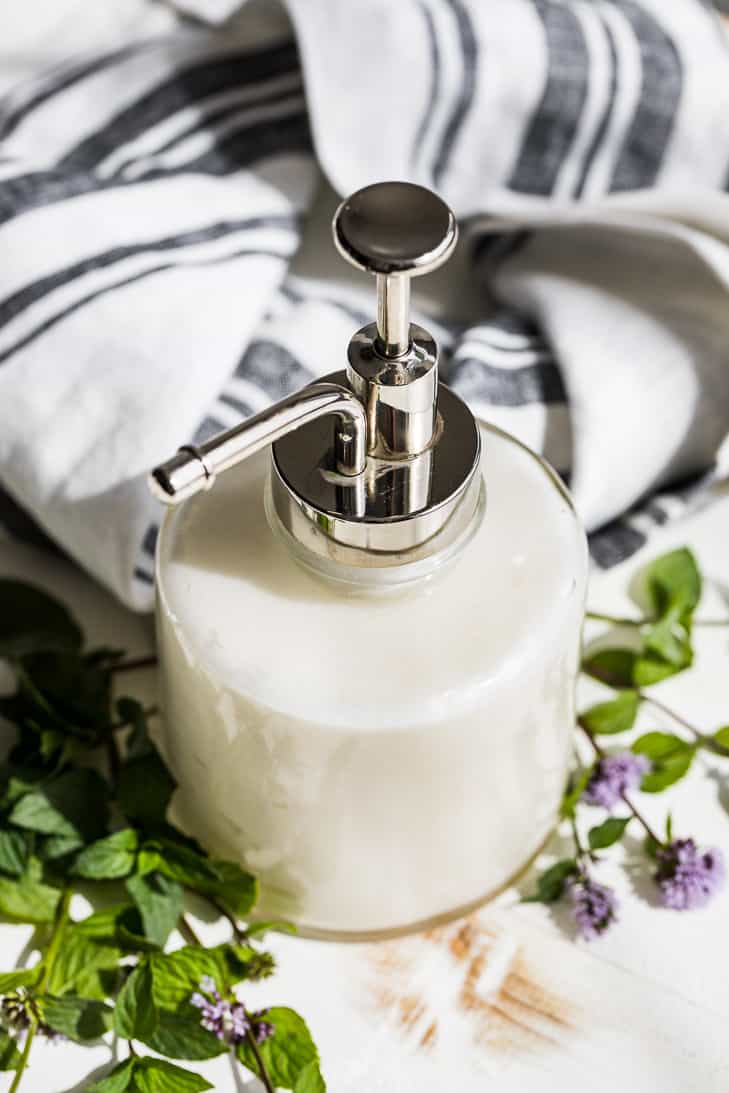
This Cooling Aloe Mint Lotion is my most popular lotion recipe for a good reason, it’s so moisturizing! It’s all thanks to a lot of aloe vera gel for hydrating combined with coconut oil for conditioning and moisturizing the skin. It’s an easy to make DIY that you can customize by changing up the essential oil to suit different seasons. This homemade lotion is easily absorbable with so much aloe vera in it, and keeps my skin nice and smooth.
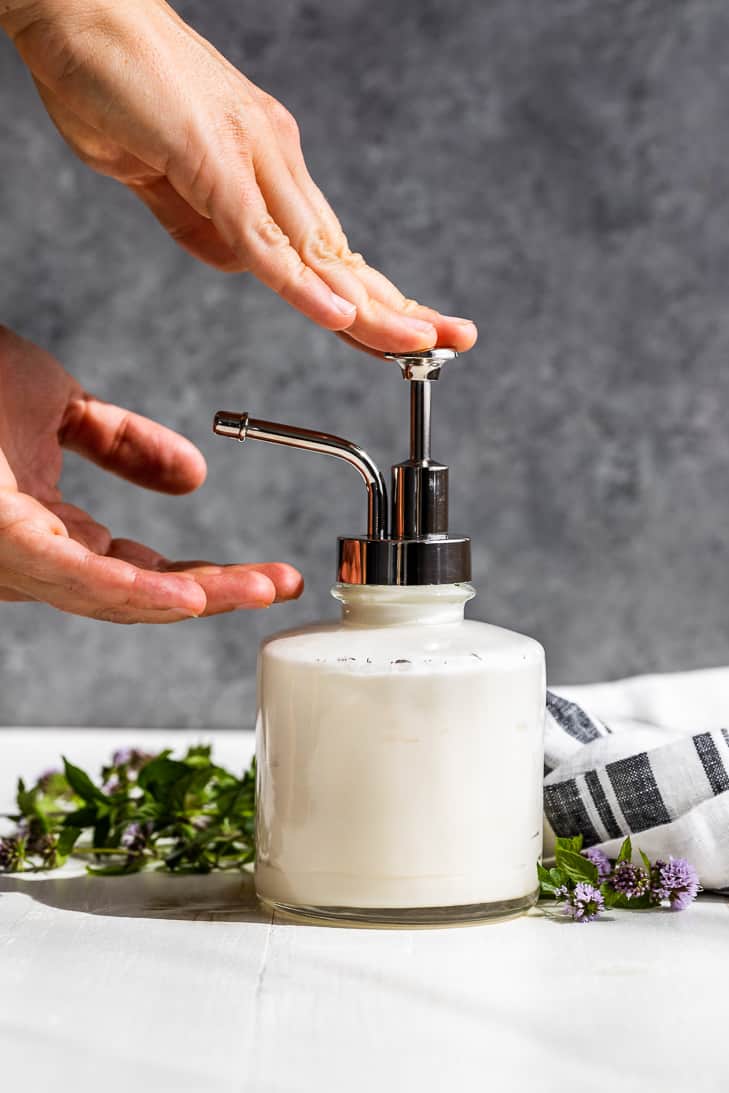
This lotion is perfect for summertime, or after excercising because of the ‘cooling effect’ from the aloe and mint. It’s particularly awesome after a long day on your feet. And I really love it massaged into my legs and feet after a day hiking in the mountains. With warmer temperatures, I like to use a light moisturizer, and the cooling effect is an added bonus.
I use straight coconut oil as a moisturizer year round. But sometimes I just need a little moisturizing, not the full coconut conditioning. The 50:50 ratio of coconut oil to aloe vera in this recipe has been the perfect amount, with just enough moisturizing. It sinks right into my skin, leaving a smooth non-greasy surface.
Ingredients for this Cooling Aloe Mint Lotion:
- Beeswax – I have a giant block of beeswax I’m still using up. But if you’re looking to buy beeswax I most definitely recommend getting some beeswax pellets so you don’t have to bother with grating it. However the most accurate way to use beeswax pellets is to measure by weight. So if you don’t have a scale, consider grating your beeswax instead.
- Coconut Oil – makes the perfect lightweight and easily absorbable oil to use in this lotion. And because it’s solid at room temperature it helps to thicken up the lotion as well.
- Aloe Vera Gel – I use bottled aloe vera gel, (the Desert Lily brand) because fresh aloe vera spoils too quickly to put into a lotion.
- Peppermint Essential Oil – adds to the cooling feeling of this lotion, but feel free to omit the essential oil for an unscented lotion. Or you can use any essential oil you like the smell of that works for you.
Tip: to get the beeswax off your grater, pour boiling water over the surface and watch it melt away. Or buy beeswax pellets for the easiest DIY projects!
How to make Cooling Aloe Mint Lotion:
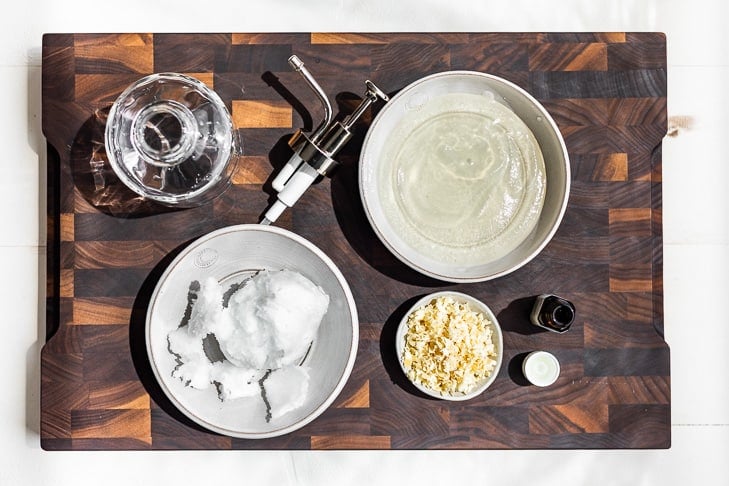
I like to have all of my ingredients ready to go before I start. That way, when the beeswax has melted into the oil, you’re ready to whisk in the aloe vera.
There are a couple key points to this lotion:
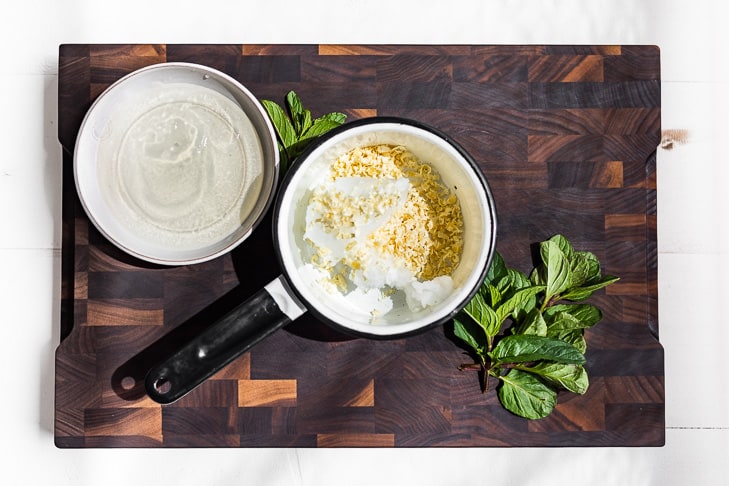
- It’s very important to make sure the beeswax has completely melted into the coconut oil, with no flecks remaining. If it’s not completely melted, the lotion won’t emulsify properly. And there will be little gritty pieces of beeswax in the finished product as well.
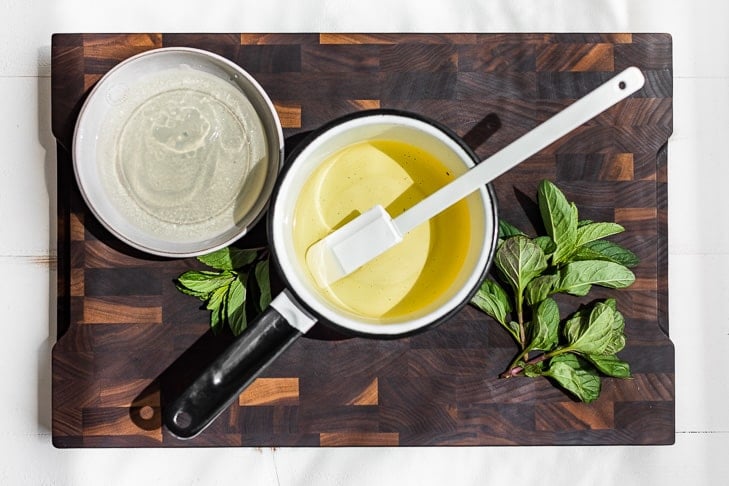
2. The aloe vera gel must be at room temperature. If you put it into the hot oil/wax mixture straight from the refrigerator, the mixture might not emulsify. Instead you might end up with clumps. Also if you add cold liquid to hot oil it can splatter. So it’s best to keep the oil mixture as cool as possible when melting the beeswax, (pictured above). Just warm it enough to melt, but don’t let it get super hot.
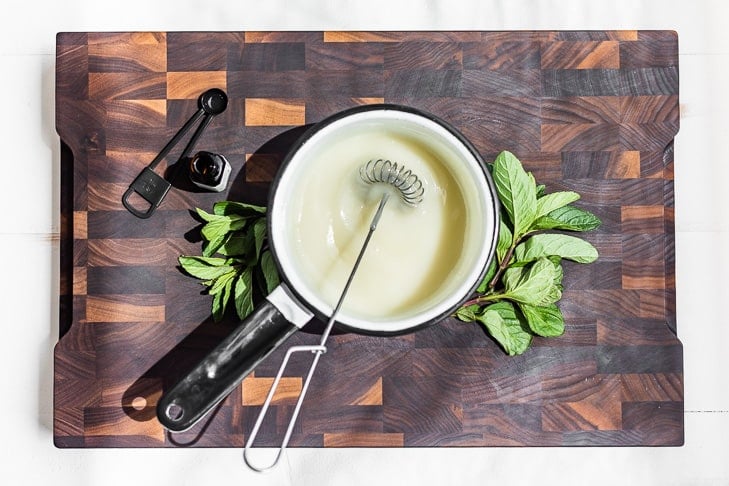
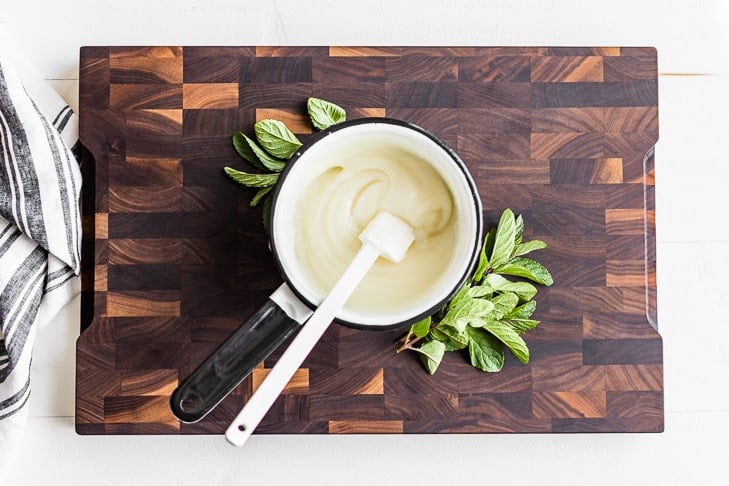
This mixture will look too thin at first, (above photo). But it thickens up as it cools (photo below). I like to blend mine on the lower settings of the blender to make it fluffier. Also, it sometimes separates as it cools if it hasn’t been properly emulsified.
If this happens running it for a few seconds on low in the blender has always made it stable for me. Once it’s fully cooled, I haven’t had it separate. You can also lightly warm the mixture and whisk thoroughly to emulsify if it didn’t come together the first time.
The cooling process can take 2-4 hours depending on your room temperature. It’s really best not to rush this process because by cooling down slowly the lotion becomes more stable. I’ve also put the lotion over an ice bath and stirred it vigorously until it thickens.
But if you keep it over the ice water too long, it will harden and separate, (so it really is best just to let it sit on the counter for a couple of hours). It’s not worth the hassle to speed up the cooling process all in all!
This is one of my most popular DIY recipes, and I hope all the extra tips I’ve added today will help you be successful in making your own lotion. Once you get the hang of it, it’s actually quite easy, and only takes a few minutes to whip up.
The reason this lotion needs a little extra care and attention is the large ratio of water to oil, which makes it less stable than normal lotions. This is also the reason it’s such a great summertime lotion though! If you’re looking for an easier first time project, try my Lavender Sugar Scrub, or my Easy Buttercream Lotion.
At home spa day inspiration:
- Refreshing Peppermint Sugar Scrub
- Moisturizing Mint Body Wash
- At Home Facial
- Finish with this lotion!
Cooling Aloe Mint Lotion
- Total Time: 15 mins
- Yield: 1 cup 1x
Description
This Cooling Aloe Mint Lotion is my most popular lotion recipe for a good reason, it’s so moisturizing! It’s all thanks to a lot of aloe vera gel for hydrating combined with coconut oil for conditioning and moisturizing the skin. It’s and easy to make DIY that you can customize by changing up the essential oil to suit different seasons. This homemade lotion is easily absorbable with so much aloe vera in it and keeps my skin nice and smooth.
Ingredients
1/4 cup grated beeswax, 11 grams
1/2 cup coconut oil, 122 grams
1/2 cup aloe vera gel, 122 grams, room temperature
1/8 Teaspoon peppermint essential oil
Instructions
Place the beeswax and coconut oil in a saucepan over low heat. Heat just until just melted with no remaining flecks of beeswax.
Try to keep the temperature as low as possible to preserve the benefits the of coconut oil.
Remove the oil mixture from the heat, and hand whisk in the room temperature aloe vera gel and peppermint essential oil until it’s thoroughly combined.
Let the lotion cool to room temperature, about 2-4 hours. Whisk again, or place in the blender and blend at a medium speed for about 30 seconds for a fluffier version.
Notes
This lotion will naturally become thicker and more solid over time, as some of the aloe vera slowly evaporates.
- Prep Time: 10 mins
- Cook Time: 5 mins
- Category: DIY
- Method: Whisking
This recipe has been updated with new photos, step by step process, and more tips and additional information in 2021.
Hi Dear
Give me Cooling Aloe-Mint Body Lotion ingredients in 100 Gram.
Thanks
Hi Furqan, I’m sorry but I don’t have the gram measurements for anything besides the beeswax where it needs to be very precise!
Looking to do something like this for my Wife, and I’m curious how long it stays good for?
I’ve had it for as long as 6 weeks during the summer months, (which are admittedly not that hot here) and it kept really well!
Hi,
I am just wondering would I be able to add menthol crystals to this? Was recommended to get a menthol type cooling cream for my feet and I like the sound of this recipe.
Thanks
Lisa
I think you can add menthol crystals to this lotion although I don’t know how much you would use. I’ve heard a little goes a long ways, and you would put them in after you melt the beeswax and coconut oil together and have removed it from the heat. Make sure they’re dissolved before continuing. I hope this helps and be sure and let me know how it goes or if you have anymore questions!
I have just made this recipe, I used vegan wax pellets instead of beeswax. The formula looks lumpy even though I’ve used an electric whisk on it. I’m hoping it’s just because the mixture isn’t cool enough. Anoyone else have this issue if so how did you resolve it?
Not sure exactly what kind of wax makes up the vegan wax pellets you used, but after a little reading, it seems as though they’re not suitable for a 1:1 ratio to sub in for beeswax. I’m not sure if this is why it’s lumpy, but I would try doing a Google search for whatever kind of wax you have to see what the ratio might be to use it in place of beeswax. I sure hope this helps!
I love making cooling lotions like this one. Great recipe!
I use that brand of aloe vera as well, when I don’t have the time to
cut + scrape the gel from one of my plants! Thanks Kari!
I’m with you on that one, I only use my fresh aloe straight on my skin because that’s the easiest way!
Great Recipe. Thanks for sharing!!
So glad to hear you enjoyed it! 🙂
What is the shelf life of this lotion?
Mine has always kept well for 1-2 months, although it does get thicker over time due to evaporation.
Hello! how much lotion does this make?
I am making a large batch to fill 60 – 8 oz jars – and i wasnt sure how many batches id need to make for that
Chelsea
It makes around 1 cup which would should fill about 1 of your jars. I can’t give you and exact number since I’ve never made that many before myself, but I hope it works out for you!
Apply at the end of the day. If massaged into the legs will give an immediate refreshing effect due to peppermint essential oil. Can’t wait to make this.
That’s definitely my favorite way to use this, especially at the end of a hot summers day!
hi
fresh aloe gel needs to in the fridge and last only 1 week. with the bees wax does it last longer? and does it need to be in the fridge?
can I use fresh bees wax that still has a little honey on it?
thank you for your time and help.
I haven’t made this lotion with either fresh aloe or fresh beeswax so I couldn’t say how it would work or how long it would last. The only thing I do know is like you mentioned about fresh aloe that fresh things don’t keep long so I would keep the lotion in the fridge and I’m really not sure how long it would last. Sorry I couldn’t be of more help, but I hope you’ll let me know how it goes if you decide to try it out!
Great recipe! I’d like to see weights on all of the ingredients since cups aren’t very precise or universal. Thanks~
Thanks so much for letting me know, I’ve been moving more towards weight measurements for that reason. I’ll add this one to my list to retest!
This recipe is great! I added a mix of mint and eucalyptus essential oils. But after 2-3 days, my lotion started to separate and get watery. I left it in a jar at room temperature, away from direct sunlight so I don’t think it was an issue with the heat or the cold. Any way I can fix this and blend it back together?
It sounds like there might have been a problem with the emulsion. I have left mine in the sun and when it separate, I lightly heated it up, then blended it up in the blender. It turned out nice and fluffy, so I hope it will work for you. Just be aware before you put this in your blender that you’ll need boiling water to clean the blender to make sure the wax residue comes off. I sure hope this helps, and be sure and let me know if you have anymore questions!