I haven’t had the best luck with facial scrubs as they tend to irritate my super sensitive skin. However anytime you exfoliate, your face is going to look better without several layers of dead skin dulling your complexion.
Luckily I’ve found baking soda to be very effective for several reasons; for one it’s really easy to always have on hand and secondly, it exfoliates without irritating my skin.
Some of the coarser textured scrubs I’ve tried like cornmeal have irritated my skin, a little and so I found myself avoiding them. However, not exfoliating leaves a buildup, and I always notice my skin doesn’t look as good over time with all the playing outdoors.
After many years, (over a decade now) of experimentation I’ve found 3 facial treatments I rotate between from week to week. First up my everyday go-to treatment is the Oil Cleansing Method which is lightly exfoliating and perfectly moisturizing. Secondly to this treatment, I use both this Baking Soda Exfoliation and my Pineapple Facial 1-2x per week to keep my skin glowing without any buildup.
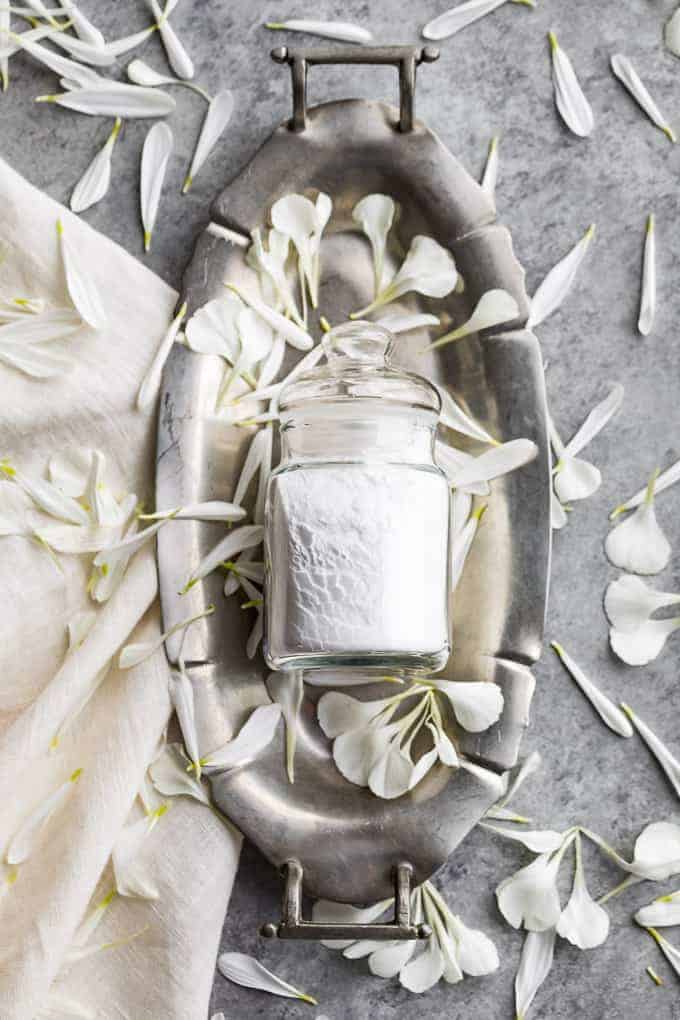
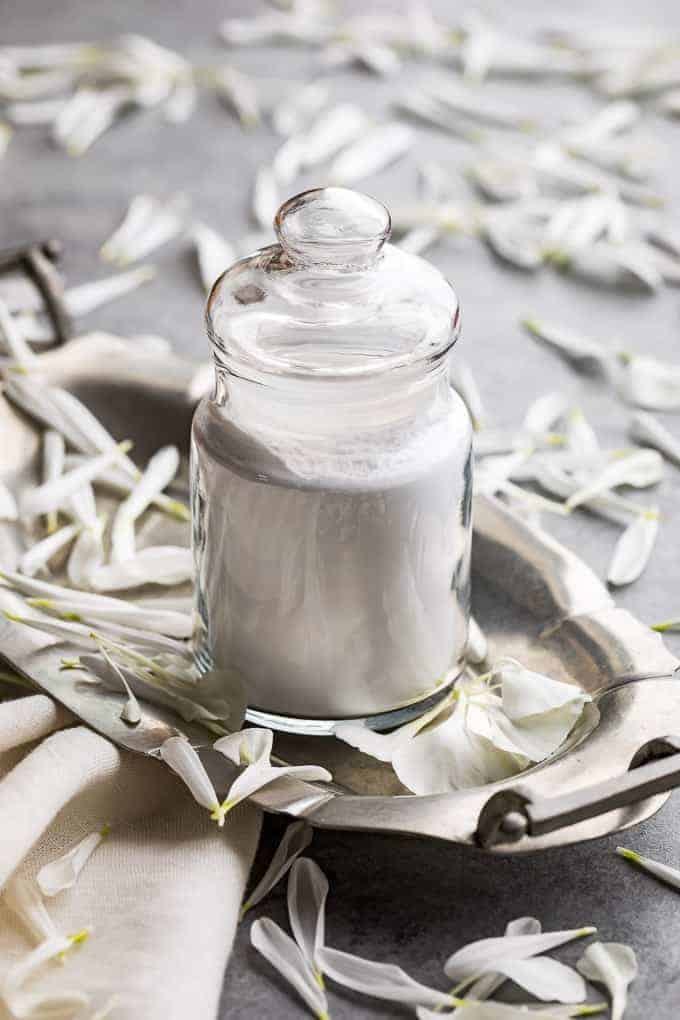
DIY Baking Soda Exfoliation
What to do:
Place a tablespoon or so of baking soda in the palm of your hand, add a little water to make a loose paste and begin to massage into your skin with gentle circular motions (don’t rub hard or ‘scrub’ vigorously you don’t want to damage your skin). You only want to rid yourself of the outermost layer of dead skin, and never to damage the new layer underneath. This process should never hurt, if it’s hurting try using less pressure.
Tip: Use your ring finger on the delicate skin closer to your eye, (in the cheekbone area).
As always, if you notice any discomfort rinse off immediately. Facial treatments are an individual thing so you can always try this on your hands first to see how you might react. I know a few people who use this now and no one has had any problems, but it is always good to proceed with caution.

And finally one last tip: baking soda is by far my favorite of these treatments to travel with because it’s the easiest. Let’s face it, traveling with fresh pineapple isn’t going to happen, and depending on how confident you feel about your container, the oil you need to oil cleansing could be a potential disaster in your suitcase!
I love this for my face, I have very sensitive skin as well as uneven tone. But it does brighten my face and makes it so soft!!!! I’m mixed black and white .
I’m so glad to hear you’ve been liking this facial treatment! Since you have sensitive skin, you might like my Pineapple Facial as well since it exfoliates without any kind of abrasion and it’s great for evening out skin tone. 🙂
Hi there I am so excited I found your blog page, I really found you
by accident, while I was browsing on Bing for something else,
Nonetheless I am here now and would just like to say thanks for a incredible post and
a all round entertaining blog (I also love the theme/design), I don’t have time to read
through it all at the moment but I have bookmarked it and also added in your RSS feeds, so when I have time I will be back to
read more, Please do keep up the fantastic job.
Thanks so much Rolando, I hope you enjoy the recipes and posts! 🙂
I’ve never thought of using Baking Soda as an exfoliator before because of how harsh and rough it is! However after reading your method I probably will give it a go! Cheers
Facial scrubs including baking soda are only rough if you use too much pressure! Be sure to be extra gentle the first time around until you get the hang of it! 🙂
Coconut oil is comedogenic – much like olive oil and lanolin so if you suffer with blocked pores already – anything from blackheads to full blown acne this oil is not for you. I have sensitive blocked skin and only use two products. Cosmedix Benefit Cleanser and macadamia nut oil. It is light and very close to the natural sebums in your skin and it also absorbed. Apricot Kernel is the best for blocked skin but I find it to be a bit greasy in summer. Good Luck.
Jojoba oil is also a good choice because it’s very similar to that of our own skin. I think you might like it, it’s very light and might work for you in the summer months! 🙂
Hi =) how much coconut oil do you put on your skin as a moisturizer? Even though ive had big issues eith using coconut oil anywhere from chest up, I tested coconut oil yet again on my VERY troubled skin (if you can name it, I’ve got it!), and I found that it drastically reduced old and recent scarring and made me look ten yrs younger. BUT I cannot leave it on my skin….I have to do the steamy washcloth, followed by some sort of oatmeal scrub or mask. Then i use jojoba at night. So perplexed as to why some people’s skin loves Coc oil and others like me have issues.
Anyway, it also purged the heck out of my pores after a good 5 minute facial massage. WoW! Im going 5o stick with it and see if maybe us “troubled skin” folks really just need to give Coco oil a longer chance and let skin keep purging. Just maybe dont leave it on if youre concerned with clogging =)
I use just a small amount (maybe 1/2 Teaspoon) for my face and neck area at night. It’s too bad you have troubles with coconut oil, I think it’s really strange how it works so good for some but not other. I’ve started using argan oil again for moisturizing and oil cleansing along with my coconut oil. It’s really moisturizing, and maybe it would work better for you! 🙂
I have heard of the benefits of baking soda and really need to try this one out. But is it good to put under eyes? There is very sensitive skin.
You definitely don’t want to get too close to your eyes, or rub too hard because it can damage your skin. I lightly/gently rub the area at the top of my cheek bones with my ring finger (your ring finger is the best for the eye area because it’s the weakest) for a light exfoliation.
Your site is great! I really like the all-natural beauty sections (I’ve been all “green” for some time now)… I have just been wondering, has the Coconut Oil Cleansing and Moisturizing recipe been uploaded yet?
Greetings from Greece 🙂
The Oil Cleansing Method is in the beauty category – it will also come up from the search bar. I don’t talk about coconut oil in particular because a lot of people have problems with it. I use it myself and also the other kinds of oils that I talk about in the post.
I like to use baking soda instead of shampoo. Mix a heaping tablespoon in 8 ounces of water and pour on to scalp. Rub it in and down you hair. Rinse. You can follow with a vinegar rise. It is a great way to say goodbye to dandruff. Never mind it is super cheap and it does a great job.
I wonder what it would be like to “flavor” the vinegar with lemon or orange peels.
I bet butter chicken in in our near future dinner plans.
Excellent use for baking soda! I’m excited to try it! I use baking soda for lots of things too…I especially like to use it for mouth wash.
That’s a good idea, I’ll have to try it out!
I almost always do baking soda first then pineapple facial, whatever is easier at the time, both ways work awesome.
I use baking soda as the best ever cleaner for stains on your counter top. I used to use bleach when it got bad a couple times a year, but now i just use baking soda and enough water to wet a rag and I don’t have to worry about wearing gloves, yeah 🙂 and I get a hand scrub in the process!