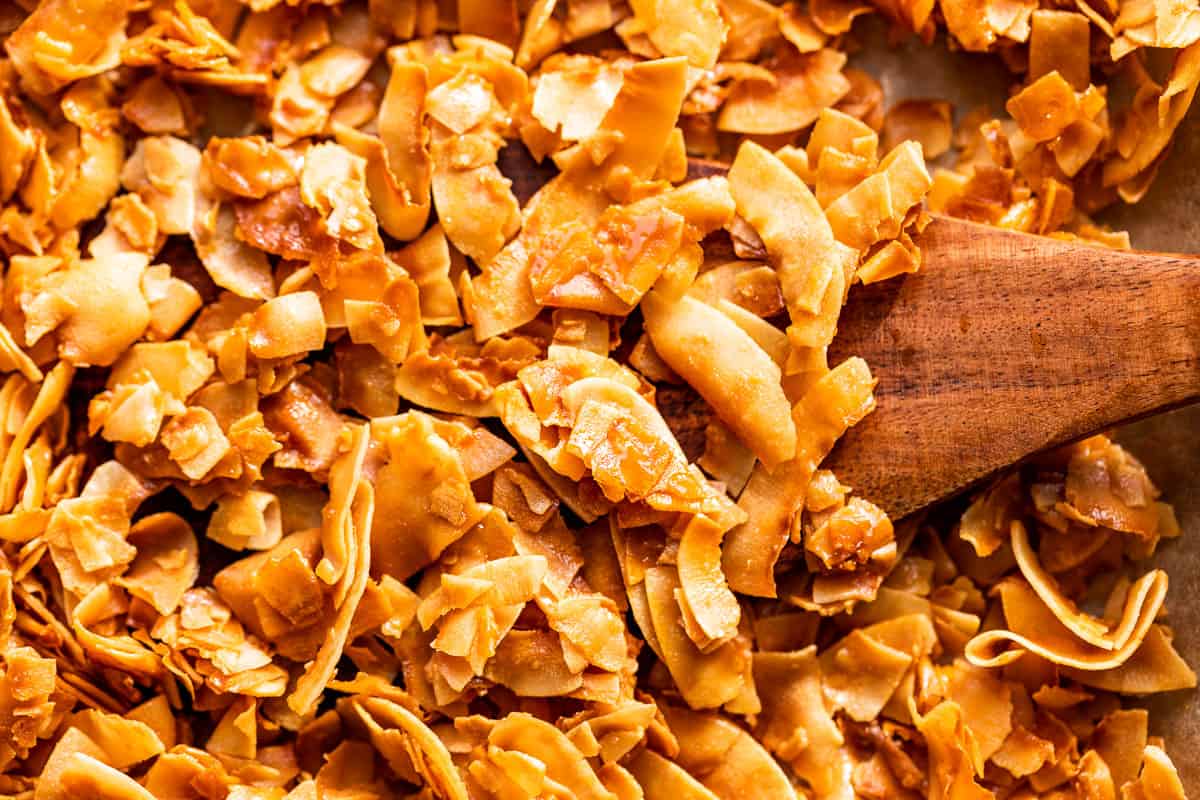
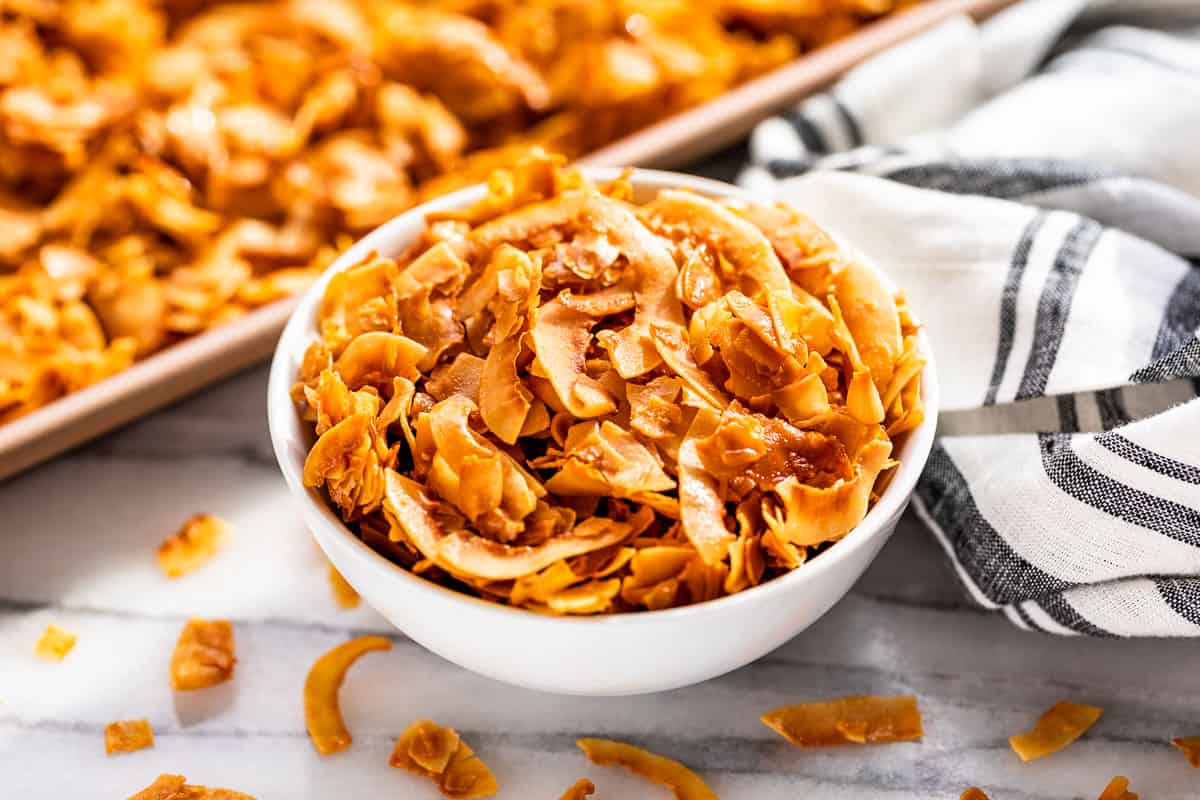
Caramelized and with a hint of sea salt, these Coconut Chips make an incredibly tasty snack! They’re easy to make and so much cheaper than store-bought. Besides being budget-friendly, this recipe allows you to add less sweetener for less overall sugar. These coconut chips are a simple homemade version of the Dang coconut chips that are sure to impress both adults and kids. These also keep really well at room temperature for at least a month for quick grab-and-go snacking.
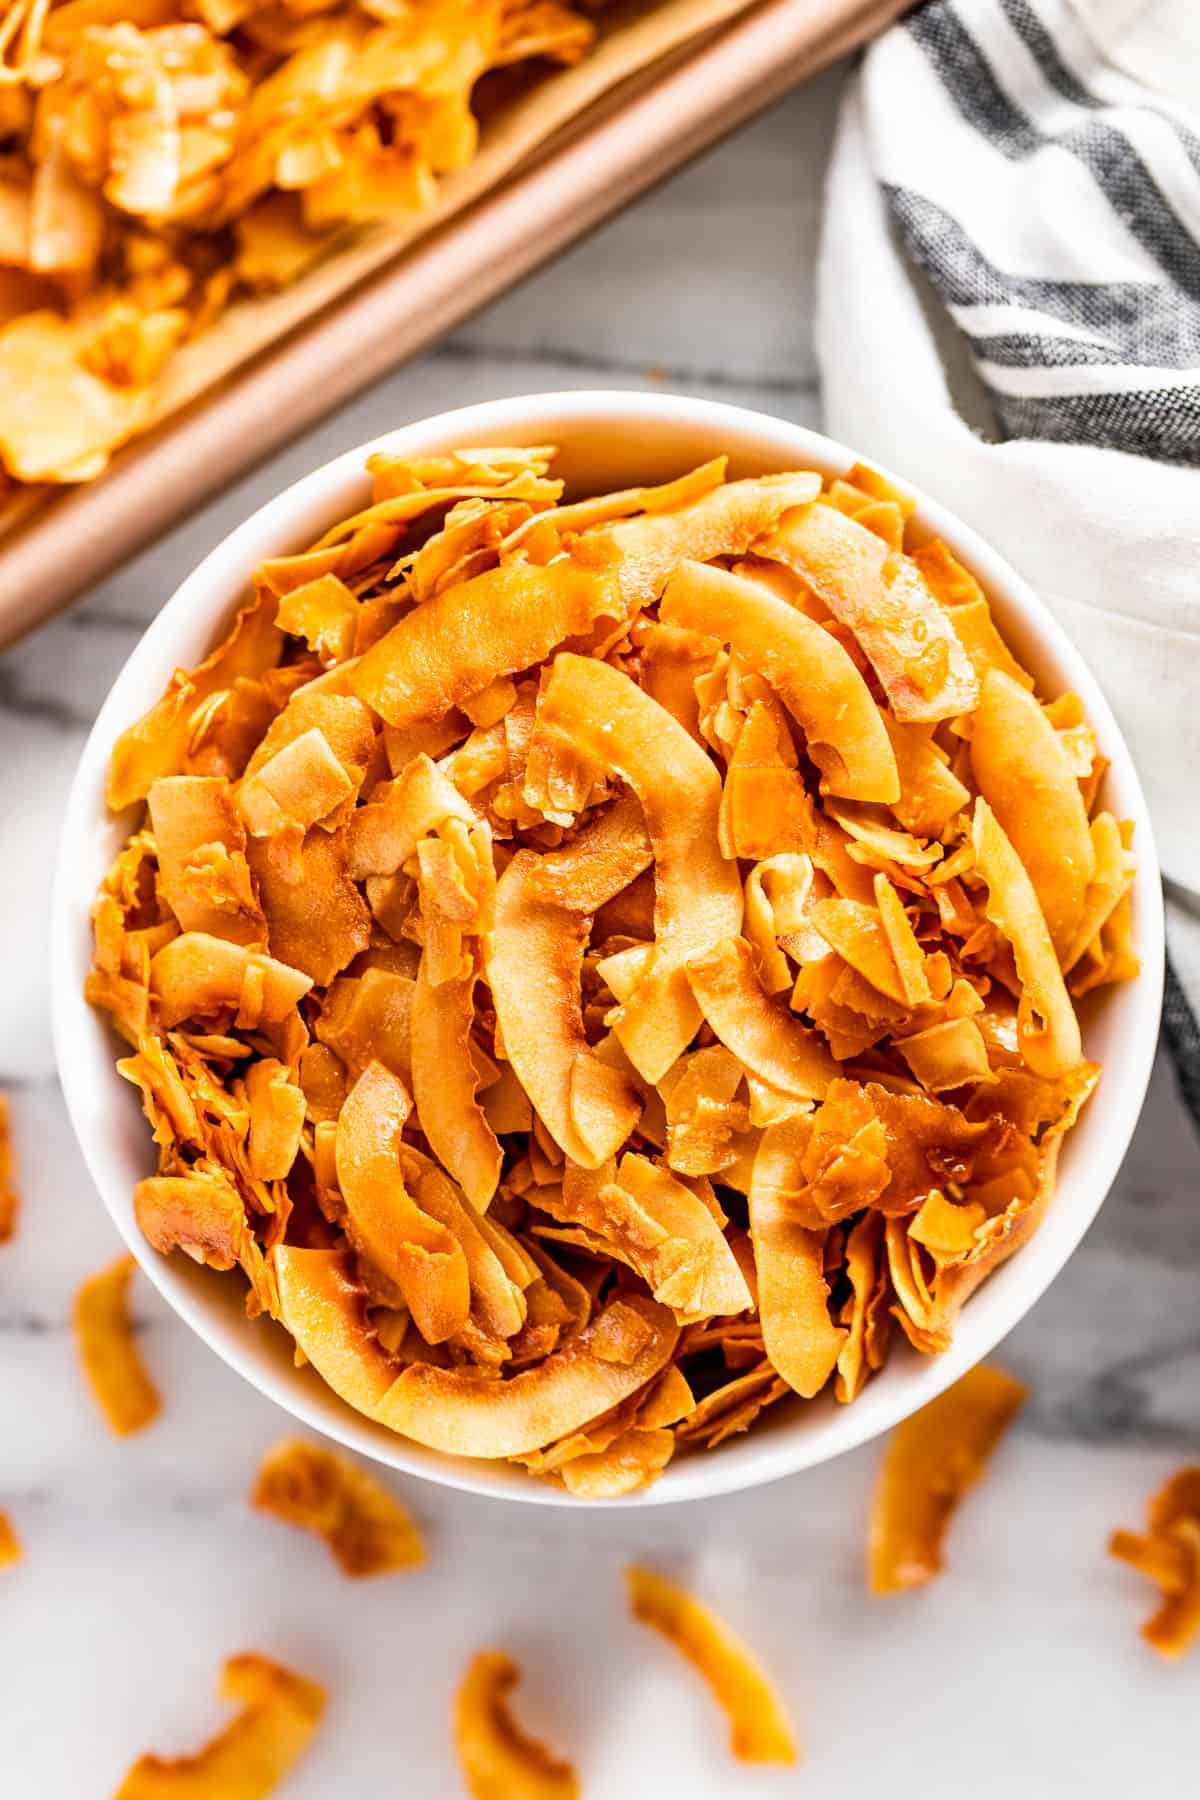
Crunchy caramel-flavored coconut chips are pretty popular and one bite will tell you exactly why. These coconut chips are so easy to make and perfect for all your snacking needs. They’re also naturally gluten-free & dairy-free too.
We love taking them with us on all our hikes and traveling adventures. But they’re equally good for a regular workday snack. We’ve also taken to sprinkling them over the top of my overnight oats as well to add some crunch.
Ingredients & Substitutions
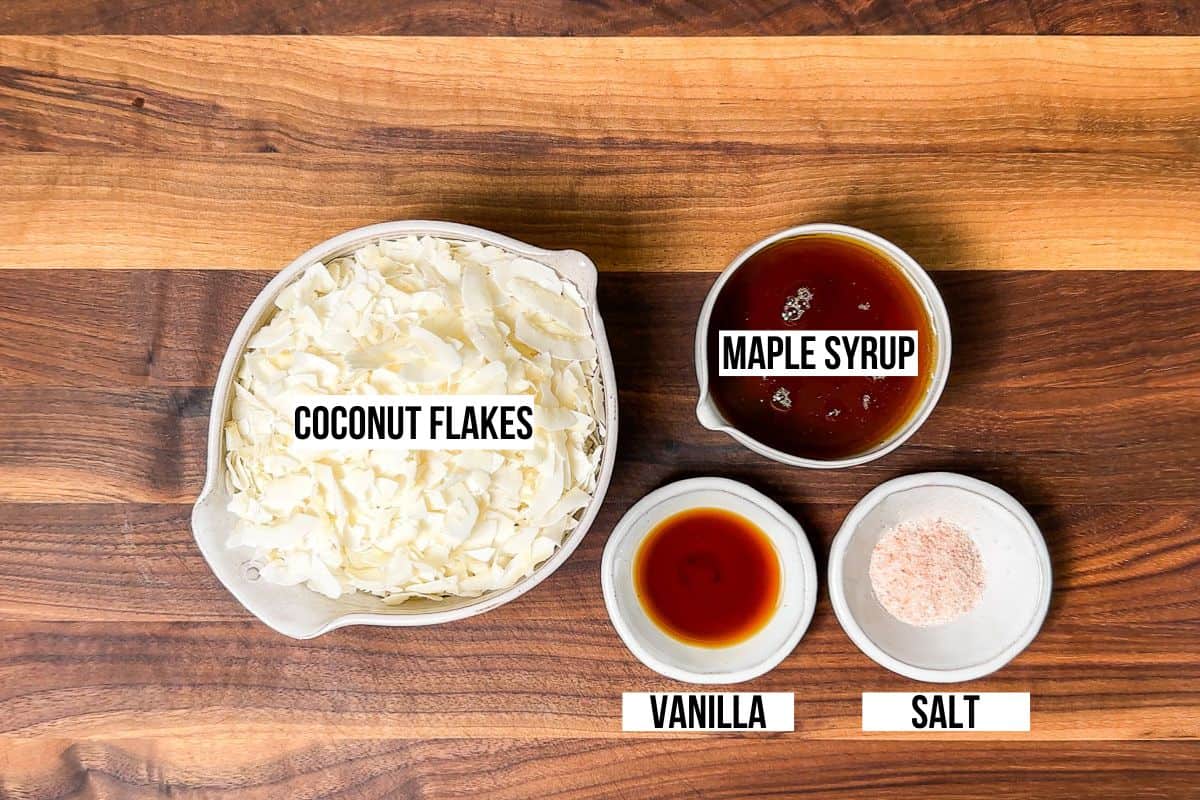
- Large coconut flakes – large flake coconut is essential to make chips, small coconut will not work for this recipe. You also want unsweetened coconut flakes so we can add sweetness to taste. I get the organic big flake unsweetened coconut from Natural Grocers. But you’ll sometimes find big flake coconut labeled as organic coconut chips or unsweetened coconut chips. You can sometimes find these in grocery stores, but health food stores like Whole Foods are a more likely bet.
- Maple syrup – is easy to mix into coconut flakes, but honey or agave nectar will also work. Coconut sugar is traditional for the Dang coconut chips, but it is a bit more difficult to dissolve and mix with the coconut flakes. See the recipe below for coconut sugar options.
- Sea salt – just a touch of salt enhances the sweetness and flavor. It also makes these so tasty they’re hard to stop eating.
- Vanilla extract – a little vanilla adds a wonderful depth to this recipe.
How to make this recipe step by step
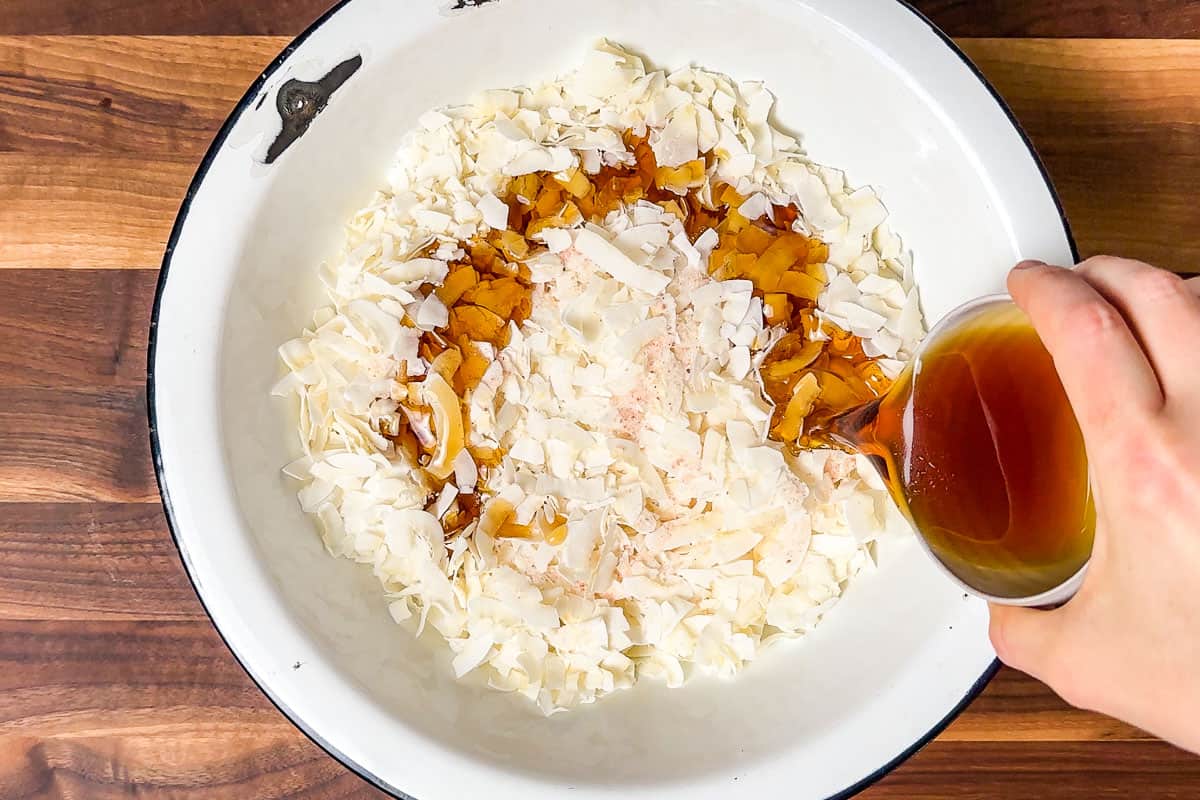
Step 1: Preheat the oven, then mix the coconut flakes, maple syrup, sea salt, and vanilla together in a medium bowl.
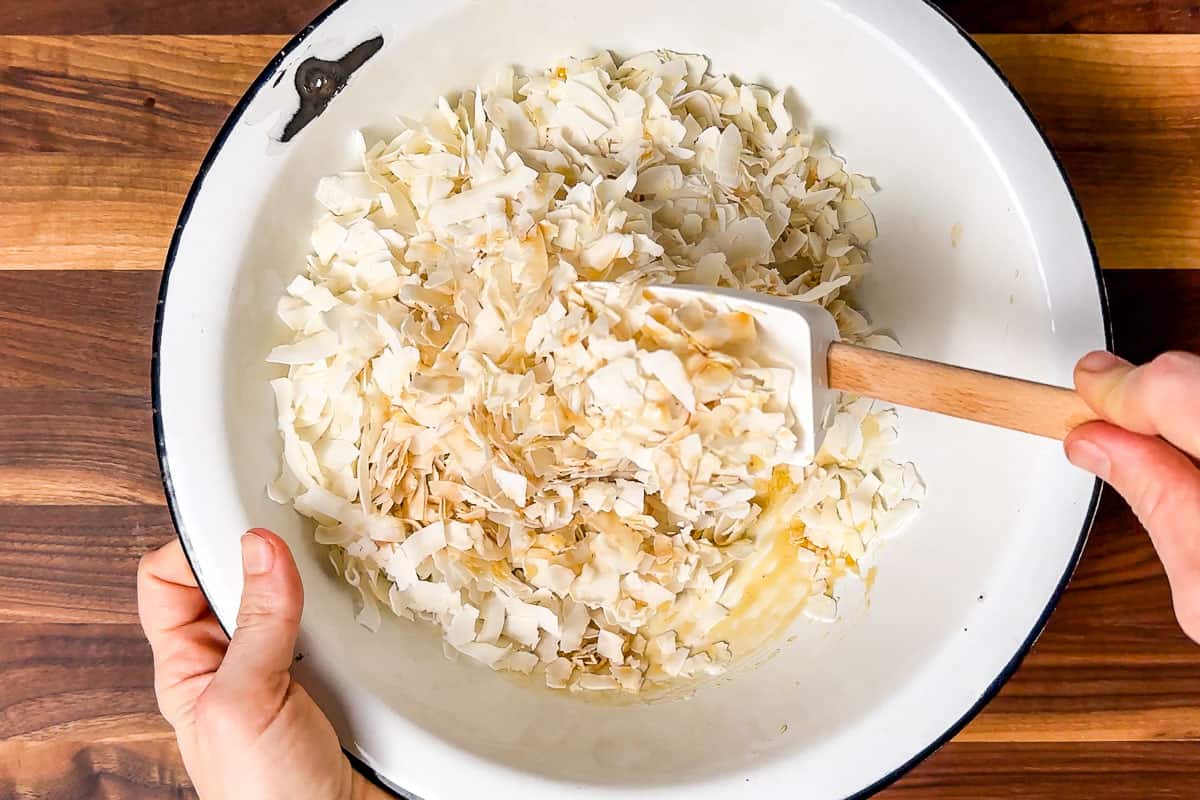
Step 2: Mix the coconut flakes together to combine well.
But be gentle while mixing so the flakes don’t break too much.
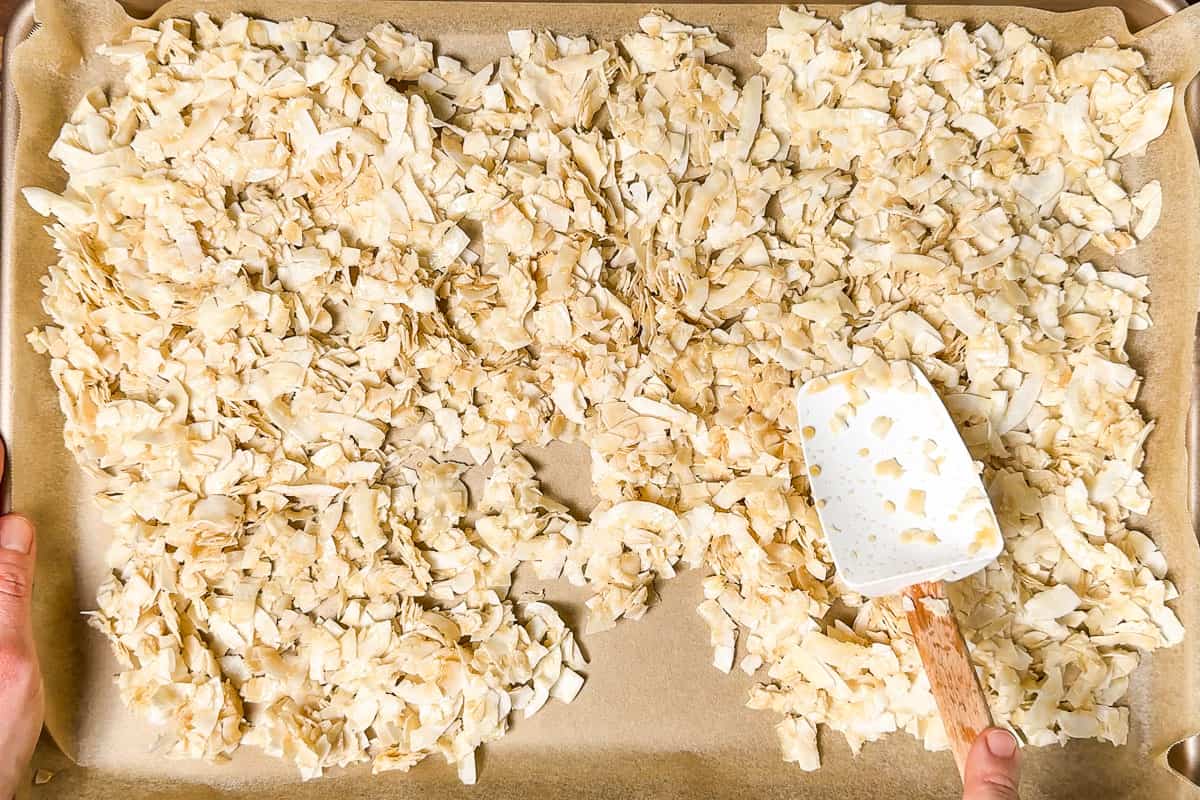
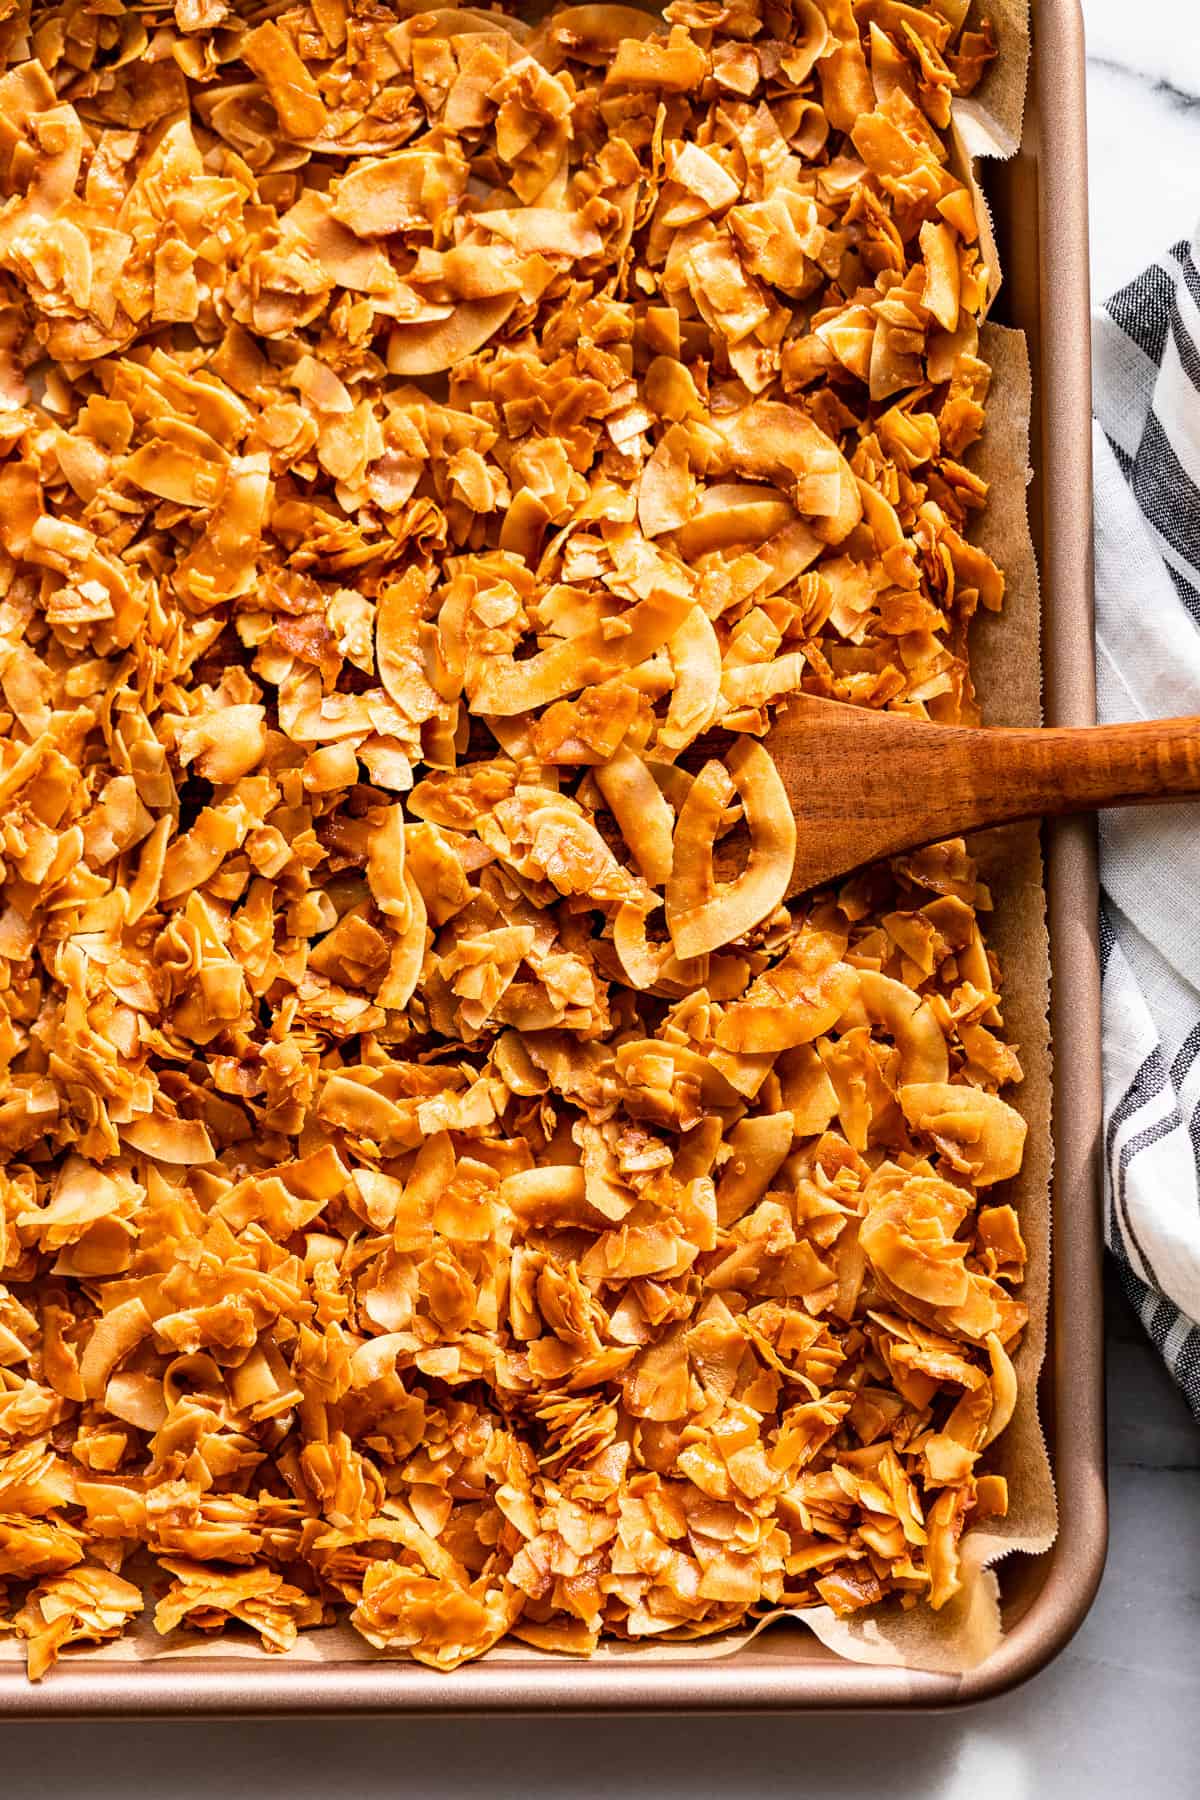
Step 3: Spread the coated coconut flakes out evenly on a prepared baking sheet.
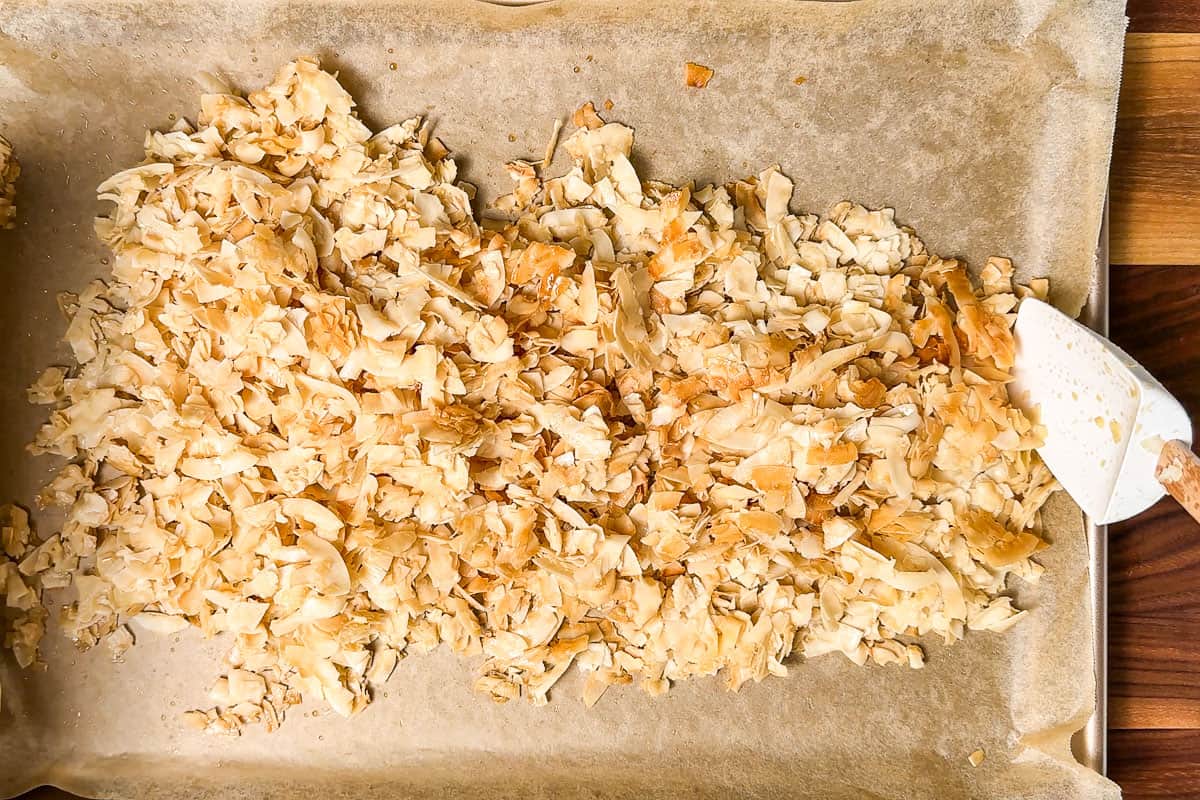
Step 4: Bake for half the baking time then stir well, then spread them out evenly with a spatula again before finishing the baking time.
Don’t skip the extra time in the oven to crisp up. Leaving the coconut chips in the oven with the residual heat is what makes these coconut chips perfectly crispy and golden brown.
Ways to serve this
- As a snack for any occasion from a mid-day work snack to hiking or traveling. I like to portion these out into small jars. The 1/4 cup mason jars are perfect for these, I fill them up 1/2-3/4 and then they’re ready to grab and go.
- Eat this like you would granola. Sprinkle it over the top of fruit and yogurt like my parfaits. Or add it as a bit of crunch on top of my Overnight Oats.
- These are also really great on top of ice cream. But they also make a great topping for salads in place of nuts. They’re a bit like caramelized almonds in a spinach salad, but coconut instead.
FAQ’s
They are a great source of healthy fat and Vitamin B. They also contain lots of other nutrients including the main electrolytes – magnesium, calcium, and potassium. Making your own coconut chips is also a healthy option because you can add sweetener to your taste. They’re a low-sugar healthy snack that keeps really well. Coconut also contains mcts aka medium-chain triglycerides.
Yes, shredded coconut cannot make coconut chips. Look for unsweetened coconut flakes for this recipe.
Yes, they are incredibly similar to the brand of coconut chips. However, things can always vary depending on the ingredients you use. This homemade version of coconut chips is also budget-friendly as well as incredibly tasty.
Storing leftovers
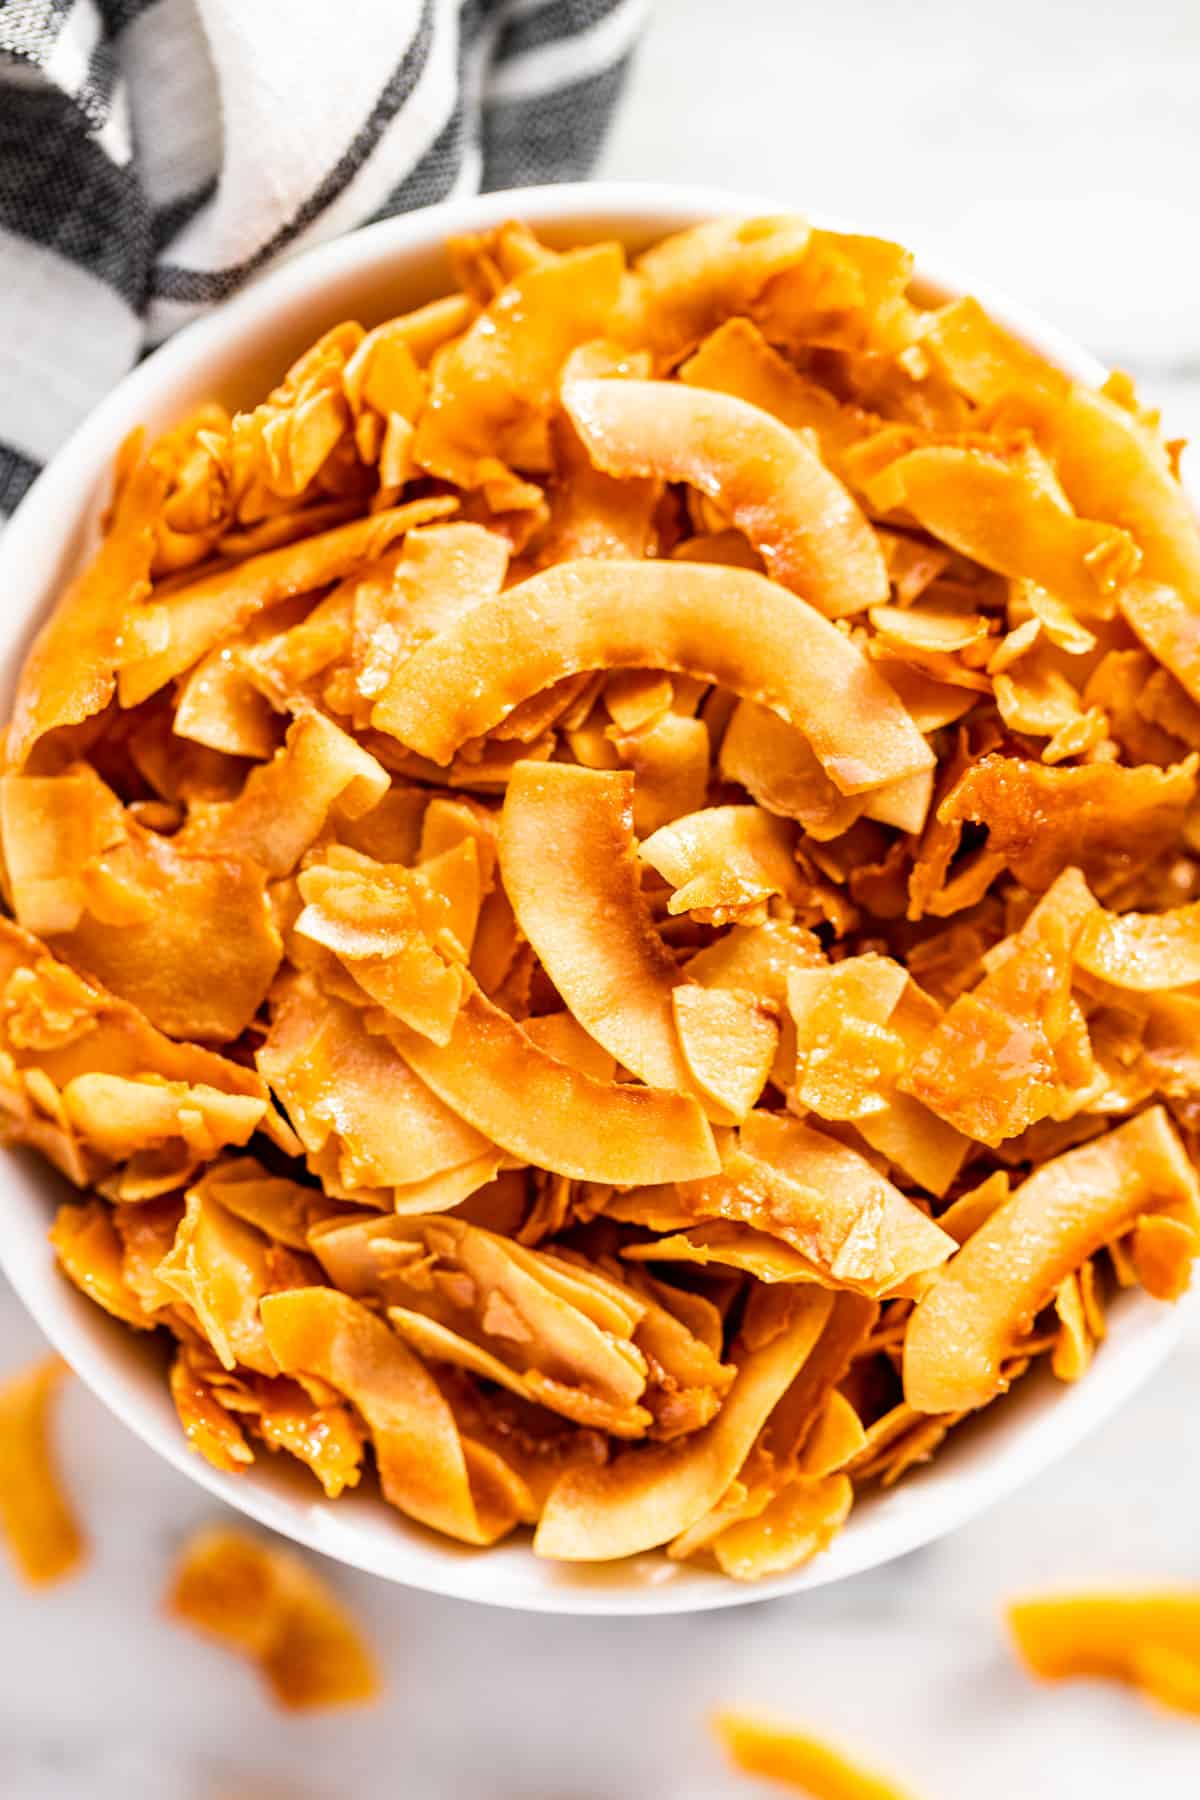
- To store – place the fully cooled coconut chips into an airtight container and store them for at least 1 month in a cool dark place like your pantry.
- Make ahead – These keep well for at least a month, so they can definitely be made ahead.
Tips & Tricks
- Don’t skip the extra time with the oven turned off. When the coconut chips sit in the residual heat of the oven it creates the perfect temperature to fully caramelize and create the crispiest results.
- You can use a bit less sweetener if desired, just know that as you reduce the amount of maple syrup the coconut chips will be a bit less caramelized. They will still toast up quite nicely though!
- These also make great homemade gifts. They keep really well for at least a month at room temperature in a well-sealed container!
- Make these into cinnamon coconut chips by mixing in 1 tbsp ground cinnamon before baking. You can also make these with honey or agave nectar if maple syrup doesn’t work for you. We like to stick to natural sugars when possible!
- Dang chips also make plain sea salt coconut chips without any added sugars. I’ve also done that with this recipe and just left out the maple syrup. They’re crispy and golden brown but without caramelization.
Dietary Options & Substitutions
- Dairy-free / Paleo / Vegan /or Vegetarian – these coconut chips are all of the aforelisted. However, be sure not to use the honey option if you want to make these vegan.
Healthy Snacks Recipe Inspiration
I really hope you enjoy these Coconut Chips, they’re such a tasty sweet treat! If you do get a chance to make this recipe, I’d love to hear from you in the comments.
Coconut Chips
INGREDIENTS
- 10 ounces big flake coconut - unsweetened, measuring 6 cups
- 1/3 cup maple syrup - I used Grade A, see notes
- 1 tbsp vanilla extract
- 1 tsp sea salt - or to taste
INSTRUCTIONS
- Preheat the oven to 300ºF and line a baking sheet with parchment paper.
- In a large bowl stir together the big flake coconut, maple syrup, vanilla, and sea salt. Use a gentle hand while stirring so the coconut chips don't get broken.
- Spread the coconut mixture in an even layer on the parchment lined baking sheet.
- Place the baking sheet in the oven and bake for 15-20 minutes, stirring halfway through the cooking time.
- When the cooking time is up, turn the oven off. Stir the coconut chips again with the oven door open while you stir to let out some of the heat so the coconut chips don't overcook.
- Shut the oven door after stirring and allow the coconut chips to cool down with the oven for 2 hours. This step helps the chips get super crispy.
- Remove the chips from the oven after the 2 hours is up, and let them cool completely to room temperature before storing them in an airtight container.
NOTES
nutrition facts
This recipe was originally published in 2015, but has been updated in 2023 with new photos, more information, tips, and nutritional information.

This was so delicious and perfect for the trail mix I was making! I want to use them in a granola mix as well. Thanks for the recipe!
Thanks so much for writing in with your great ideas to use these coconut chips in trail mix and granola, I can’t wait to try both out!
My kids loved these, thank you!
I’m so glad they loved them!
I made these and they are so yummy! I fell In love with Bare brand coconut chips and I was sad to see they use sugar to make them. These taste just as good and a healthier option!
I’m so glad you’re enjoying them, we definitely can’t get enough of these and we love that they’re budget-friendly too! If you are looking to buy coconut chips for the convenience factor sometimes, the Dang brand of coconut chips uses coconut sugar in the caramel sea salt ones we like.
These were FABULOUS! While I would use 3/4 tsp salt next time I am so glad I found your recipe! Thank you! Jean
So glad you enjoyed these, I love taking them on hikes or just snacking at work!
Sounds so delicious
Thanks so much, and I sure hope you get to enjoy them sometime!
I had some dark chocolate with caramelized coconut. I wonder how well this would work in chocolate.
I think these would work great with chocolate, maybe a drizzle of melted chocolate over the top of the coconut chips!
Oh my! This is exactly the kind of snack I need to have around and for car trips and when we’re up in Lake Placid…the list goes on! Thanks for sharing this simple and delicious recipe!
I had road trips and hiking in mind when I made these, we’re on the road a lot more in the summer so I’m in need of more healthy snacks!
Now this is something I really want to try. The perfect snack IMO!
I’ve been packing it everywhere with me lately!
This sounds like a delicious treat. Yum!
They sure make a great snack, I hope you enjoy them!
These are so much better than the store bought ones and CHEAPER!
I’m looking forward to future flavors say maybe honey mustard or honey cinnamon?
Great flavor ideas, both honey mustard and honey cinnamon sound super delicious – I’ll have to get right on that! 🙂