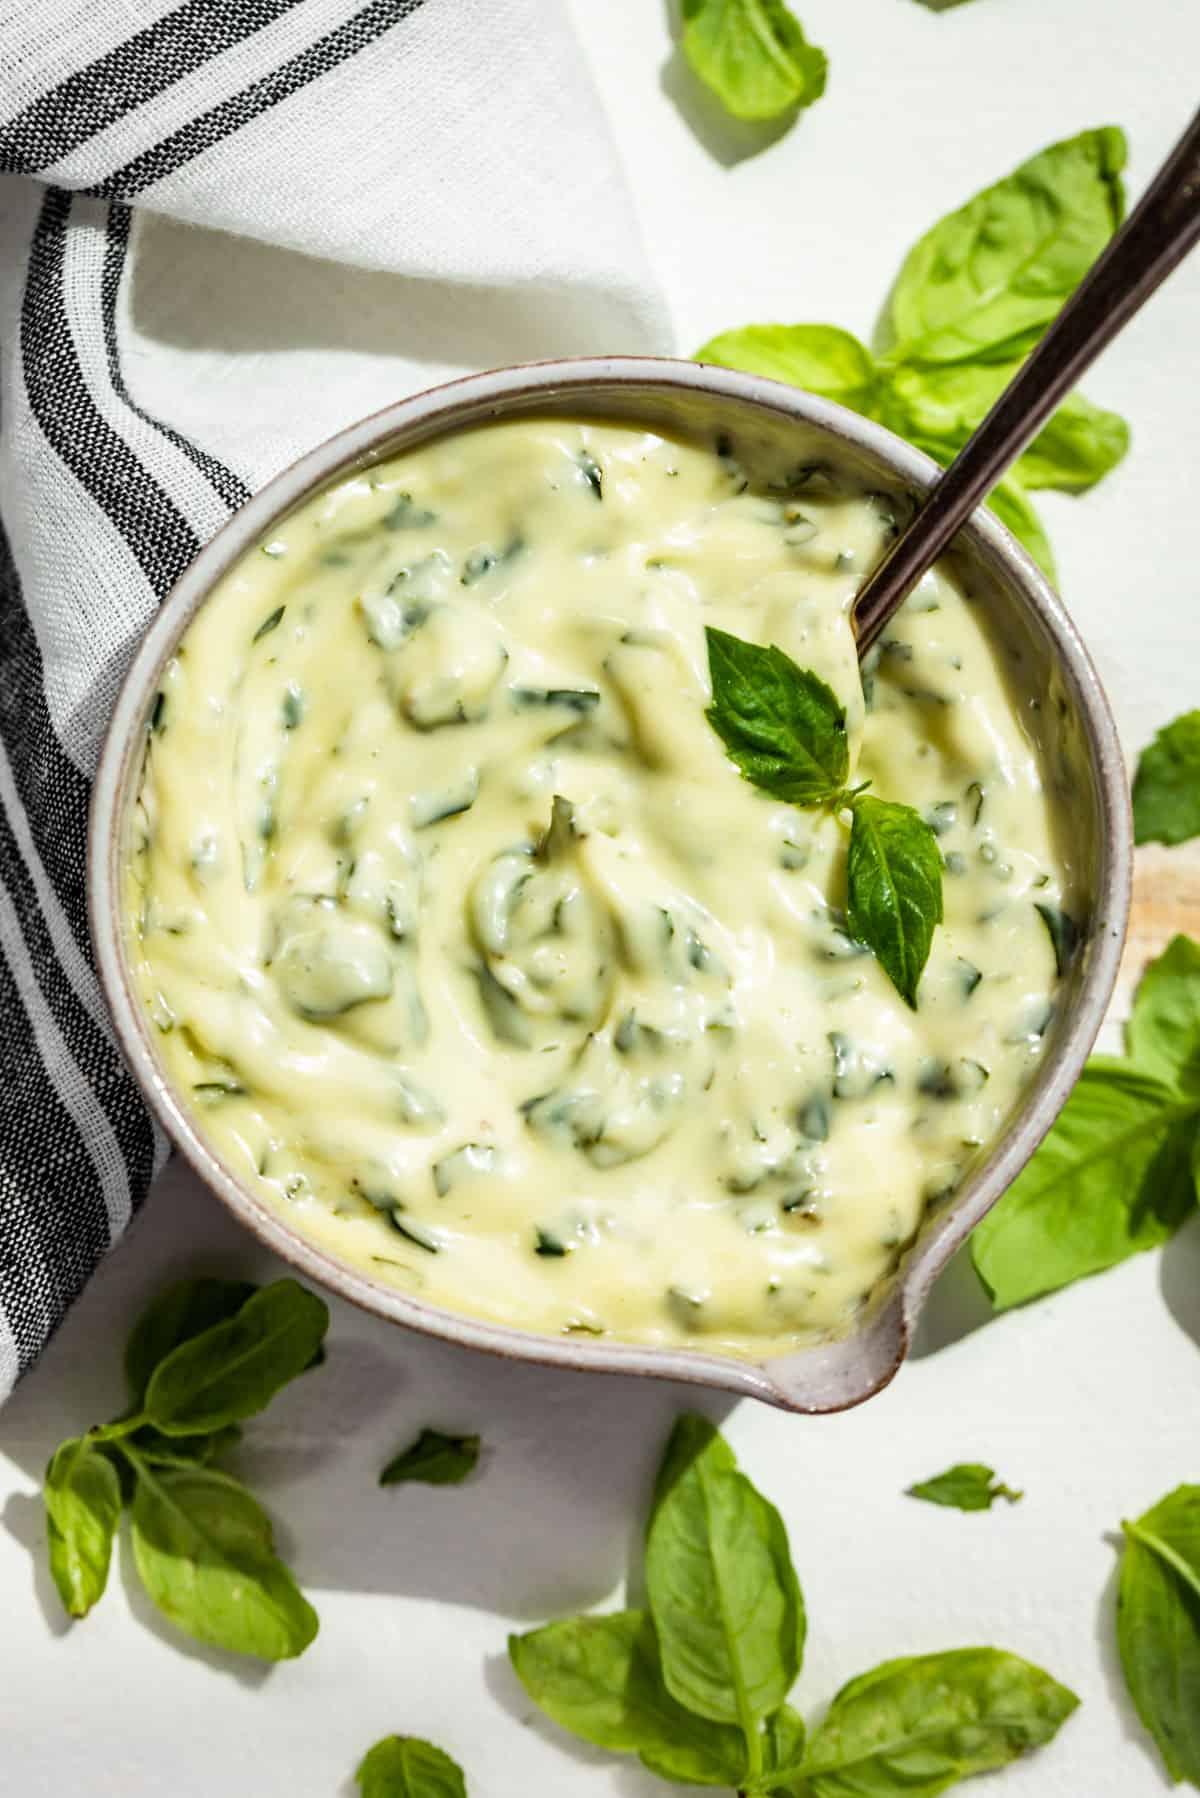
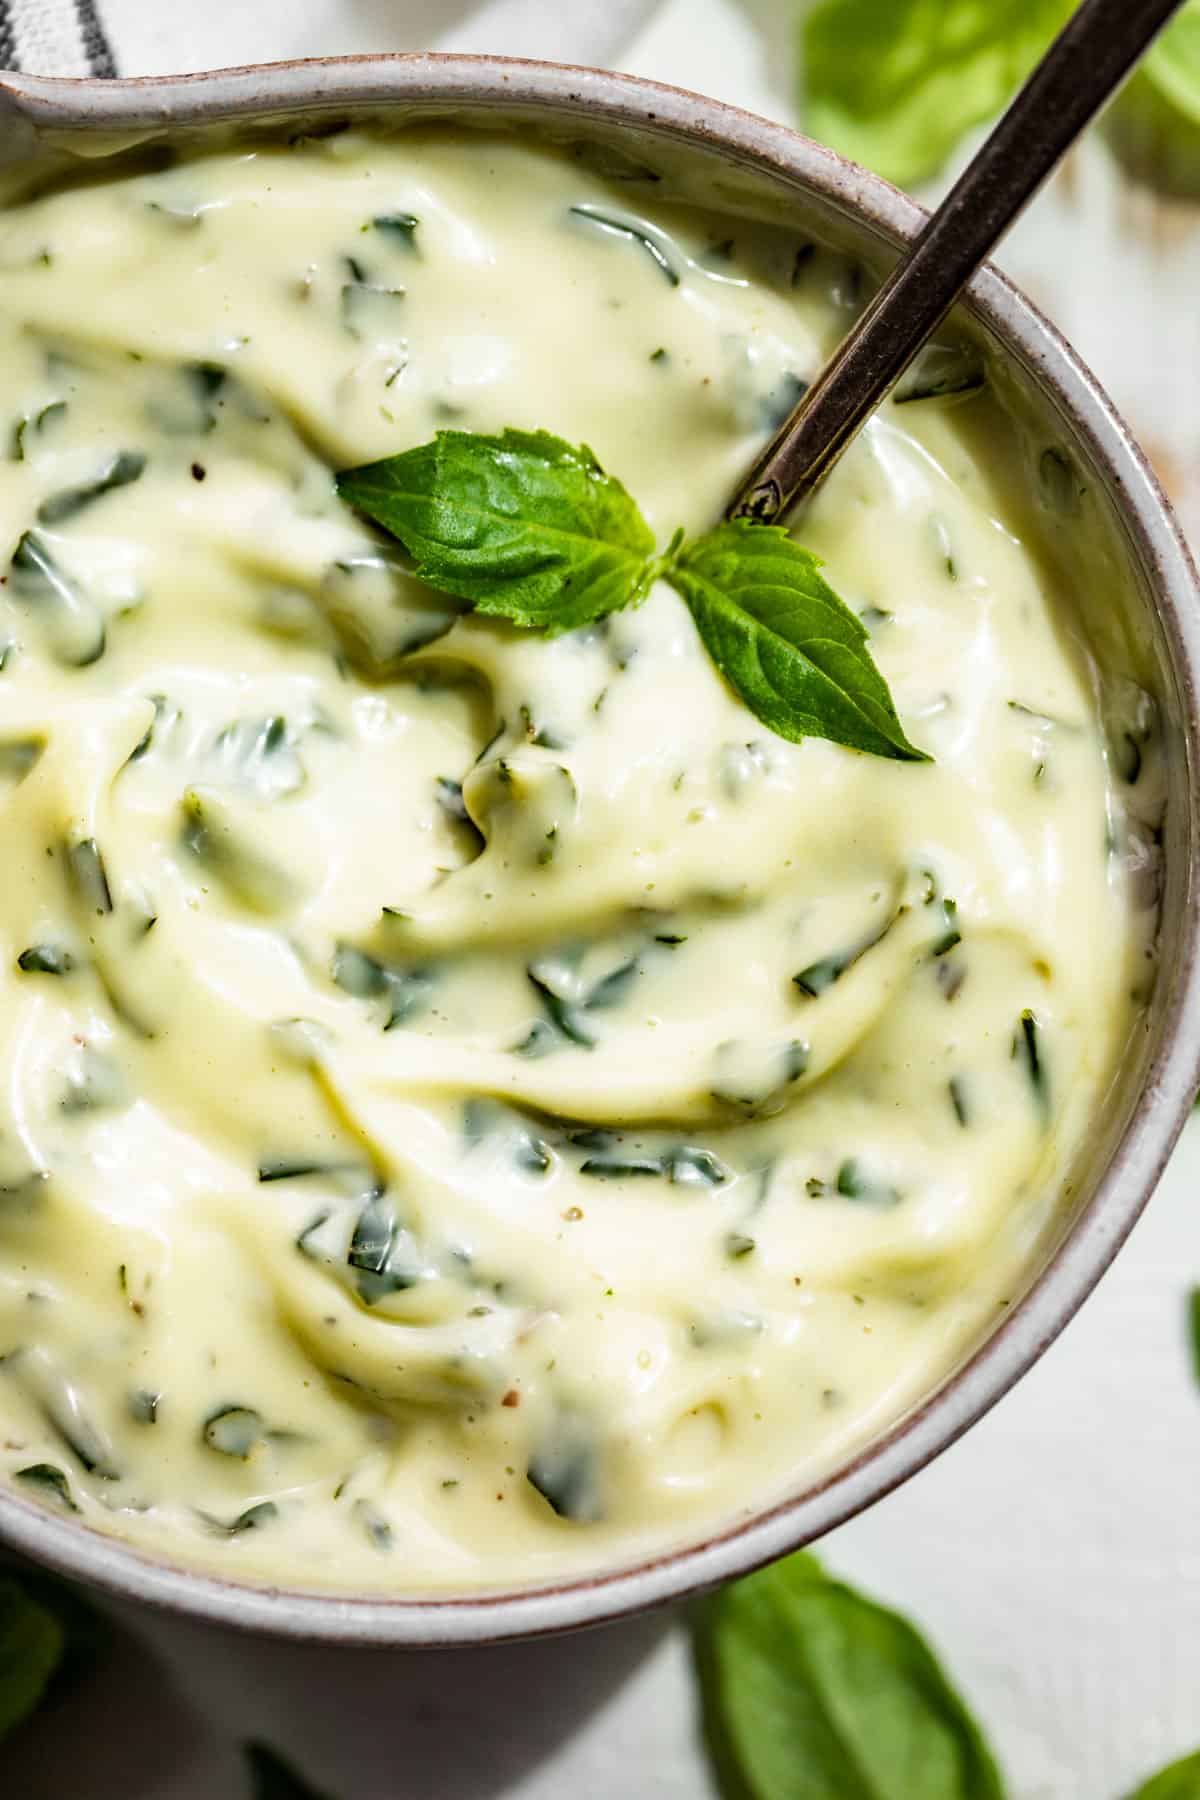
Less than 10 minutes to make and only 6 ingredients, this Basil Aioli adds incredible flavor to so many meals. It’s a simple recipe that never gets old, and you can make so many different dinners with this. It’s also great used in my Classic Chicken Salad, or in any sandwich or wrap you love to make for lunches. Ultra creamy, this aioli makes the perfect partner for grilled veggies, but also for anything roasted as well. You’ll find my easy formulas below to create simple dinners from the grill, as well as pasta salads.
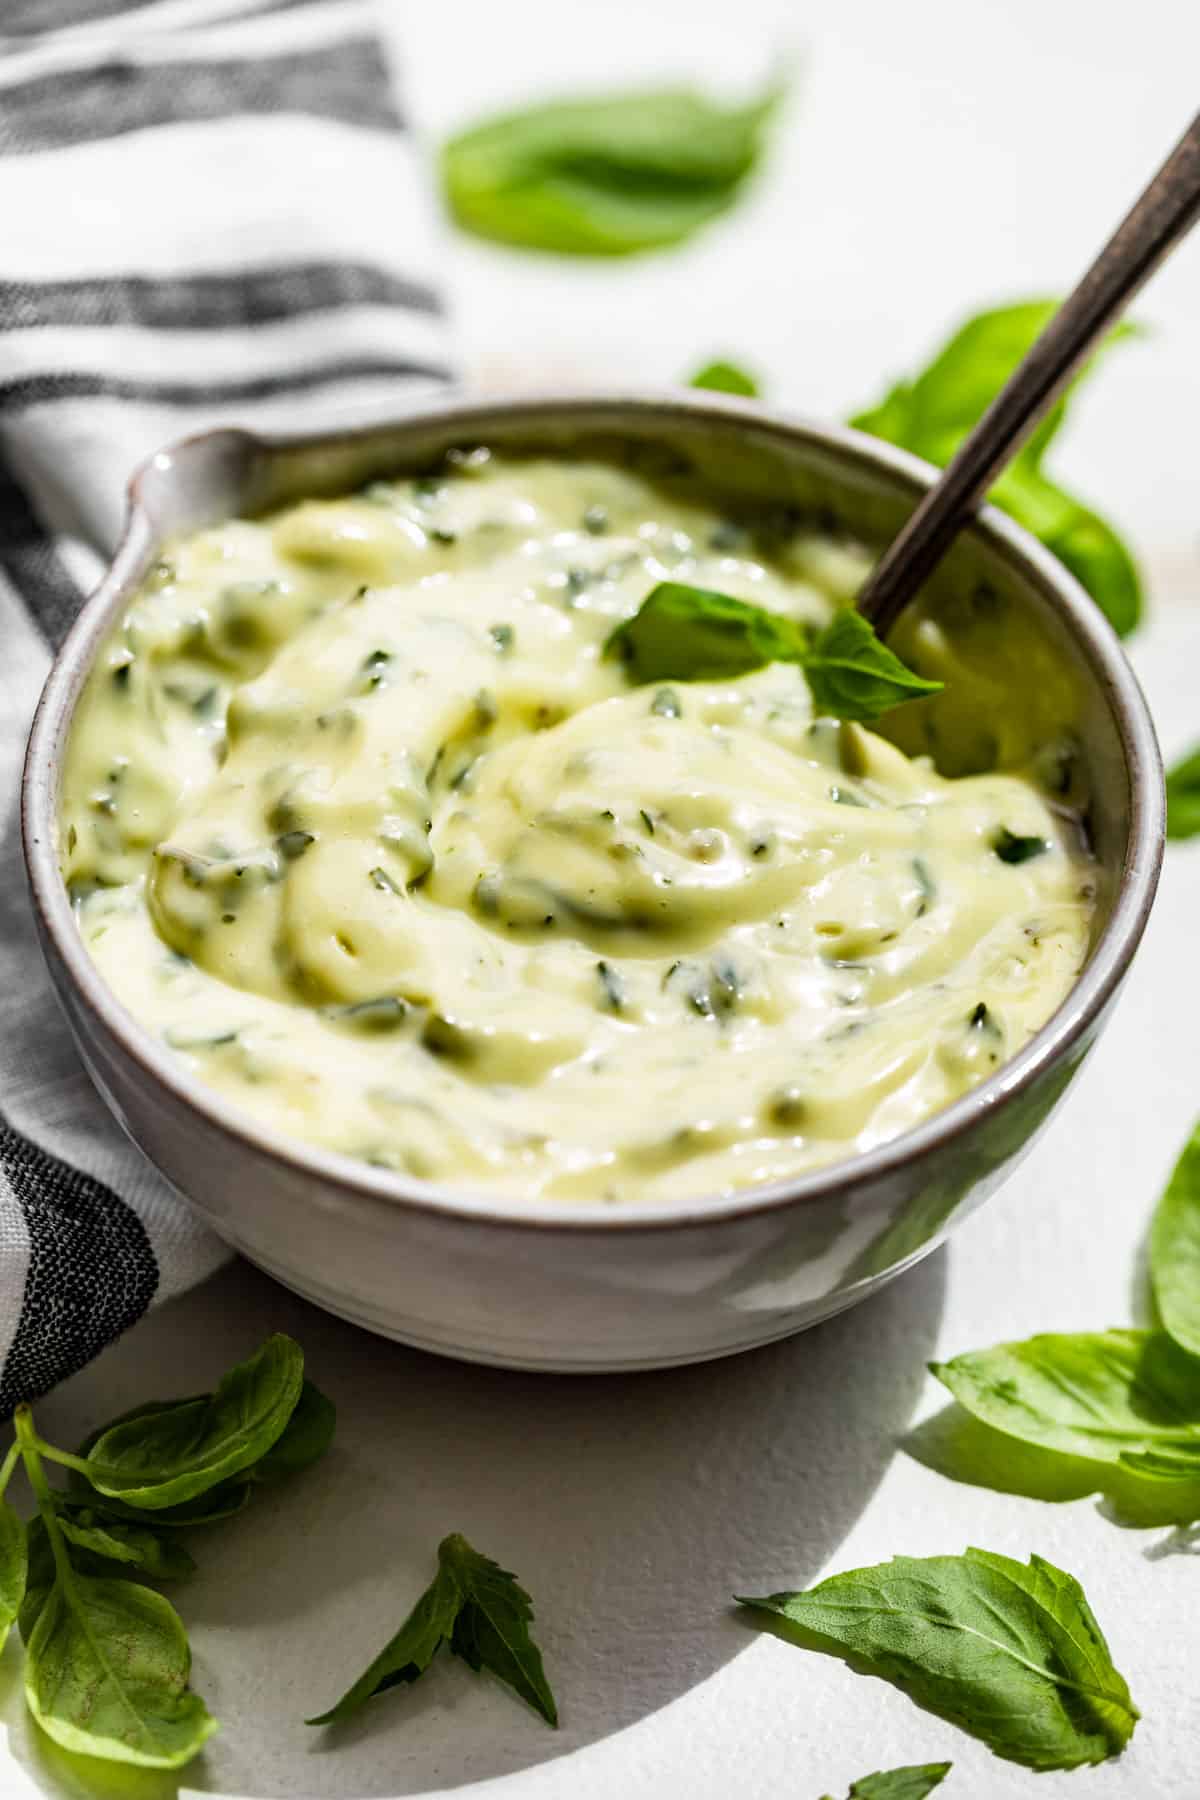
Imagine a sauce so good you build your entire dinner around it! We make this tasty aioli at least 2 times per week all summer long when we have an abundance of basil. And in the winter months, we still make it whenever I get a good deal on store-bought basil because it’s just so good.
My simple summer meal formula goes like this: Basil Aioli + Grilled Meat + Grilled Veggies = Dinner! That way from spring asparagus, straight through corn and tomato season, this basil aioli pairs perfectly with your meal.
This easy-to-make aioli is so tasty I always get asked for the recipe. So I’ve finally written it down to share with you! It may seem very simple, but I promise it will be one of those recipes you find yourself making all the time.
Ingredients & Substitutions
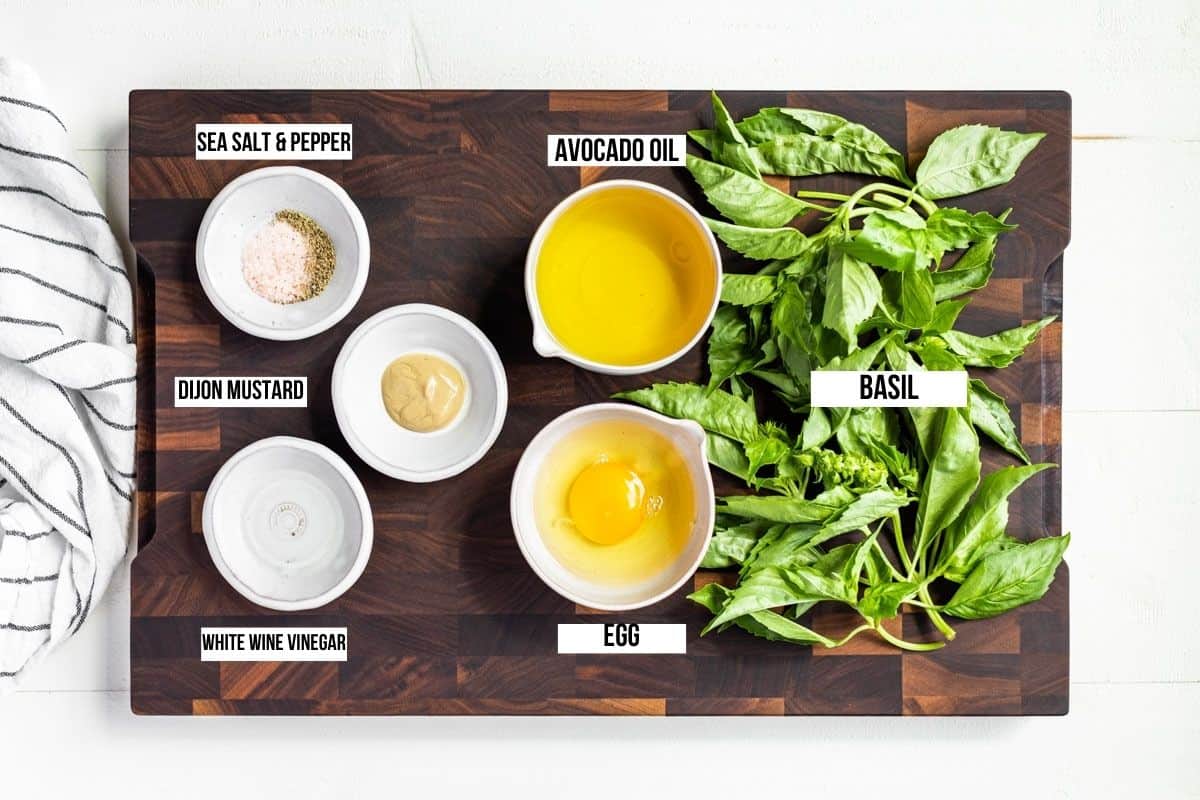
- Basil – is my favorite herb to use here, but tarragon also works really well too. You can also make this with cilantro for Mexican-inspired dishes, but basil really is the absolute best.
- Egg – is what emulsifies the oil together to make the aioli sauce which is essentially mayonnaise. There really isn’t a good substitute for raw egg to make this recipe from scratch. However, you can sub in your favorite good quality mayo and you’ll find instructions for that in the recipe notes. Just be aware that store-bought mayo can never compare to what this tastes like made from scratch, but it is an option if you don’t do raw eggs.
- Optional garlic – sometimes I add one clove of minced garlic and other times I leave it out to let the basil flavor shine on its own. I suggest trying it both ways and seeing what you prefer. You can’t go wrong either way, they’re both yummy. A classic aioli always has garlic, but in this case, it’s best to go with what you think tastes perfect to you.
- Dijon mustard – just a touch adds depth of flavor and helps to emulsify the aioli.
- White wine vinegar – is also a classic ingredient for a mayonnaise base, but you can use freshly squeezed lemon juice as well. Balsamic tastes good in this sauce but it does affect the color. I don’t recommend apple cider vinegar or plain white vinegar in this case because the flavor is too harsh. In fact, if you happen to have champagne vinegar on hand, use that because it has the smoothest flavor.
- Avocado oil – or any neutral oil you like to use works here. However, avocado oil does give you exceptional results because it’s so buttery. Try to find it at Costco to make it more affordable! I don’t recommend olive oil in this case because it has a bitter edge in this sauce.
- Sea salt & pepper – to taste is very important to this sauce. It’s even more important if you serve this with grilled veggies because it acts as a seasoning for them as well.
How to make this recipe step by step
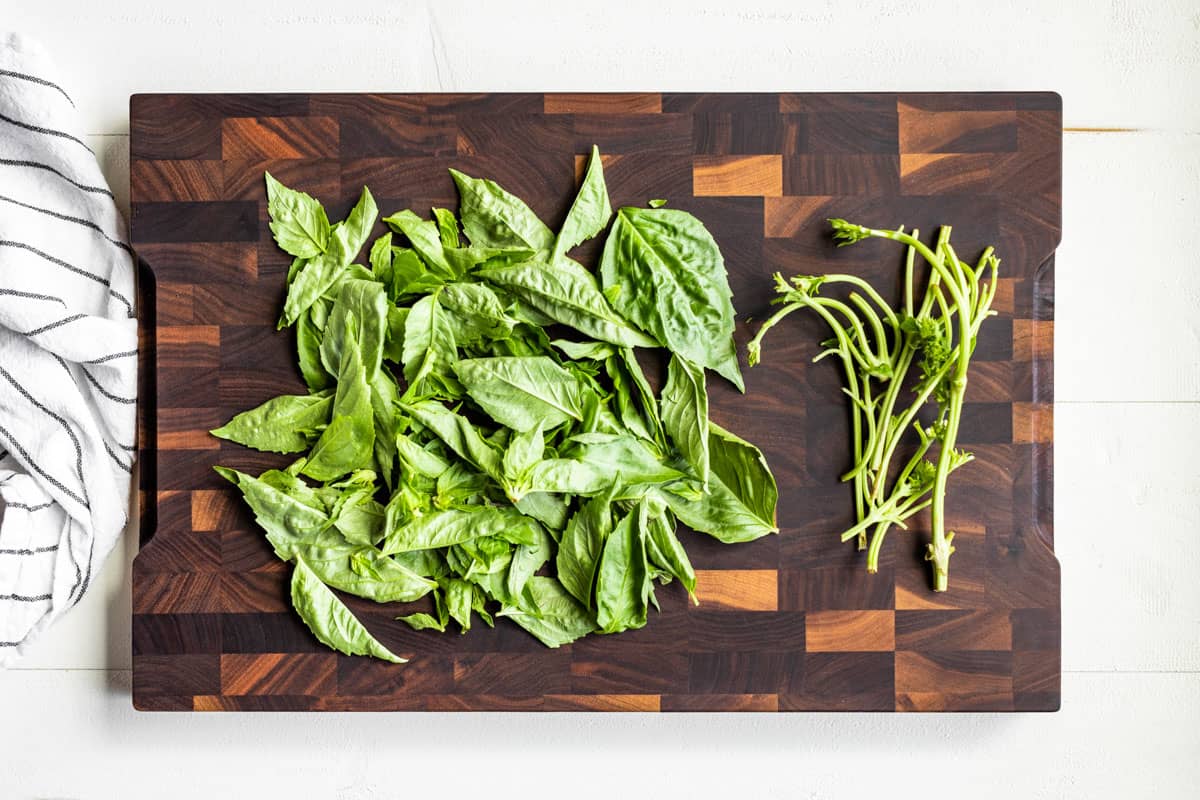
Step 1: Start by removing the basil leaves from the stems.
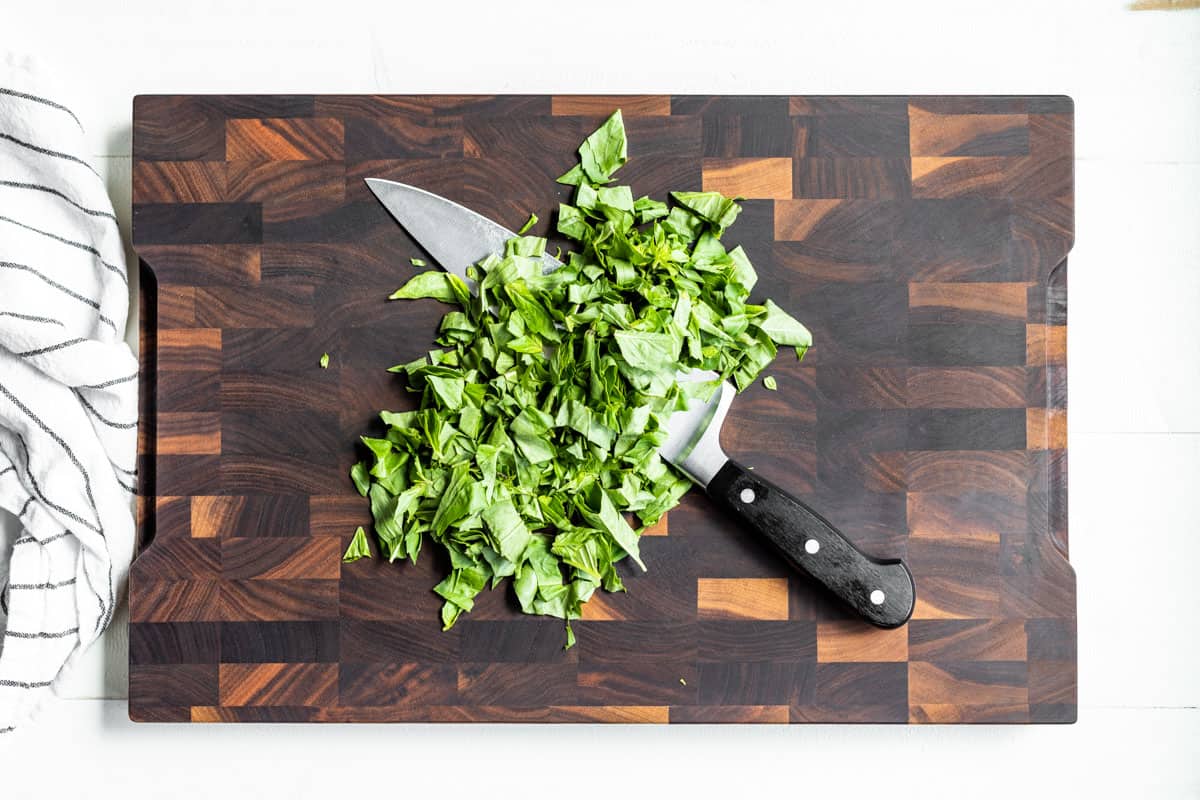
Step 2: Next roughly chop the basil and set it aside.
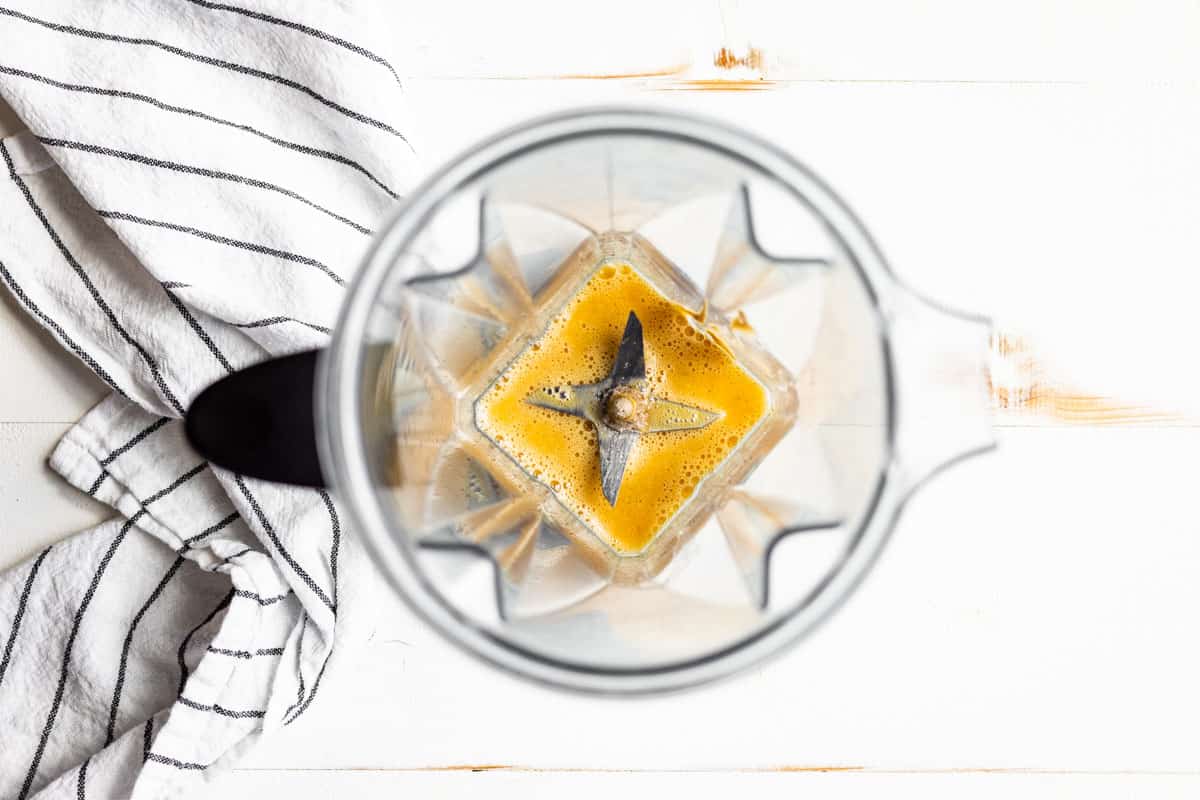
Step 3: Blend the egg, optional garlic, Dijon mustard, and vinegar together in a blender just until combined.
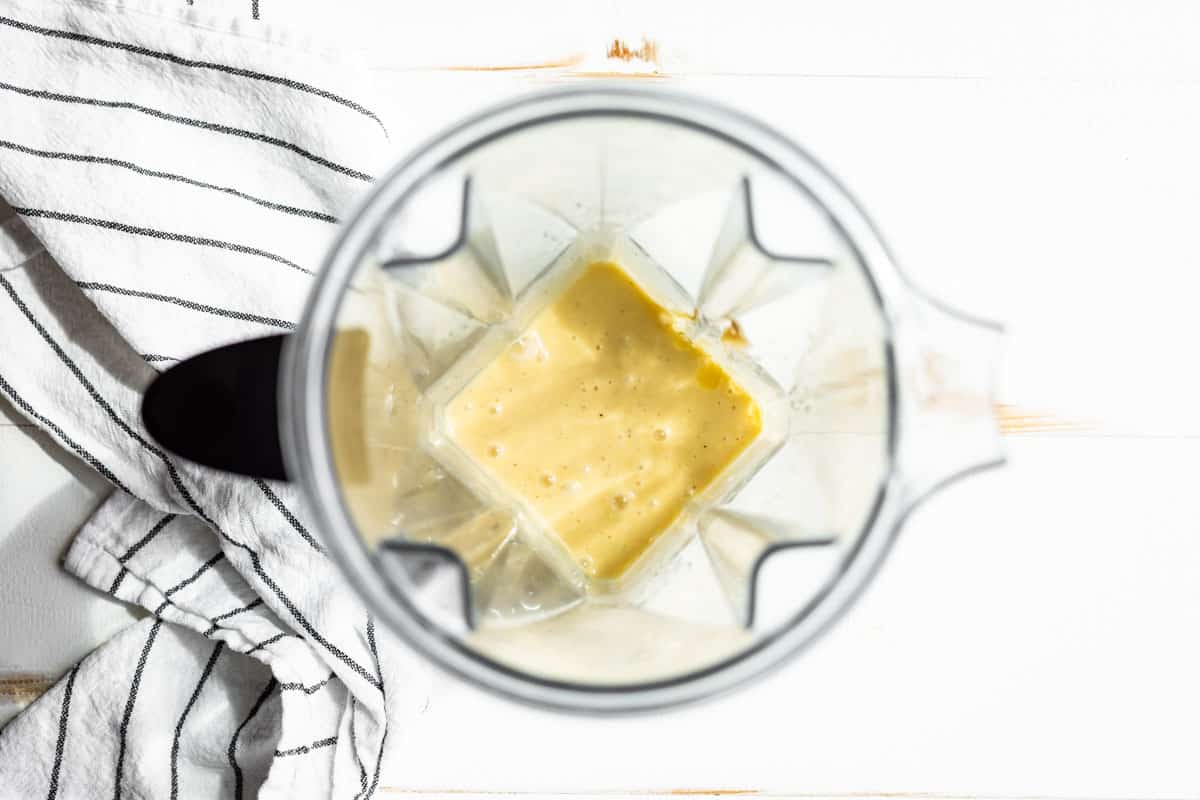
Step 4: Begin to add the oil in a thin steady stream blending as you add the oil.
Continue to add the oil until it’s been combined and thickens like mayonnaise.
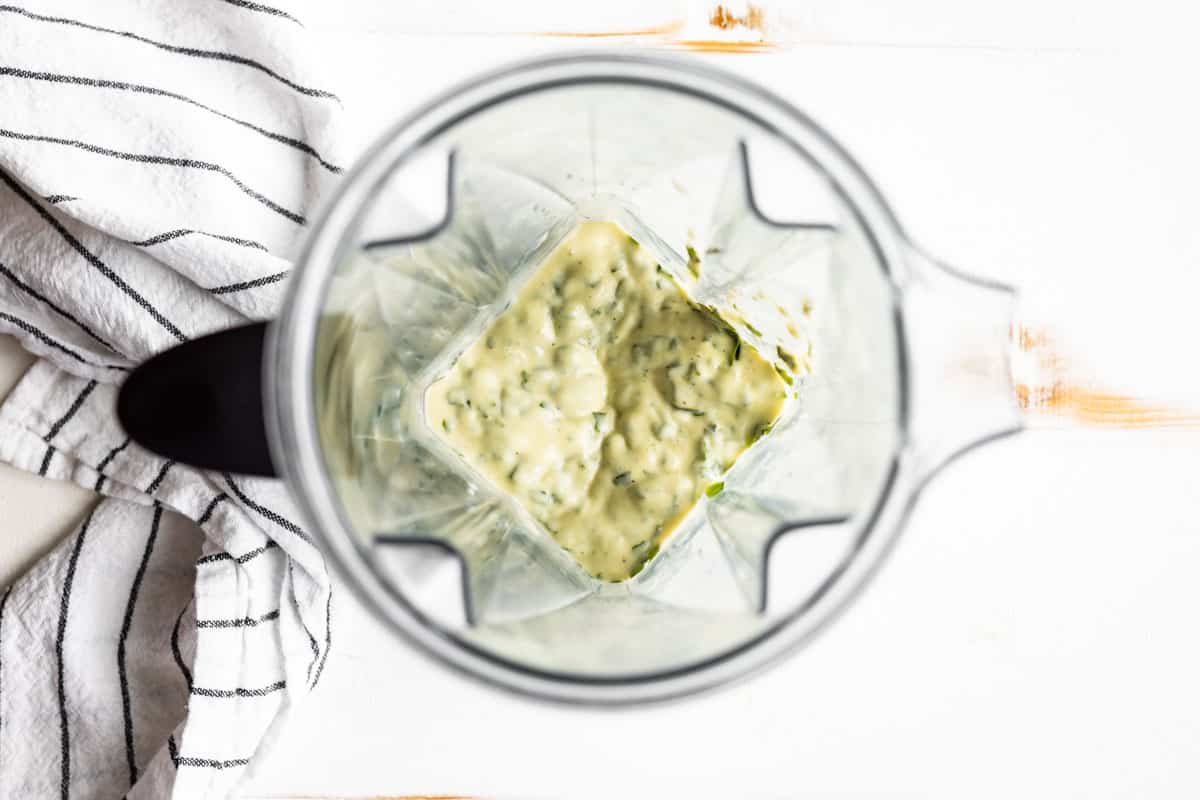
Step 5: Add the basil and blend to combine and infuse the mayonnaise base with basil flavor. Season to taste with sea salt and pepper and serve. Or transfer to a container, refrigerate and serve within 2-3 days.

Ways to serve this
- Try it in my Best Classic Chicken Salad in place of the mayonnaise called for.
- This Basil Aioli is perfect with pretty much anything from the grill. We make it at least 2x per week to go along with grilled chicken, seafood, beef, sausages, or pork, sliced potatoes, and all sorts of vegetables. Some of our favorite pairings are grilled asparagus, zucchini, and peppers or sweet gypsy peppers. Basically, it’s hard to go wrong with anything you put on the grill with this aioli. Start the season with asparagus and end with corn and fresh tomatoes.
- Make a pasta salad with cooked pasta, protein like grilled sliced sausages or chicken, halved cherry tomatoes, and fresh corn cut off the cob or thinly sliced cucumbers.
- Use this aioli in place of mayo on your next sandwich or in my lettuce wraps. It works in my BLAT Lettuce Wraps in place of the ranch, or in my Italian Sub Lettuce Wraps in place of the pepperoncini aioli.
FAQ’s
Traditional aioli uses garlic as the emulsifier to create a silky sauce with the oil. Whereas mayonnaise uses egg as a binder to create a silky smooth texture. However because it’s difficult to create a perfect aioli, most recipes will include a binder to make it easy to emulsify like an egg. Essentially most recipes you see, including mine, are ‘technically’ a garlic mayonnaise called ‘aioli’.
Usually, that’s because the oil has been added too fast! The way to make foolproof aioli and mayonnaise is to add the oil very slowly. I haven’t had much luck adding a touch of water, but I have rescued a broken aioli and mayonnaise by adding another egg.
Think of it as a creamy dip for all sorts of veggies, roasted or grilled meats, and you can use it as a dip for oven fries. Pretty much the sky is the limit. Once you taste this addictive sauce, you’ll find yourself putting it on almost everything, including your sandwiches for work.
Storing leftovers
- To store – place any leftovers into an airtight sealed container and refrigerate for up to 1 week. I like to keep mine in the 1-cup mason jars.
- Freezing – unfortunately, there’s no way to freeze homemade aioli. However, with the serving suggestions below, you’ll have no problems using up a batch. The 2 of us eat 2 batches per week no problem!
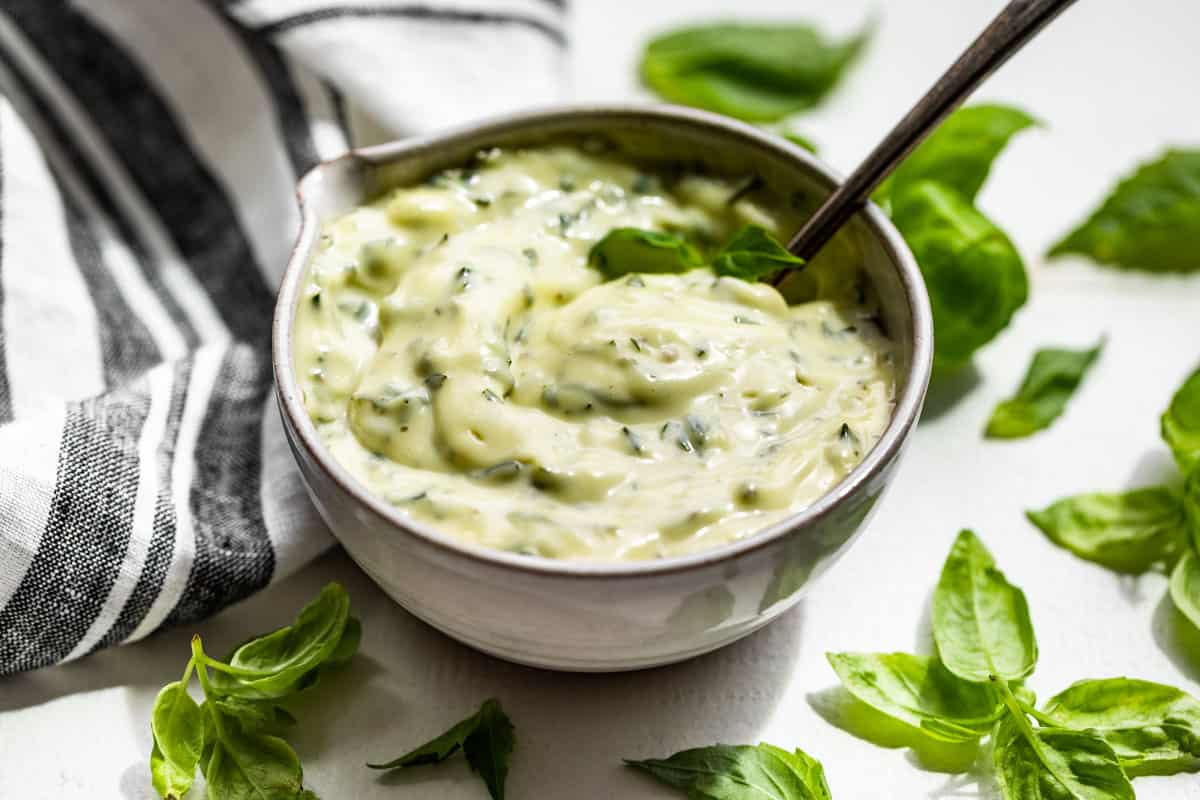
Tips & Tricks
- Try subbing in tarragon for a really tasty variation. You can also substitute in rosemary, but add the rosemary before the oil and reduce the amount to 1 teaspoon. Only add more to taste and remember it will get stronger with time.
- No fail aioli – make sure to add the oil in a slow thin steady stream and allow the blender or food processor to completely emulsify it as you go. Adding the oil too fast is the most common way this sauce can break, but it’s foolproof as long as you go slow.
- Broken aioli – if for some reason your aioli breaks, don’t despair about all that quality avocado oil! Pour the broken sauce into a jar, then add 1 egg or 1 egg yolk to the blender. Next, slowly add the broken sauce to the egg while it’s running allowing it to emulsify before adding any more. This technique has fixed every aioli and mayonnaise I’ve broken because I’ve been in too much of a hurry.
Simple Dinner Ideas for this Basil Aioli
- Grilled Italian Sausages + Sliced Potatoes + Peppers & Onions
- Grilled Steak + Sliced Potatoes + Asparagus
- Grilled Chicken + Corn on the Cob + Grilled Zucchini & Fresh Tomatoes
- Grilled Protein of Choice + Grilled Potatoes & Grilled Vegetables (both recipes coming soon)
Yummy sauce recipes to build your meal around
I really hope you enjoy this Basil Aioli! If you do get a chance to make this recipe, I’d love to hear from you in the comments.
Basil Aioli
INGREDIENTS
- 1 egg - super fresh, no cracking in the shell
- 1 clove garlic - minced, optional
- 1 tsp Dijon mustard
- 1 tsp white wine vinegar - or champagne vinegar
- 3/4 cup avocado oil - or neutral tasting oil
- 1/2 cup fresh basil leaves - roughly chopped, and lightly packed
- 1/2 tsp sea salt
- 1/4 tsp ground black pepper
INSTRUCTIONS
- Start by adding the egg, optional garlic, Dijon mustard, and vinegar to a blender or food processor.
- Blend on low speeds, 3-5 on a Vitamix, and slowly add the oil in a thin steady stream. Be sure to add the oil slowly allowing it to completely emulsify before adding more. Or if using a food processor, keep the motor running while adding the oil through the top.
- When all the oil has been added and the aioli is very thick, add the basil and blend just to combine. If it's too thick to blend, stir to combine. Or pulse to combine the basil if using a food processor.
- Season to taste with sea salt and pepper and serve as desired.
- Store any leftovers in an airtight container in the fridge for up to 1 week. I recommend eating it within 3-4 days because sometimes the basil will turn brown after that. It all depends on the freshness of the basil, my garden basil lasts for a week, and store bought only lasts 3-4 days.

