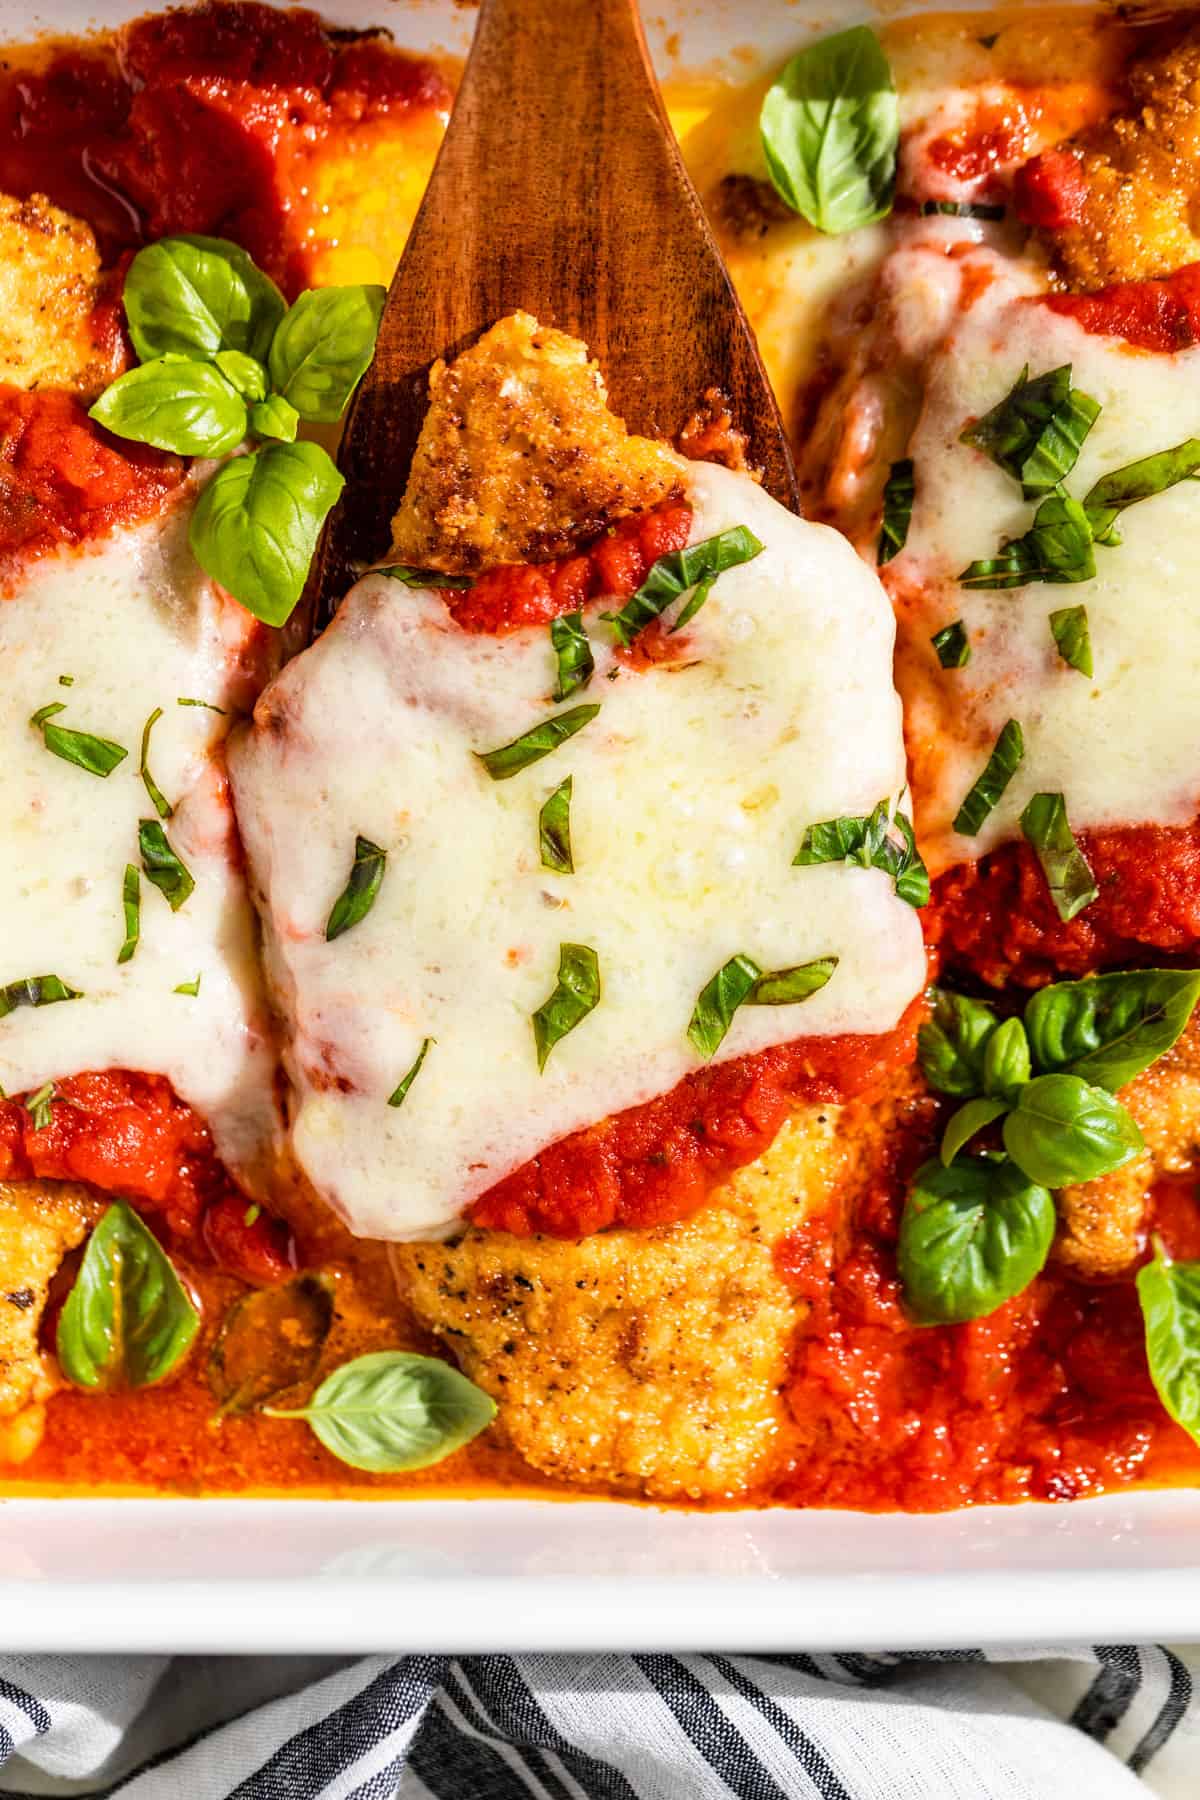
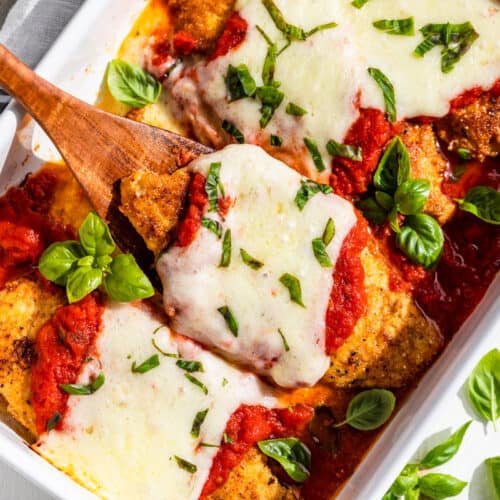
Crispy crunchy and topped with zesty tomato sauce and melty cheese, this Gluten Free Chicken Parmesan made with almond flour is sure to become a household favorite. It’s naturally gluten-free and can be low-carb thanks to the crisp almond flour coating. It’s also a bit healthier because it’s pan-fried, (no deep frying here) and there are no processed ingredients. Try this all-Italian-American classic for your next weekend family meal.
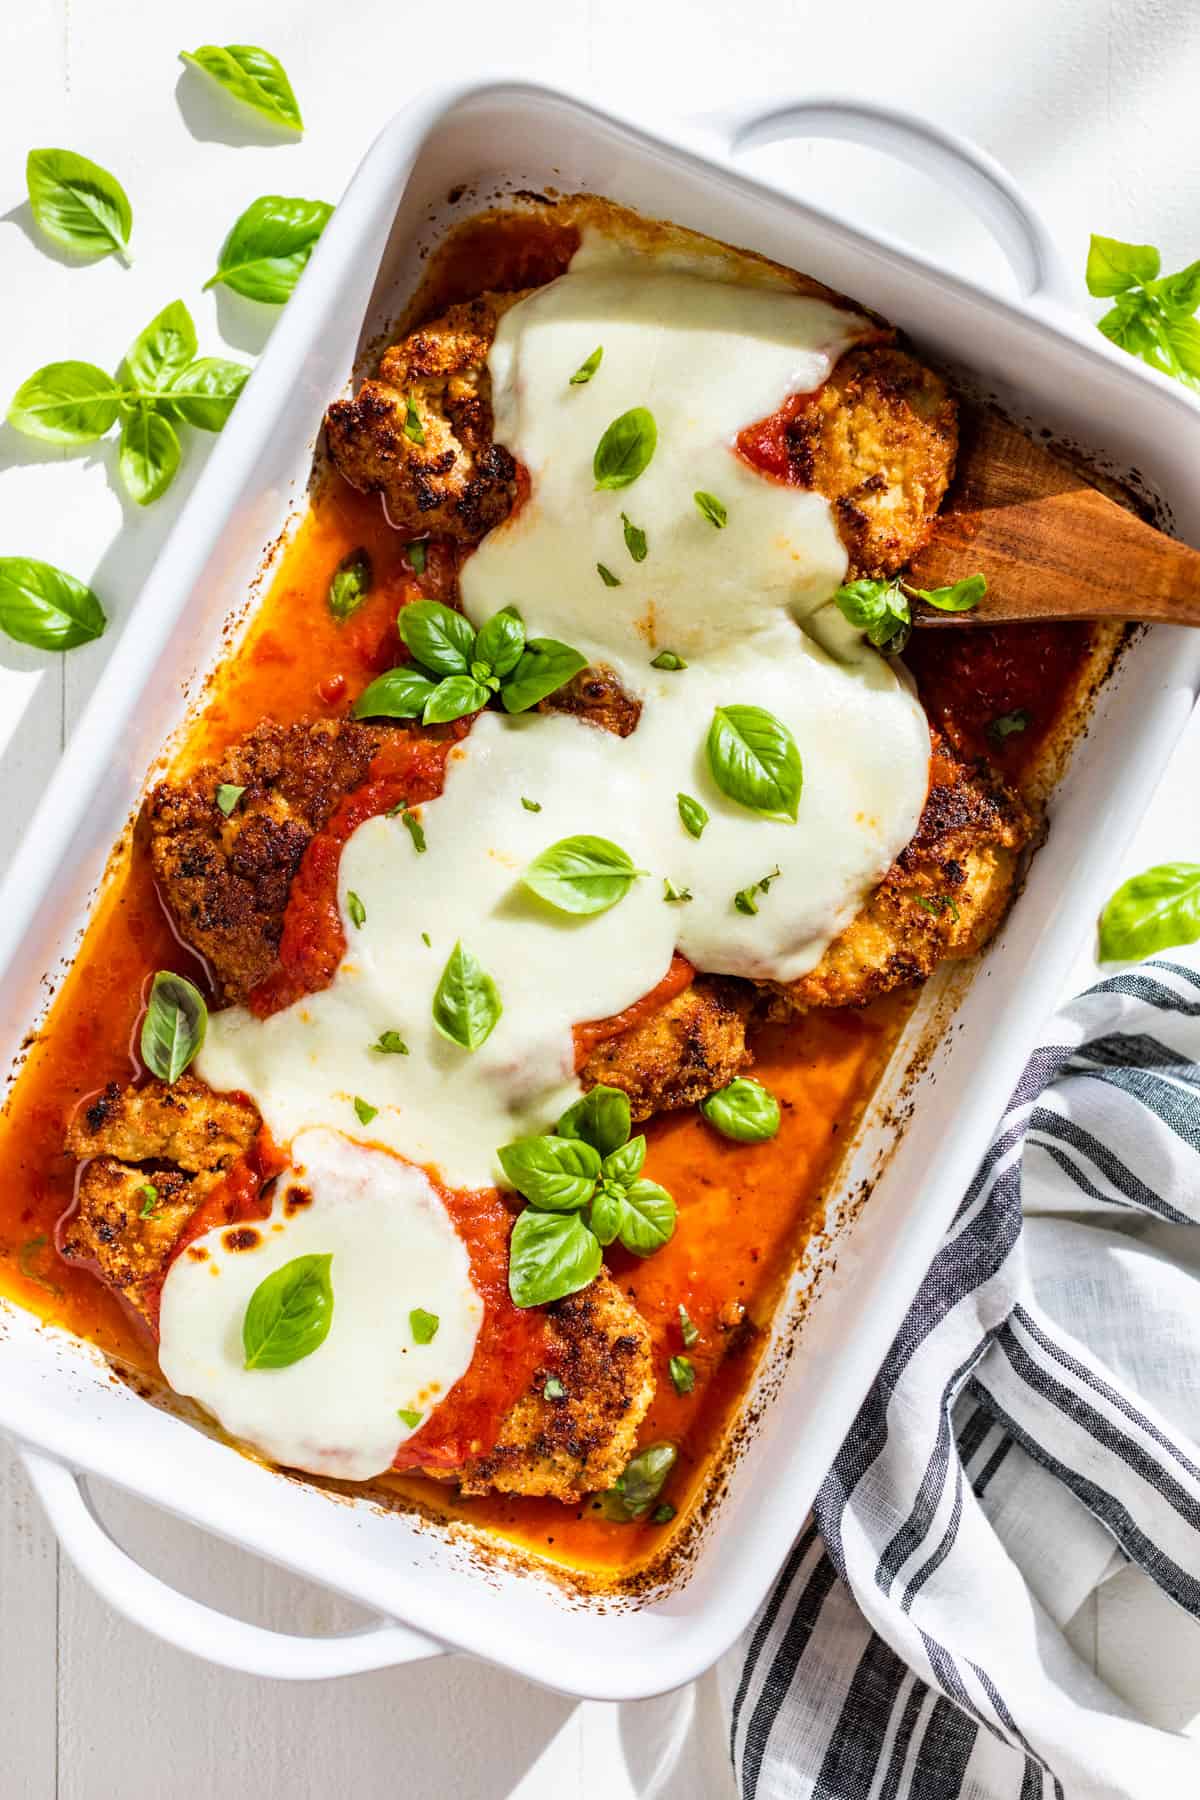
Chicken Parmesan has always been Tyler’s favorite meal, (next to my Chicken Caesar Salad that is). And I have to say it’s up there for me as well. In fact early on when we were dating, he took me to Olive Garden because he was fairly obsessed with their Chicken Parmesan.
I had never been to an Olive Garden before, having grown up in a small town with very few chain restaurants. And I was underwhelmed to say the least! I remember him looking at me and saying, ‘isn’t it so good?’ and I just smiled and nodded along because I didn’t know what to say.
Not that it was terrible or anything, just not as good as homemade! So of course I made him Chicken Parmesan from scratch, and he’s been hooked on it ever since. It’s a nice bonus that it’s healthier when you make it yourself as well.
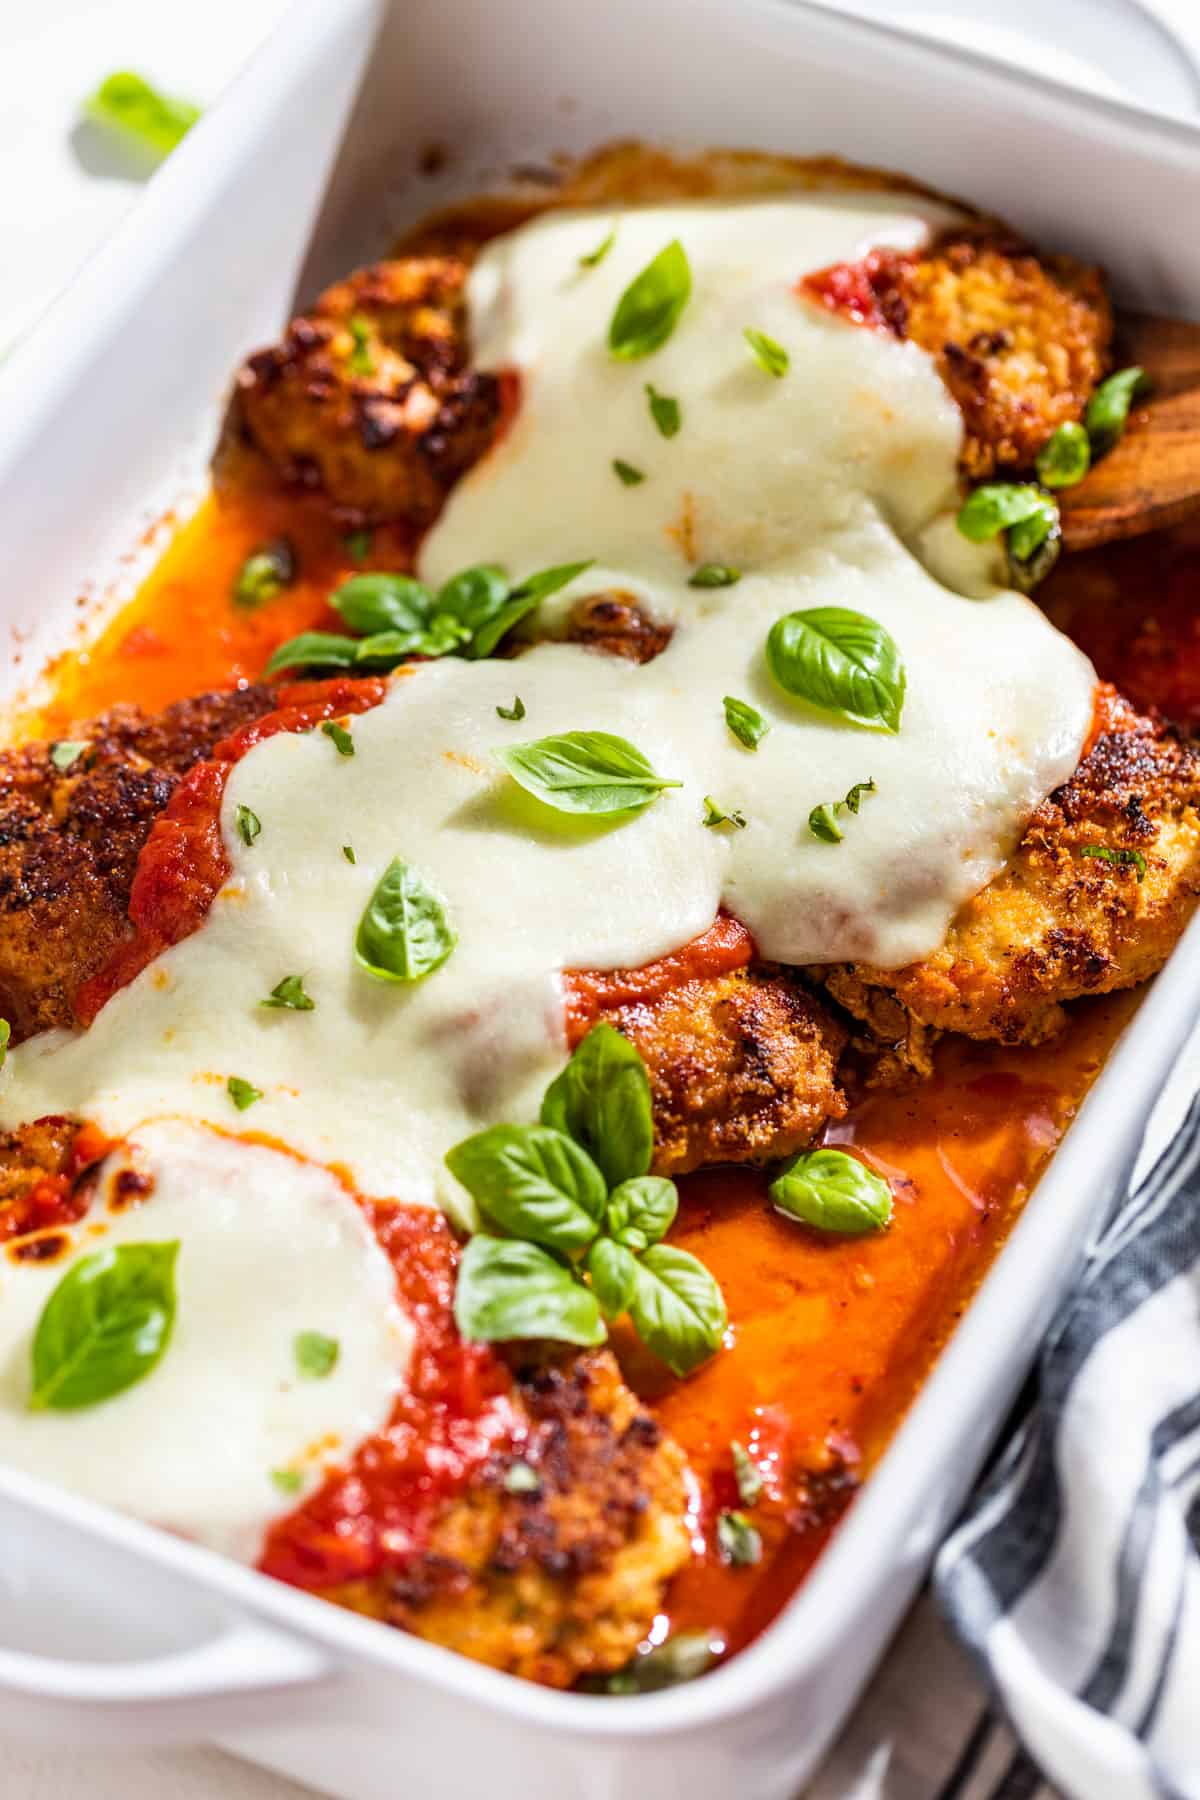
Ingredients & Substitutions
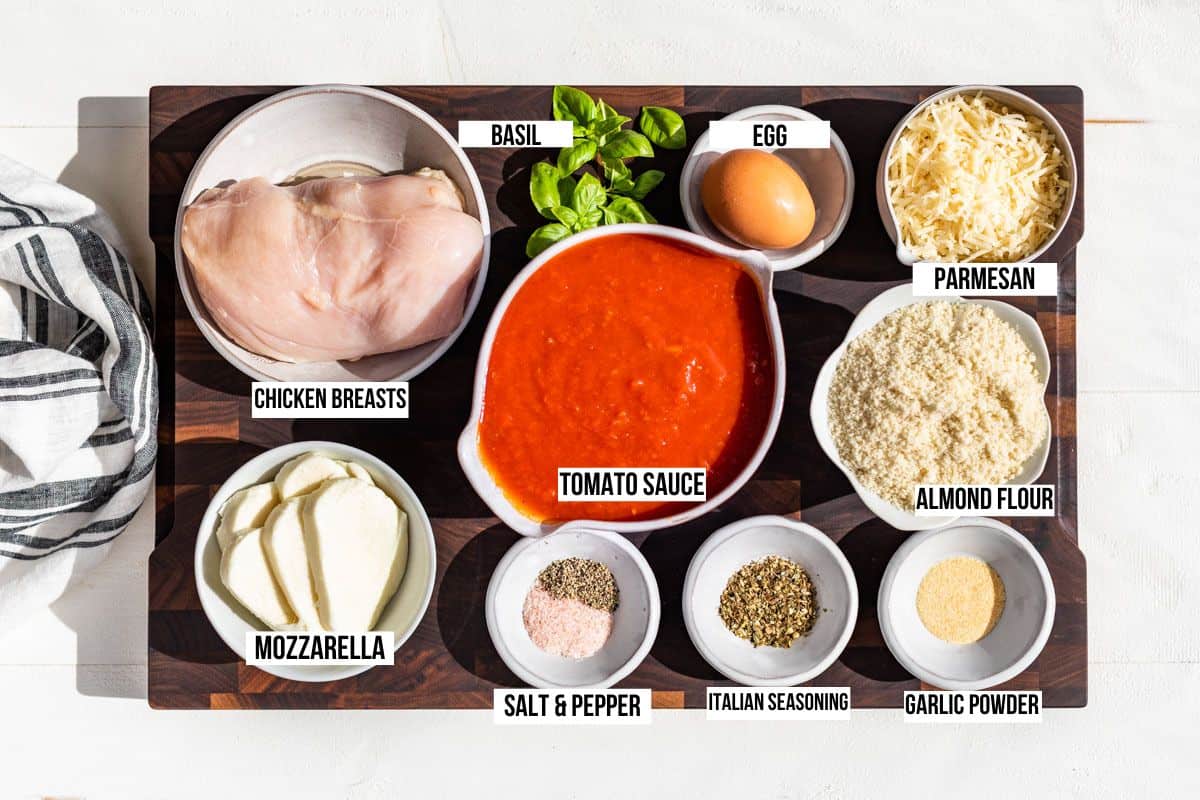
- Chicken breasts – boneless skinless chicken breasts are the best for making chicken parmesan cutlets. I have used chicken thighs, but they’re hard to pound evenly and don’t look quite as nice. Chicken tenders would also work, just don’t cut them in half, simply pound them to the right thickness.
- Almond flour – replaces the usual breadcrumbs here and makes the perfect gluten free coating. I have tried using gluten free panko crumbs, but they’re always so tough compared to the real thing. So we prefer this almond flour coating instead of any other gluten free option. If you can’t have nuts, check out my Buffalo Chicken Salad where you’ll learn to make crispy chicken cutlets with pork rinds.
- Parmesan – is stirred into the almond flour coating and creates the perfect chicken cutlet.
- Spices – a bit of Italian seasoning along with garlic powder/granules adds a lot of flavor to the almond flour coating.
- Tomato sauce – you want this to be a jarred pasta sauce not just plain canned tomato sauce. Tomato Basil, Marinara or Arrabiata for spice all work well here. I usually go with tomato basil when I buy my sauce, and for homemade try my Marinara Sauce.
- Mozzarella – both fresh mozzarella and grated mozzarella work well here. If you want nice cheesy stringy mozzarella try the grated kind. Fresh mozzarella doesn’t always make for nice cheese strings in Chicken Parmesan, but it’s incredibly tasty.
- Egg – is part of the coating. You dip the chicken cutlets first into the egg mixture, then into the crumbs. The egg mixture is what will hold the almond flour coating onto the chicken cutlet.
- Basil – isn’t strictly necessary but it’s super tasty to have some fresh basil on top. You can also sprinkle with some chopped fresh parsley for a bright pop of green color.
How to make this recipe step by step
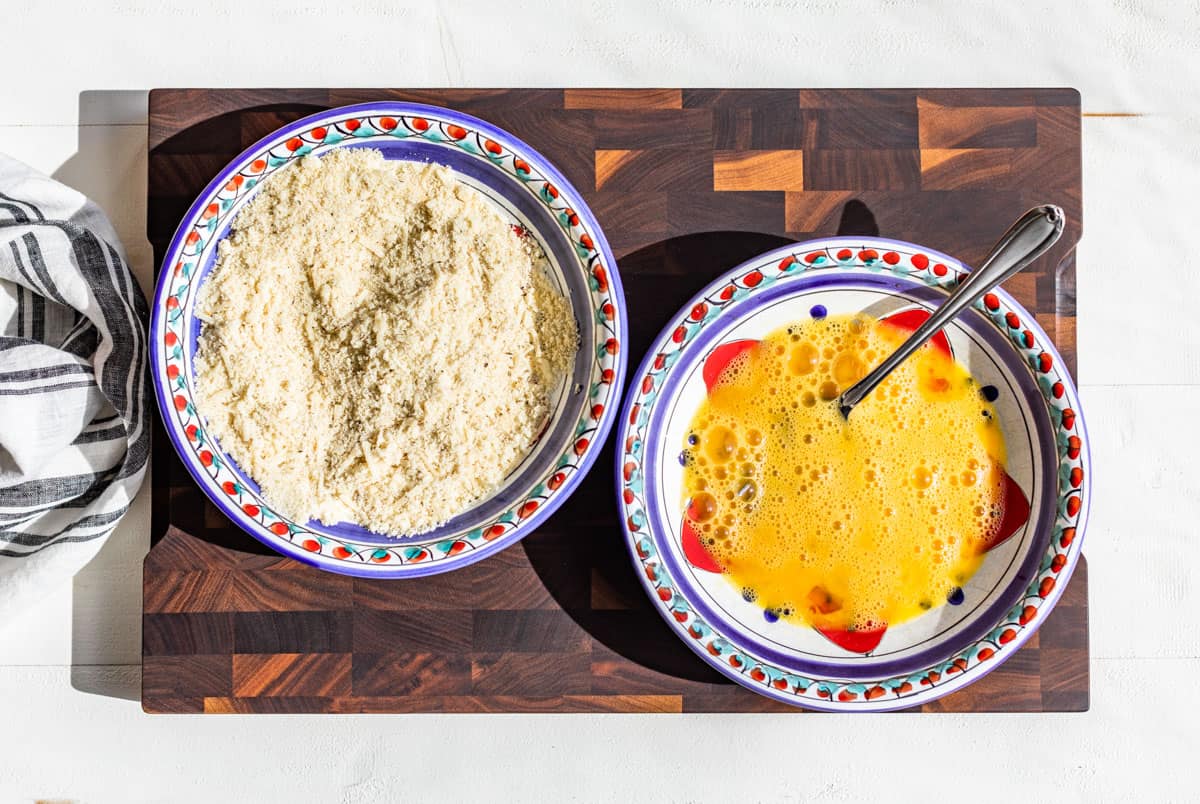
Step 1: Start by stirring together the almond flour coating in one bowl. Then whisk the egg with the sea salt in another bowl.
Tip: I like to use pasta bowls because they’re easy to dip the chicken cutlets in and out of.
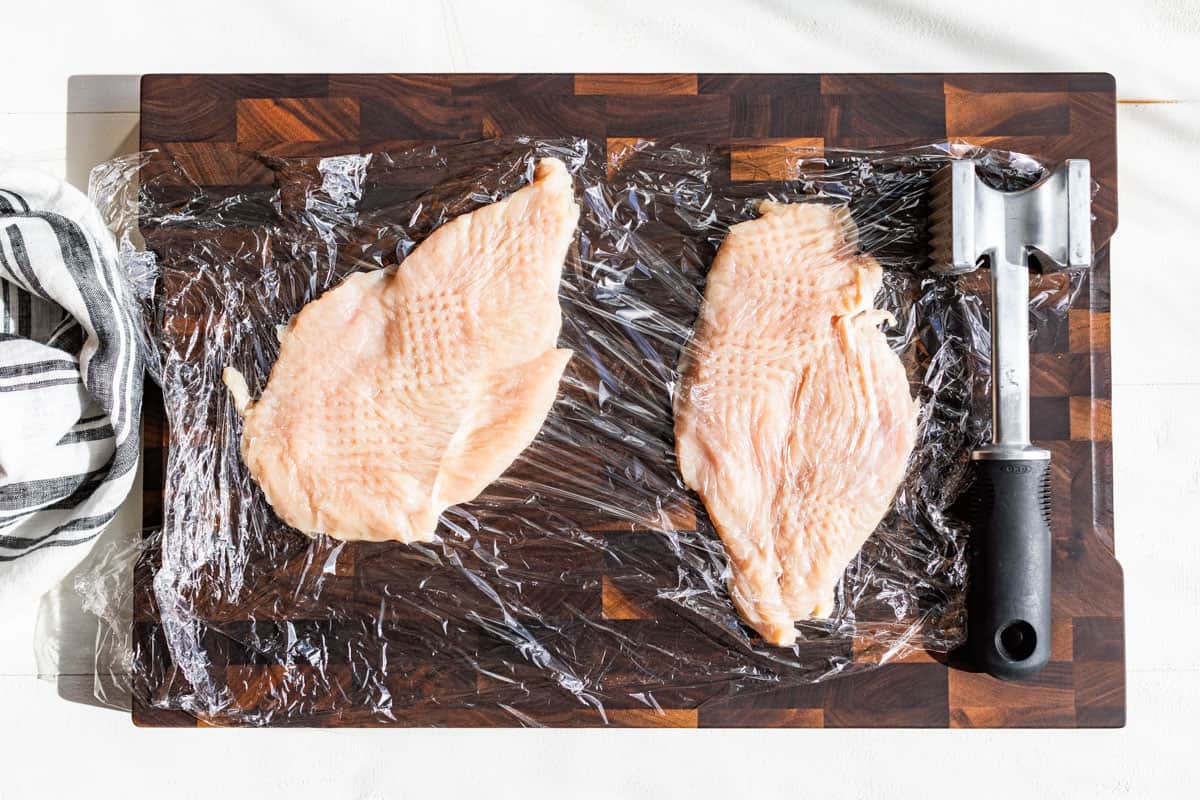
Step 2: Next cut the chicken breasts in half lengthwise. Then place the pieces of chicken between 2 pieces of plastic wrap and use a meat mallet to pound them to about 1/2″ thick.
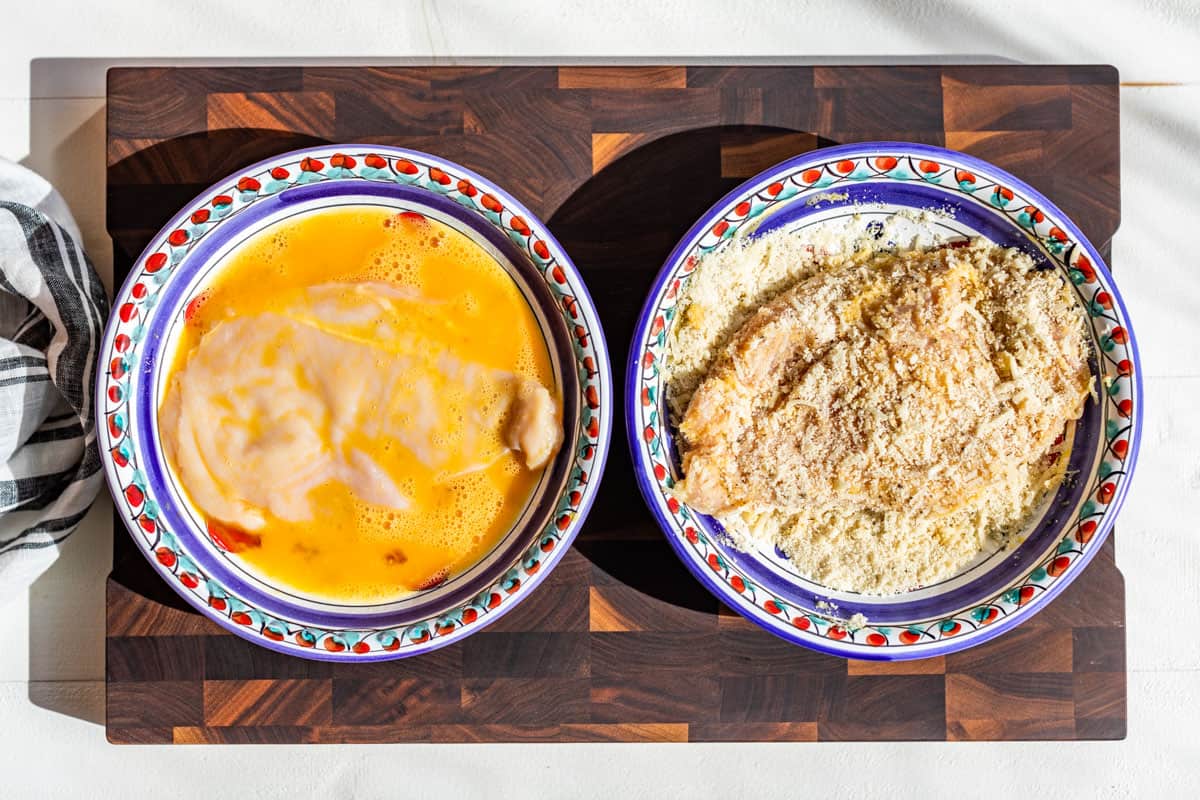
Step 3: Once the chicken cutlets are ready preheat 2 skillets over medium heat. Then one at a time dip the chicken cutlets into the egg mixture, then dredge in the almond flour mixture.
Add the oil to the skillets along with the breaded chicken cutlets.
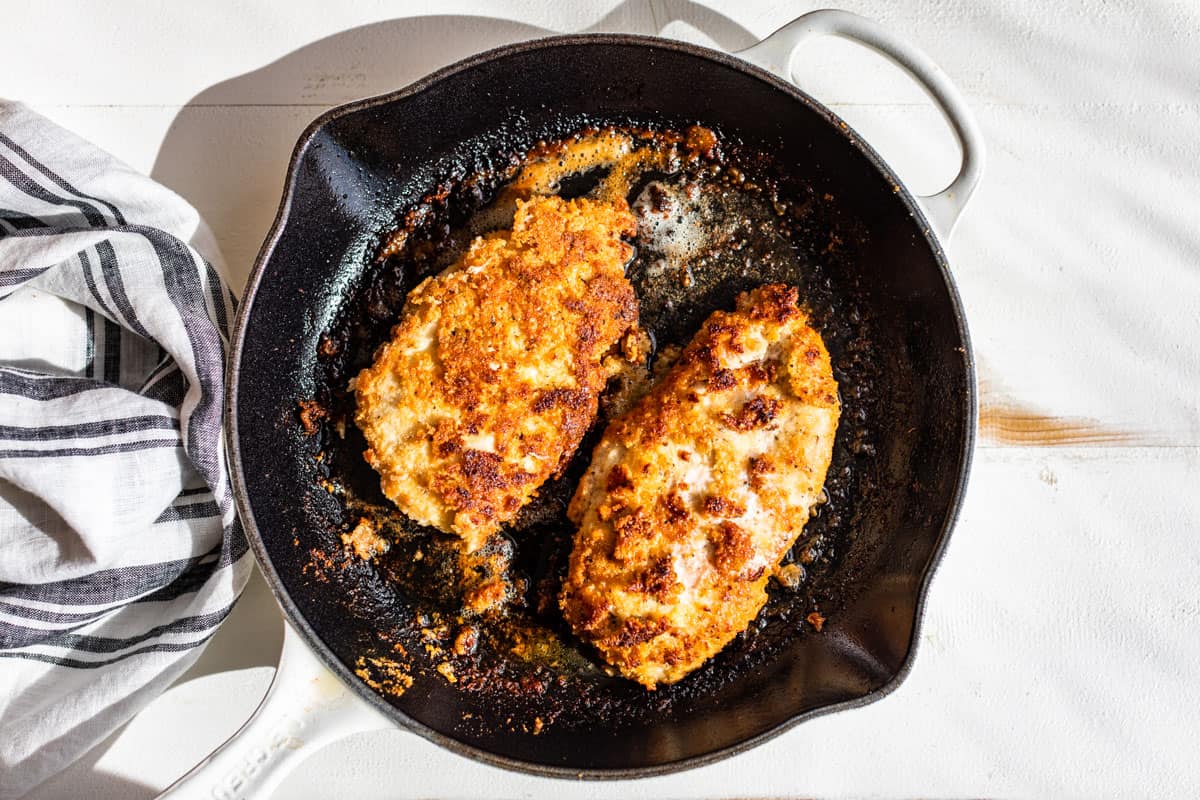
Step 4: Pan fry until the chicken is golden browned on both sides and almost done, (it will finish cooking in the oven).
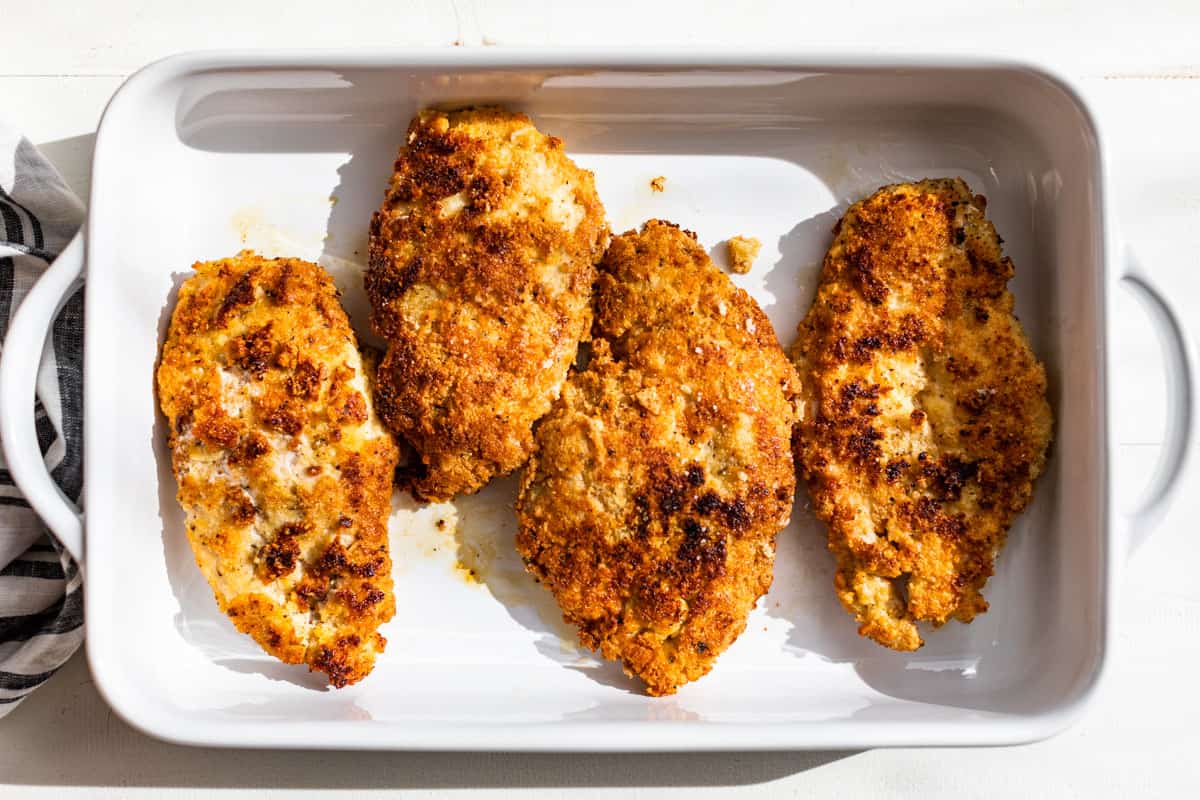
Step 5: Place the chicken cutlets into a baking dish as they finish pan frying.
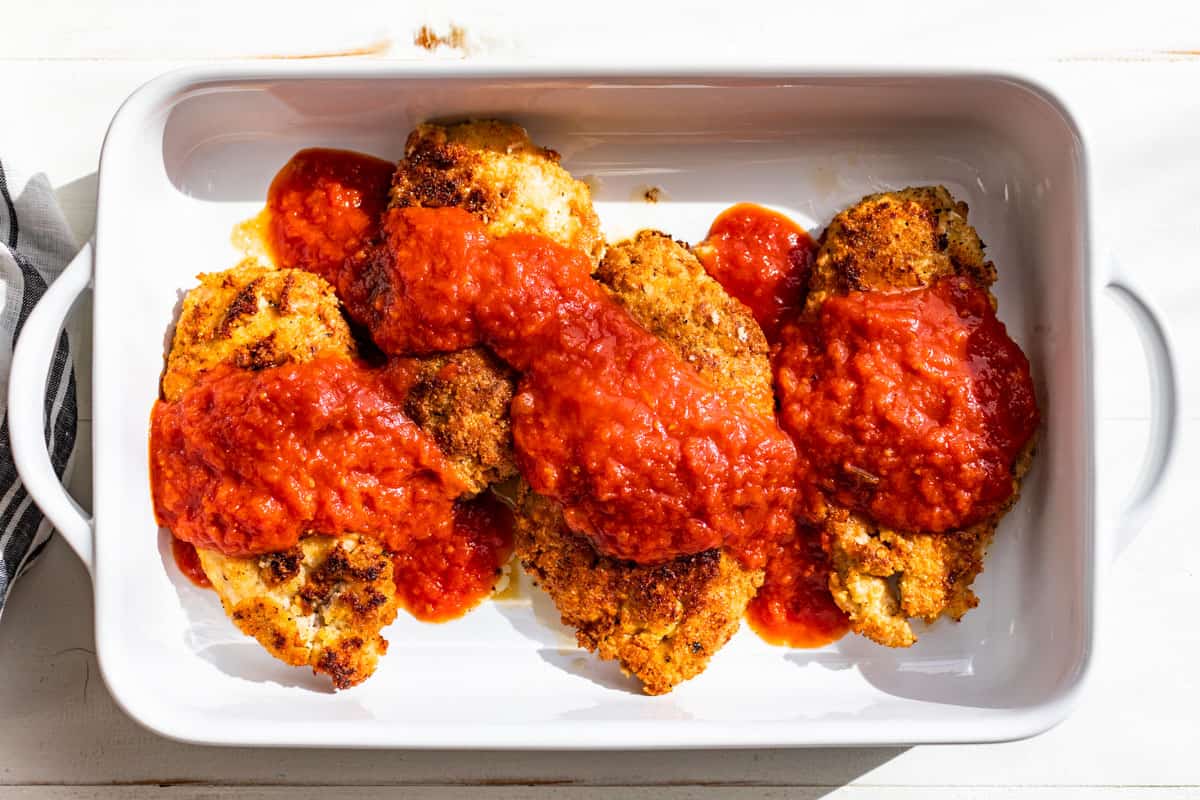
Step 6: Next top the chicken cutlets with some of the tomato sauce. Be sure to leave plenty of the crispy coating uncovered so it stays crispy!
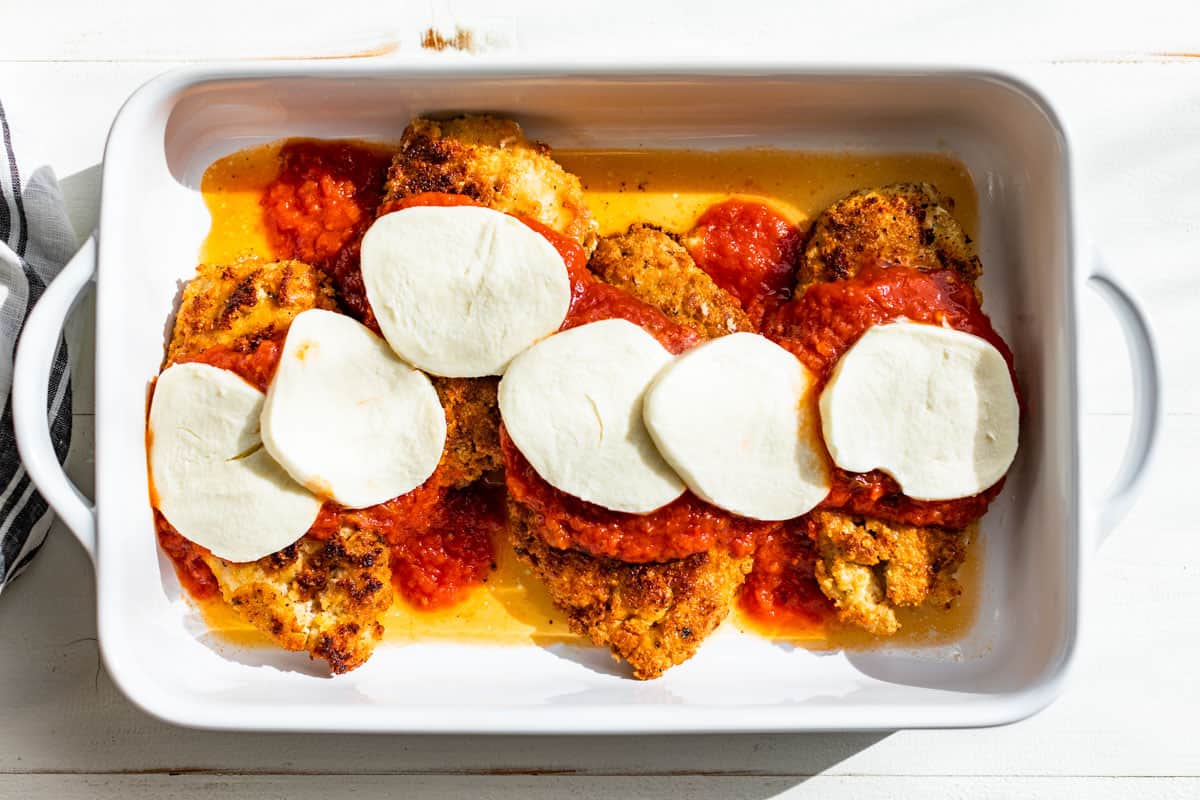
Step 7: And finally top with the mozzarella cheese. You want to leave the ends of the chicken parmesan uncovered so they remain crispy. Bake until bubbling and serve with the remaining tomato basil sauce heated, or you can toss it with freshly cooked pasta.
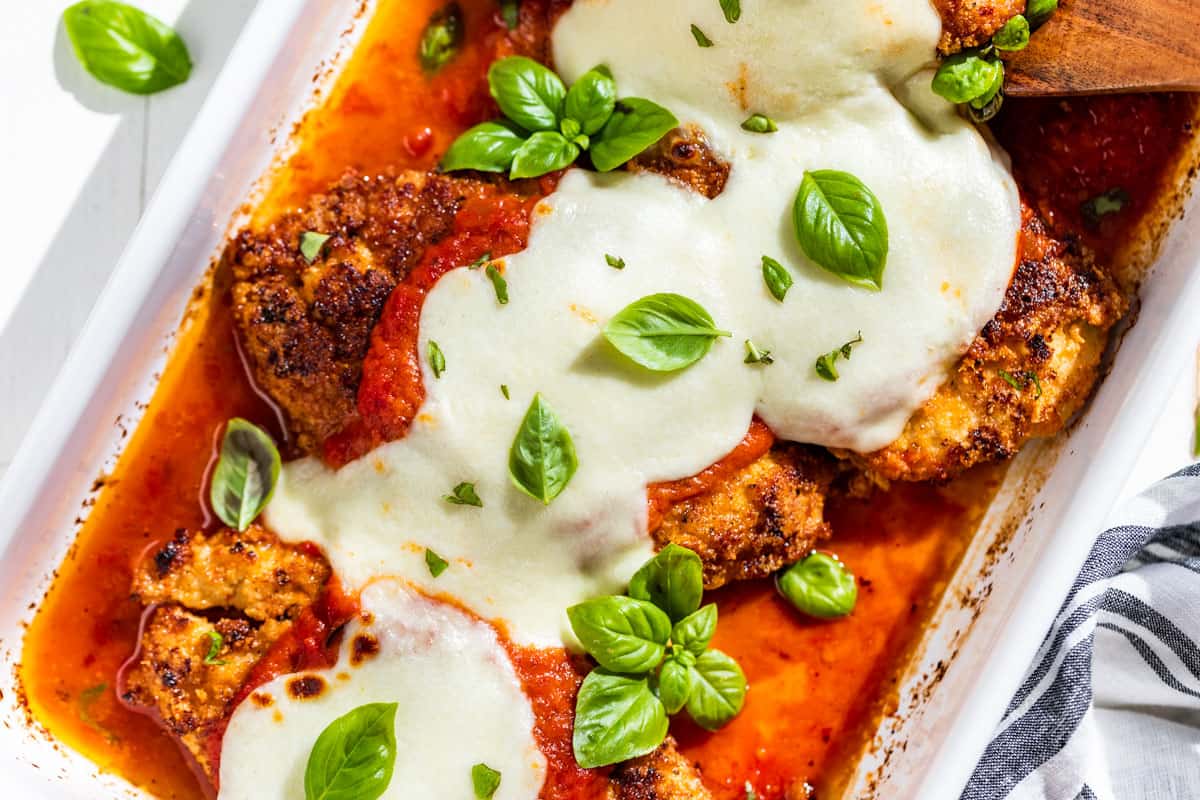
Sprinkle with chopped basil leaves or chopped fresh parsley and serve!
Ways to serve this
- with a side of freshly cooked pasta tossed with the remaining tomato sauce.
- consider trying out my Creamy Mashed Cauliflower, Best Mashed Potatoes, or Mashed Sweet Potatoes for an unconventional but delicious side dish.
- Roasted Broccoli, Garlic Roasted Carrots, Sautéed Spinach, or Perfect Roasted Asparagus would all go well here.
- for an Italian American experience, try my Chicken Caesar Salad on the side made without the chicken as a side salad.
FAQ’s
You can use my almond flour parmesan coating in the recipe. Or try my pork rinds crispy coating from my Crispy Buffalo Chicken Salad if you can’t have nuts.
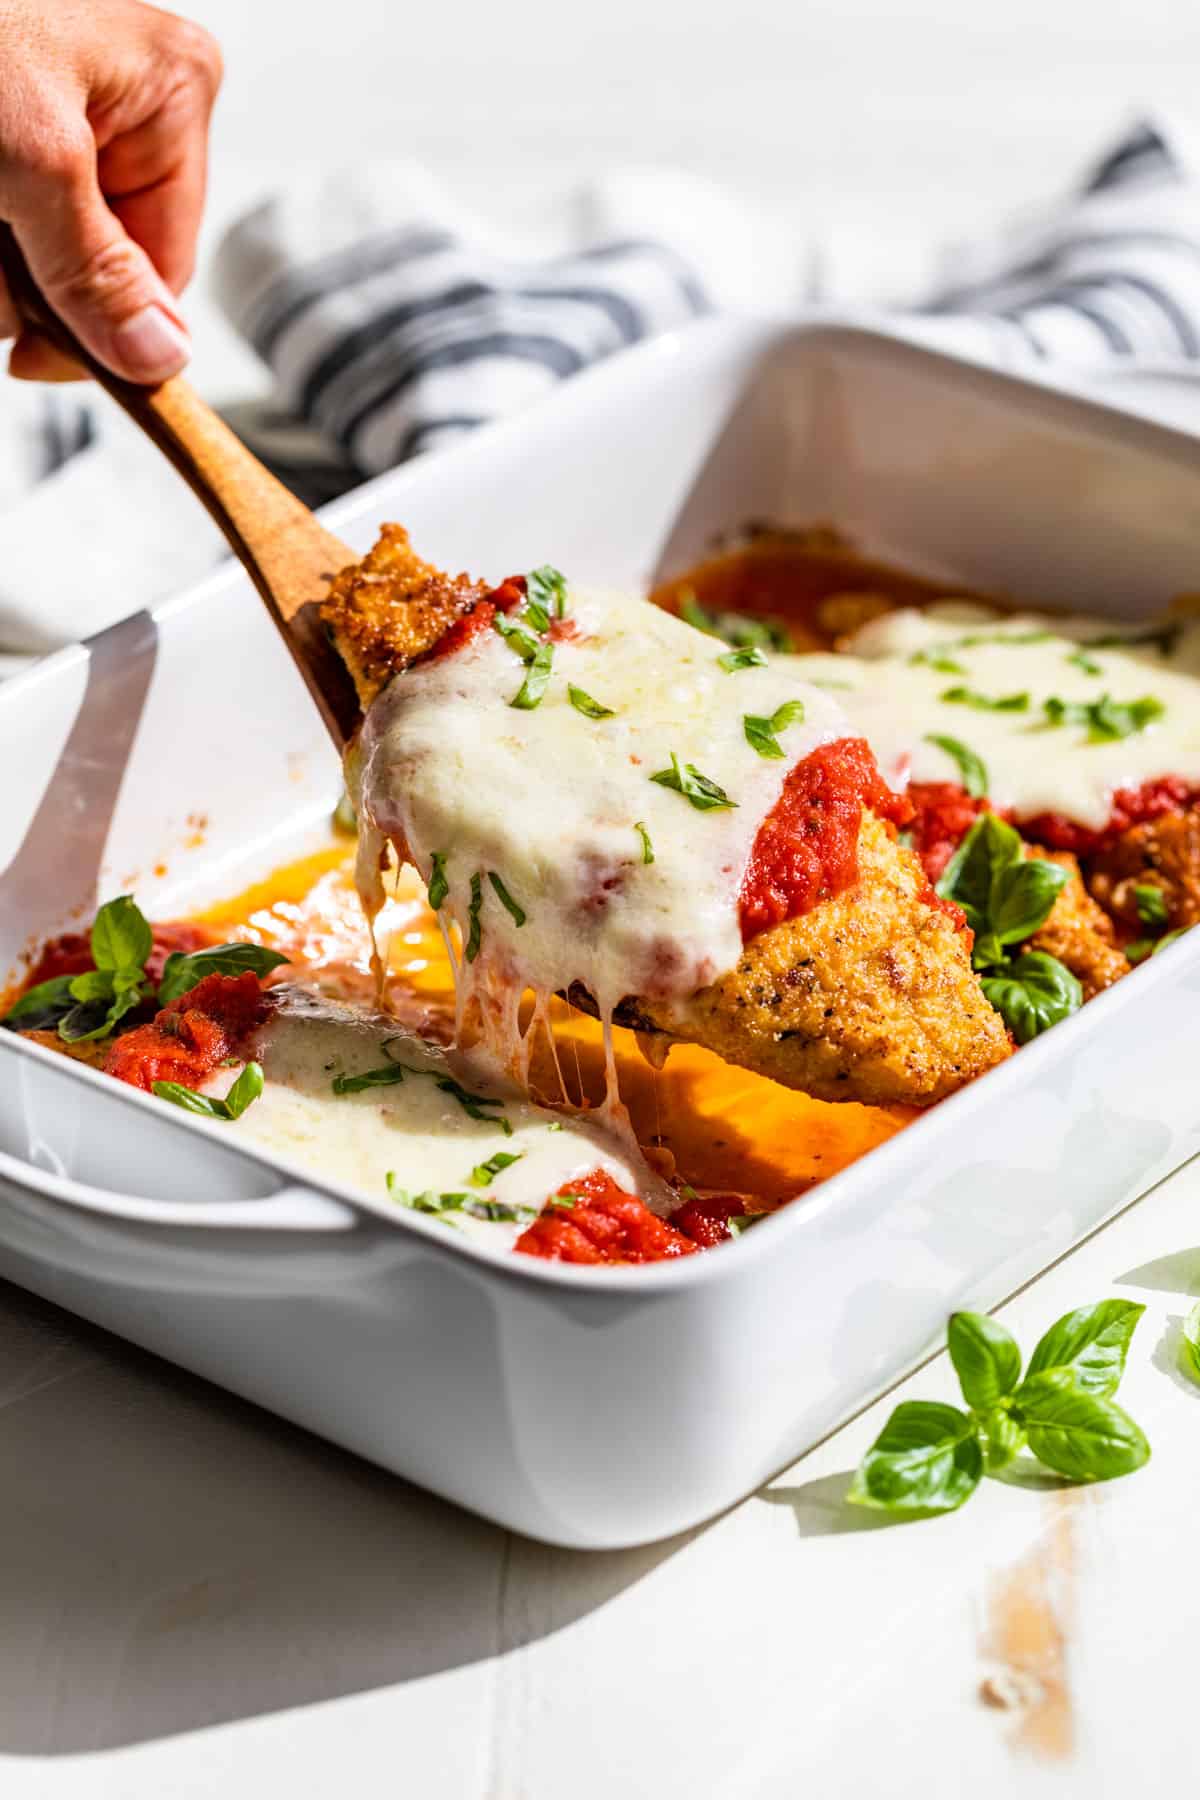
Two ways, first up you want to pan fry the chicken in some oil over medium high heat to make sure the coating is crispy and properly browned. Secondly don’t cover the whole chicken cutlet with sauce and cheese, just layer them down the middle leaving at least half of each chicken cutlet uncovered. That way when it bakes, the chicken cutlet will be crispy and you can serve additional sauce on the side.
Storing leftovers
- Store – place any leftovers into an airtight sealed container and refrigerate for 4-5 days.
- Freezing – place your leftovers into a freezer safe airtight container and freeze for up to 1 month. Defrost in the fridge overnight before reheating. The chicken will be a bit soggier, and the cheese will loose some texture.
- Reheating – you can reheat this chicken parmesan in the oven at 300ºF until heated through. Or you can place a chicken cutlet in a small skillet along with 1 tablespoon of water. Partially cover it with a lid and simmer until heated through. Chicken Parmesan is never all that crispy after reheating, but it’s still very tasty. If you have leftover pasta with tomato sauce, you can also cut up the Chicken Parmesan and toss it together with the pasta as you reheat it with some water.
Tips & Tricks
- Try this with different pasta sauces as mentioned above. We love making this with Arrabbiata sauce for a bit of spice, it’s not at all classic, but it’s really tasty. Tomato basil sauce is of course the more classic choice, but Tuscan pepper and even a creamy Vodka sauce have all been hits in our house.
- Don’t try to cook the chicken cutlets in 1 skillet! Some of the almond flour breading falls off into the oil and it will burn on the second batch of chicken cutlets. Perfectly cooked cutlets with burned bits of almond flour aren’t a good flavor combo! So it’s better to use 2 skillets and cook over medium to medium-high heat so the cutlets are properly brown.
- You can’t go wrong with either kind of mozzarella, both are good, so use whatever you have or what’s most affordable.
More ItalianInspired Recipes
I really hope you enjoy this Almond Flour Chicken Parmesan (without breadcrumbs)! If you do get a chance to make this recipe, I’d love to hear from you in the comments.
Gluten Free Chicken Parmesan
INGREDIENTS
- 2 chicken breasts - boneless, skinless, 1 lb, cut in half lengthwise and pounded 1/2" thick
- 3/4 cup fine almond flour
- 1 tsp Italian seasoning - no salt of sugar added
- 1 tsp garlic - granules, sometimes called garlic powder
- 1/2 cup parmesan - grated
- 1/2 teaspoon sea salt
- 1 egg - beaten with 1/4 teaspoon sea salt
- 1/4 cup olive oil - or avocado oil
- 25 ounces tomato basil sauce - 1 jar, or marinara sauce, 3 cups
TOPPING:
- 6 slices fresh mozzarella - or 1.5 cups grated mozzarella
- 10 basil leaves - thinly sliced
INSTRUCTIONS
- Preheat the oven to 450ºF.
- Mix together the almond flour, parmesan, Italian seasoning, garlic granules, and sea salt in a wide shallow bowl, (bowl plate or pasta bowl).
- Beat the egg together with the 1/4 tsp of sea salt in a 2nd wide shallow bowl and set aside.
- Cut the chicken breasts in half lengthwise to create 4 pieces. Then place each piece between 2 sheets of plastic wrap and pound them with a meat mallet until they're 1/2" thick.
- Preheat 2 – 9" skillets over medium-high heat. Cast iron skillets work really well here for even cooking and browning.
- Next dip each chicken cutlet into egg mixture, and then dredge them in the almond flour mixture.
- Add 2 tbsp olive oil to each skillet. Then carefully lay the chicken cutlets in the pan and cook until golden brown on each side, about 3-4 minutes each side.
- When the chicken cutlets are golden brown, place them in a 9" x 13" baking pan. Spoon about 1 cup of the sauce down the center of the cutlets.
- Then place the fresh mozzarella in a line down the center. Or create a line of grated cheese down the center of the chicken cutlets.
- Bake the chicken cutlets in the oven until the cheese melts and is bubbly and the chicken is done, about 10 minutes.
- While the chicken parmesan finishes, heat up the remaining sauce to serve on the side.
- When the chicken is done, top with the chopped basil and serve with the remaining sauce and your choice of side dishes.


I love this chicken Parm. One of, if not my favourite dinner meals…Not just for special occasions, but will spurge for my birthday this month❤️
It’s one of our favorite meals too and definitely perfect for birthdays!
This sounds really good!! Do you have the nutritional information for this recipe?
I don’t have the nutritional information for this recipe, at this point I haven’t found a good resource for including this on the website, but it is something I’m looking into. You can calculate the recipe with an online recipe calculator like Spark Recipes if you’d like. I hope you enjoy the recipe, it’s a household favorite!
Can I substitute almond flour for coconut flour?
Coconut flour won’t have the same crispy/crunchy texture. If you’re allergic to almonds, you can make your own nut flours using anything that you can eat – cashews would be a good flavor substitute! Let me know if you have anymore questions. 🙂
If you don’t have a meat mallet, use the side of a small plate or saucer. No, really, I’m not joking! I’ve owned a meat mallet forever, but rarely use it because the side of a plate does a much better job of breaking down the fibers in the meat to tenderize is.
Yum. Yum. Yum. I’m thinking this needs to happen this weekend.
That looks delicious!
This looks so good! So many recipes to try! Thanks!
Making me very hungry…. this could become a new staple in my recipe box shortly 🙂
And I would be eating more veggies than normal with this version and not even notice!