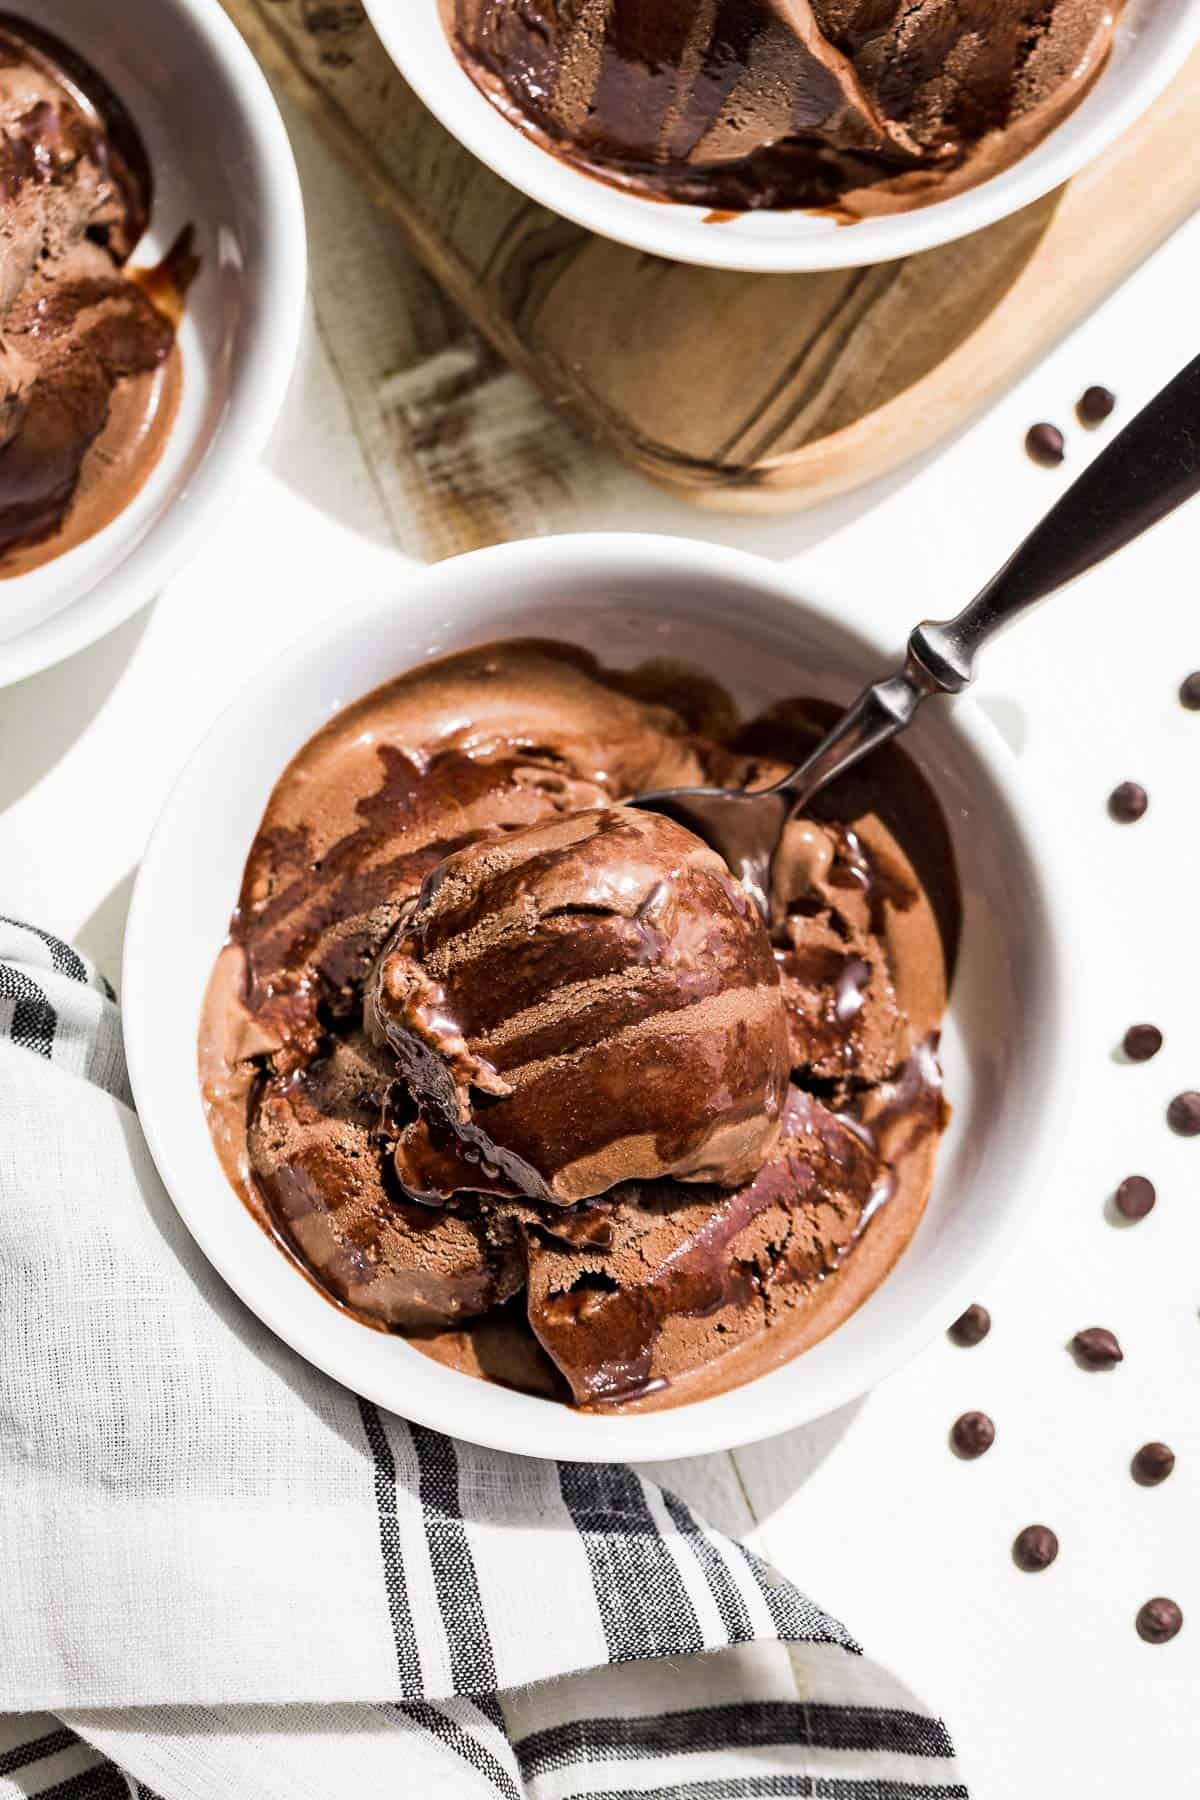
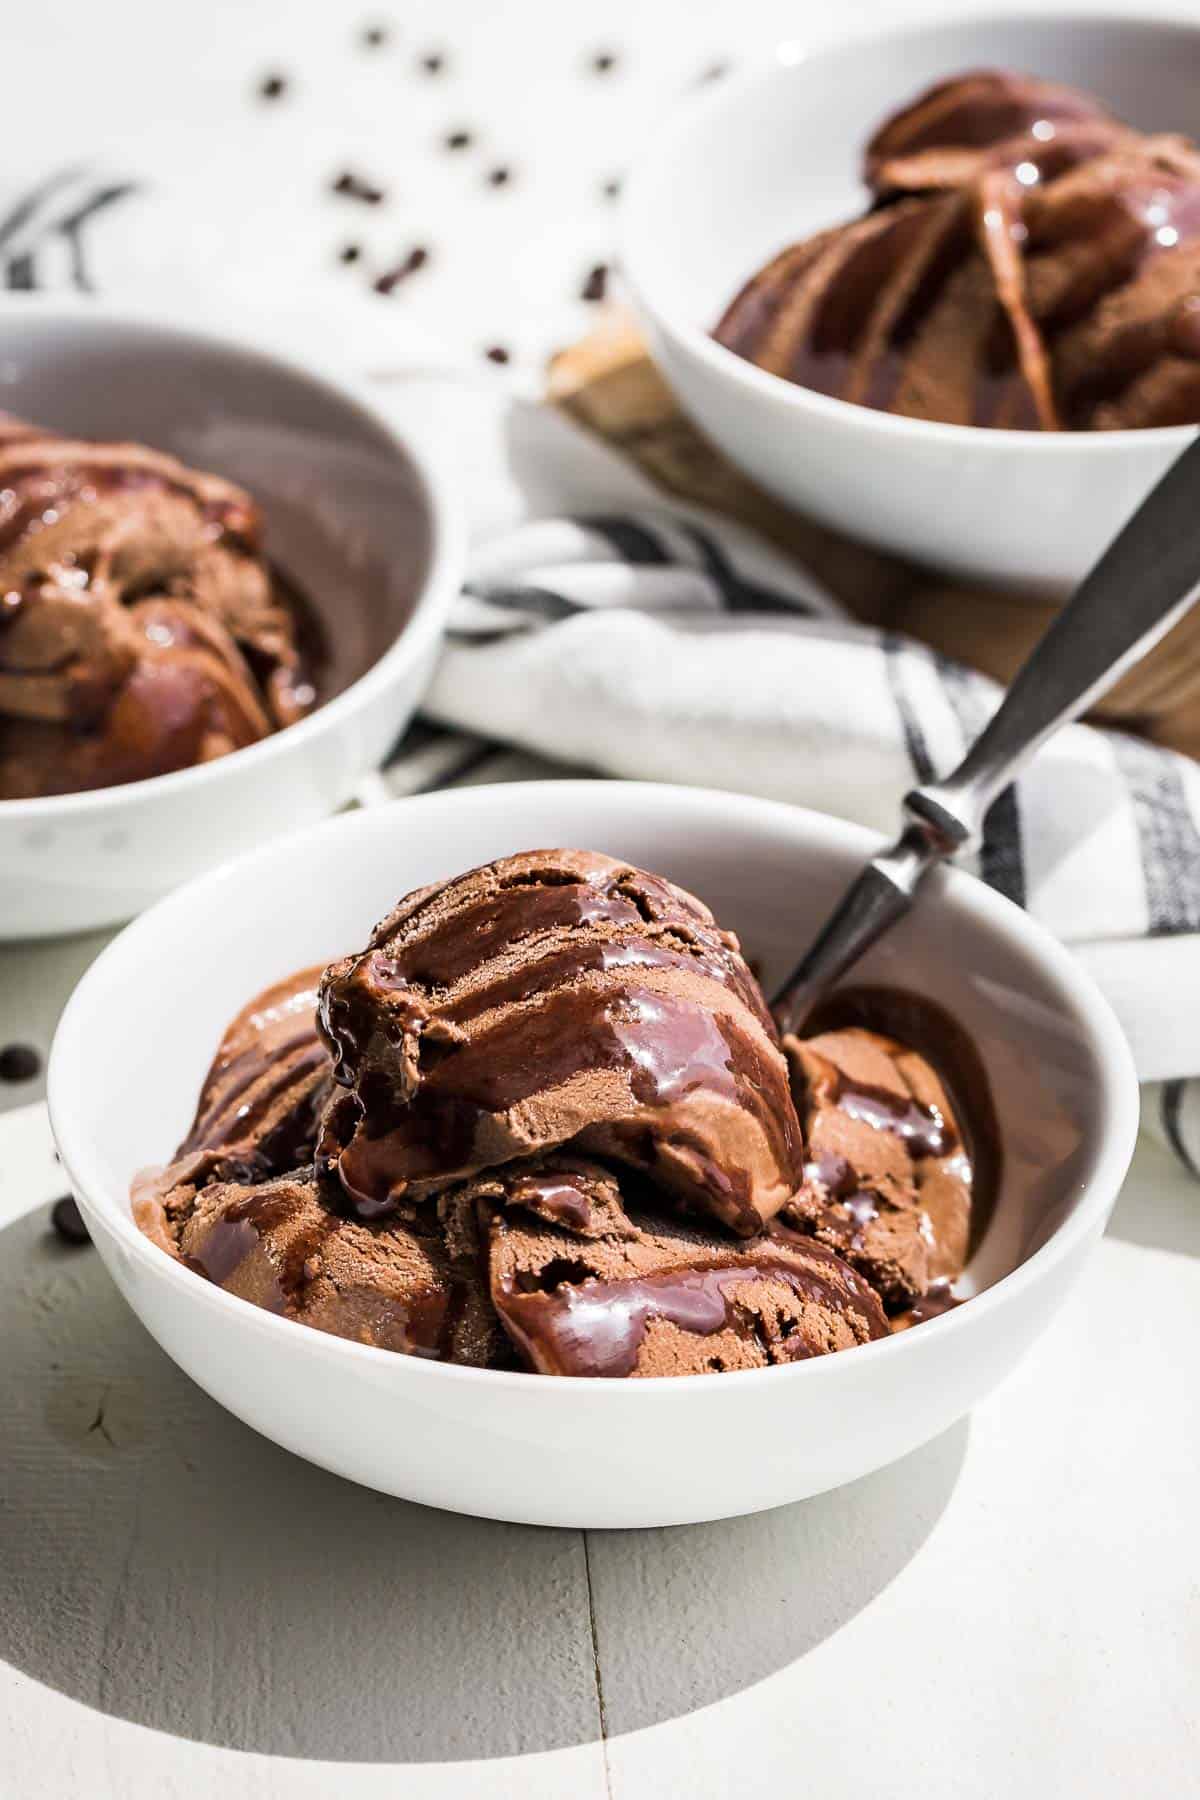
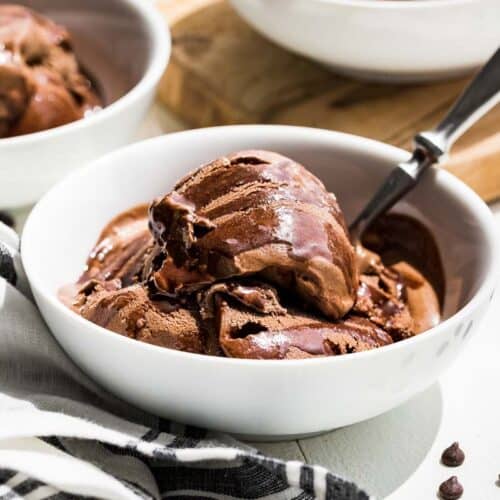
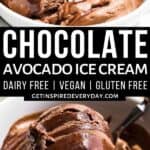
Decadent and creamy, you’ll never know this Chocolate Avocado Ice Cream recipe is dairy free and vegan. It comes together easily in the blender, and it has a deep chocolate flavor that keeps you coming back for more. It’s also made without refined sugar using Grade A amber maple syrup instead. The barest hint of maple flavor hides in the background and adds a nice depth to the chocolate flavor.
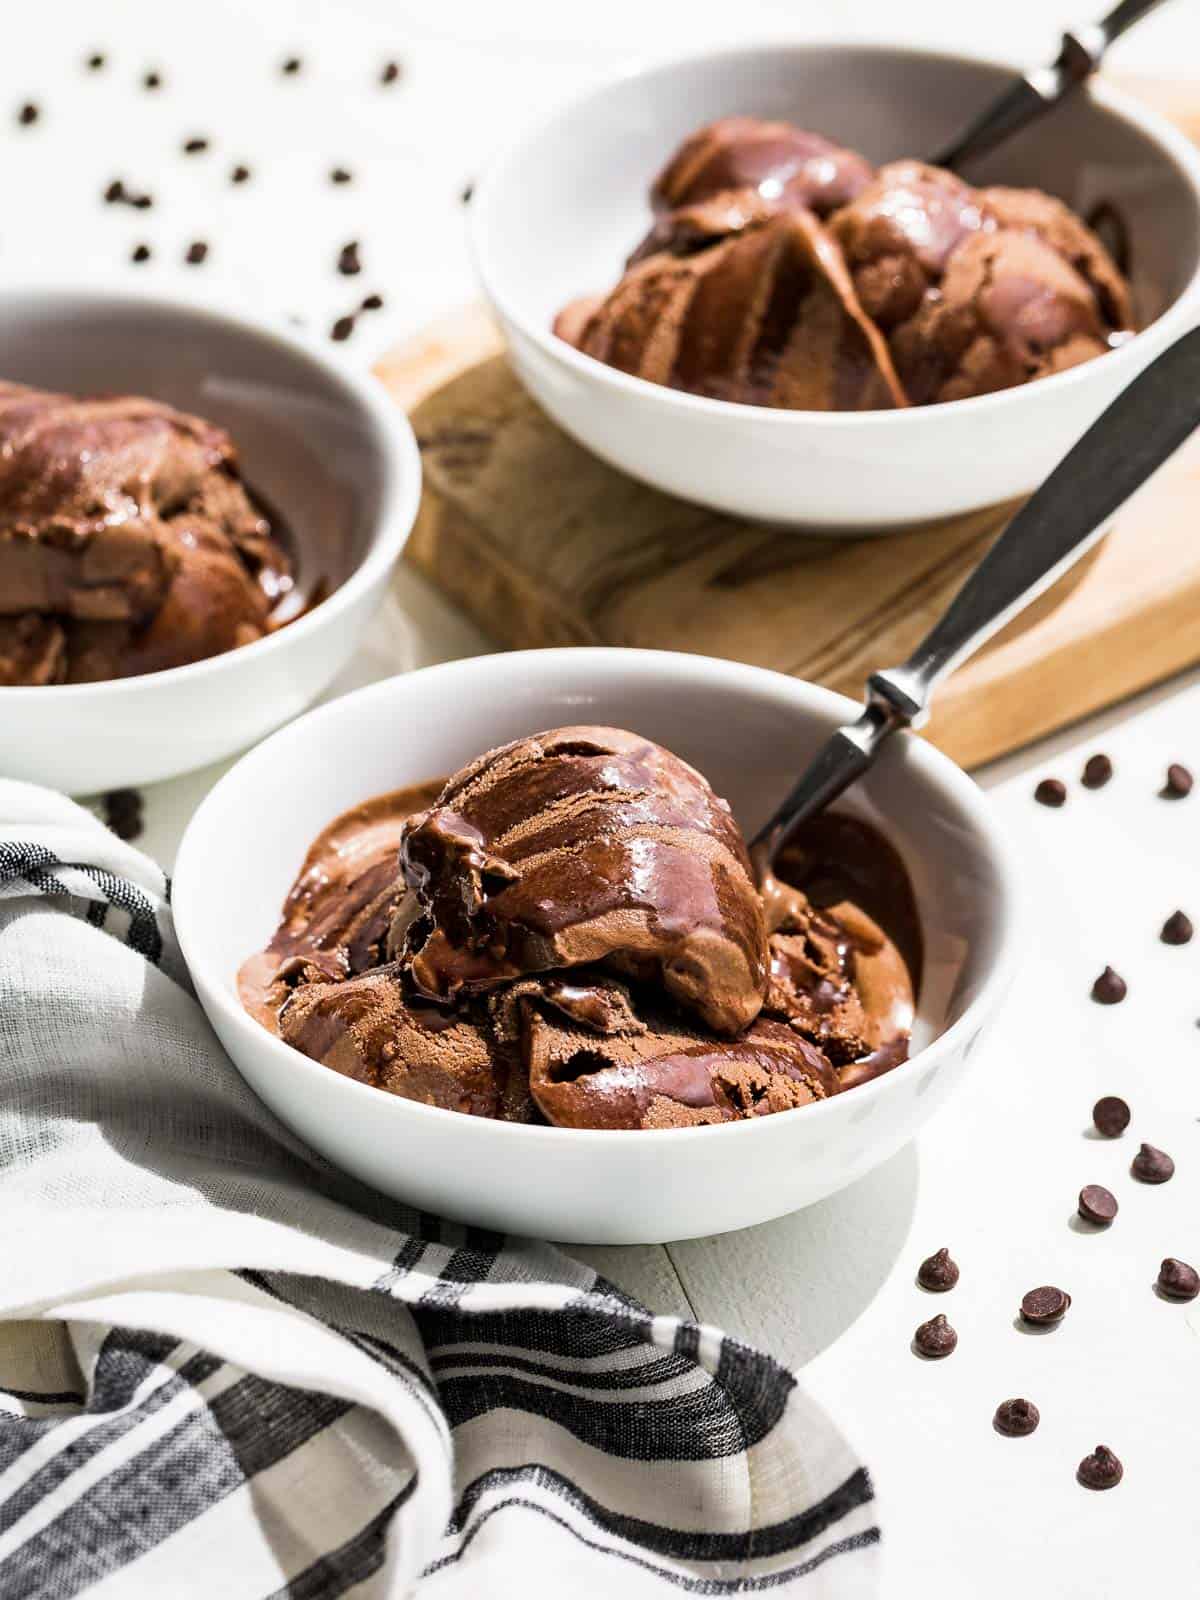
Coconut ice creams are pretty common in grocery stores now. But when we first found it in Calgary, AB a decade ago, it cost $13 per pint which just about made me faint!
It’s about half that amount where we live in Montana, but it’s still not exactly cheap. Luckily it’s super easy to make at home, and it’s even tastier as well.
Ingredients & Substitutions
- Coconut milk – full-fat coconut milk works best in this recipe. Also, you’ll occasionally find a can of coconut milk that breaks when blended. To avoid this you can look for full-fat coconut milk that has an emulsifier in it like guar gum.
- Avocado – just ripe avocado is perfect for this recipe. Avoid super ripe or overripe avocado because it has too much flavor. Better to use really ripe avocados in guacamole. Avocado adds incredible creaminess to this ice cream and you don’t taste the avocado with all the chocolate flavor.
- Cocoa powder – unsweetened cocoa powder is what gives you the deep chocolate flavor.
- Maple syrup – I like to use Grade A amber maple syrup which has only a hint of maple flavor. This way you won’t be overwhelmed with maple flavor with more of a caramel depth instead. You can also use agave nectar as a sweetener. You can also add more or less to taste. But remember the ice cream will taste less sweet after freezing and the maple syrup helps it to have a good texture. Reducing the sweetener will make it more icy in texture.
- Vanilla extract – helps to deepen the chocolate flavor and round out the ice cream.
Make this Chocolate Avocado Ice Cream step by step
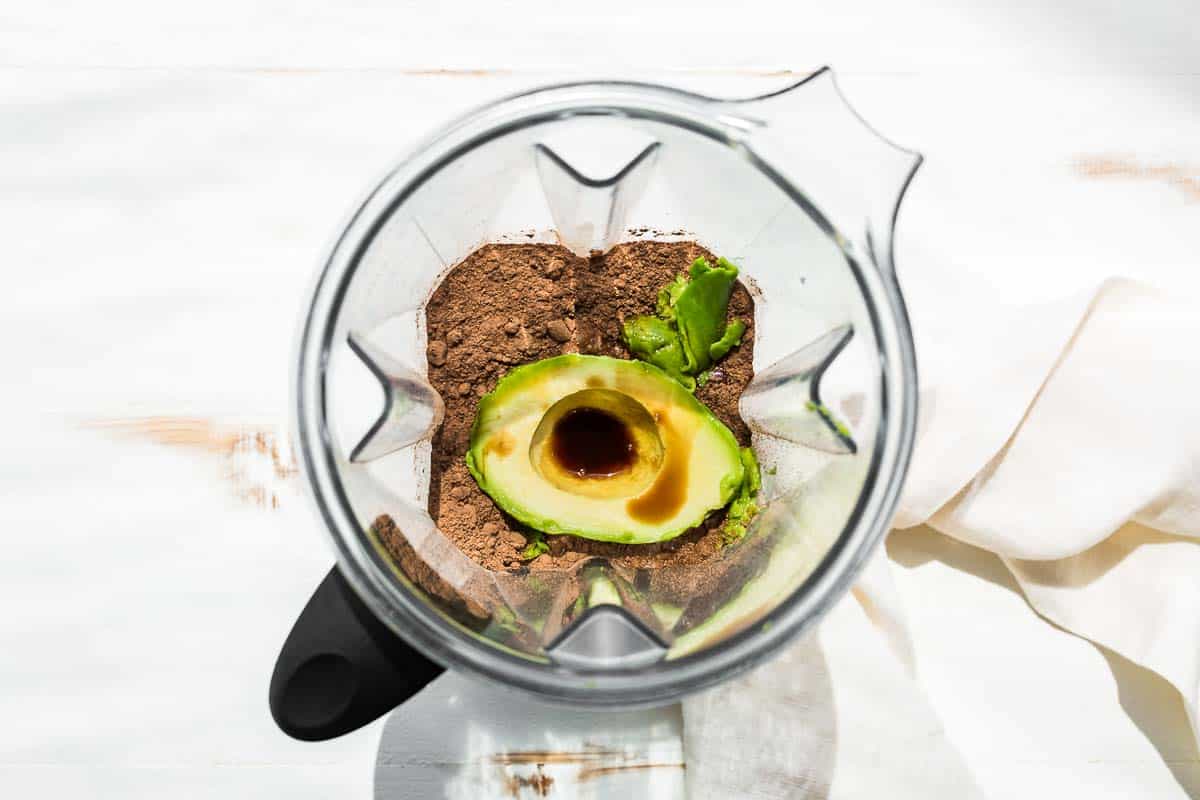
Step 1: add all the ingredients to a blender container.
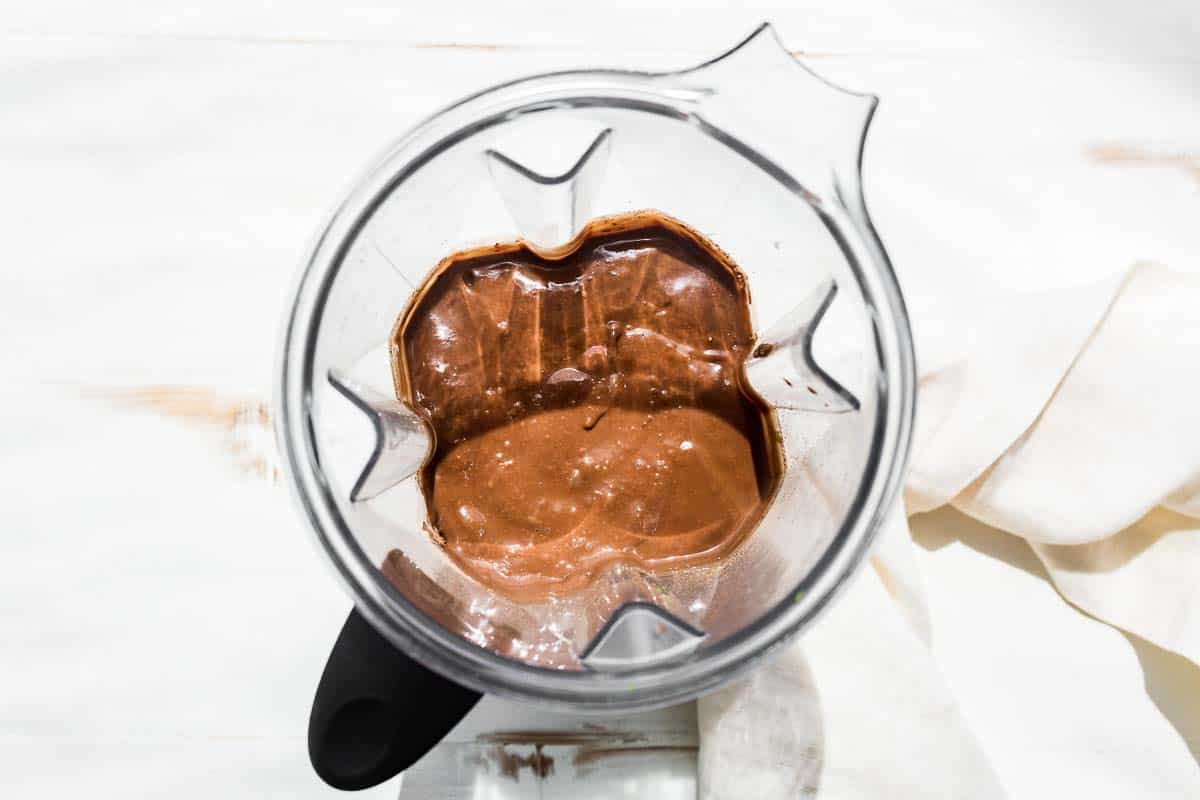
Step 2: blend until smooth and chill completely before freezing the ice cream.
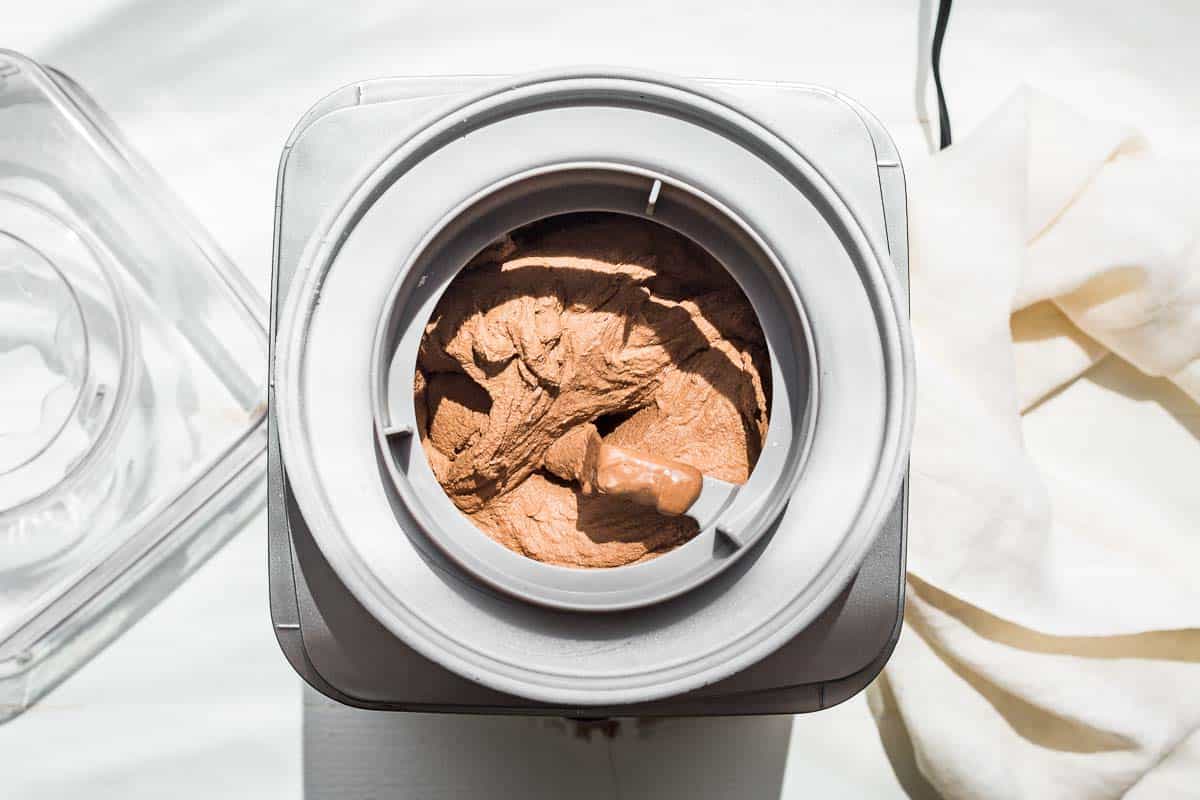
Step 3: When the ice cream base is chilled, churn it in your ice cream machine according to the manufacturer’s instructions.
How do you know when the ice cream is done? You’ll know the ice cream is done when it stands up on a spoon and clings to it. If it runs right off, it’s not quite ready.
Once it looks like soft-serve, remove it from the machine and place it in the freezer to harden a bit more, or enjoy it right away.
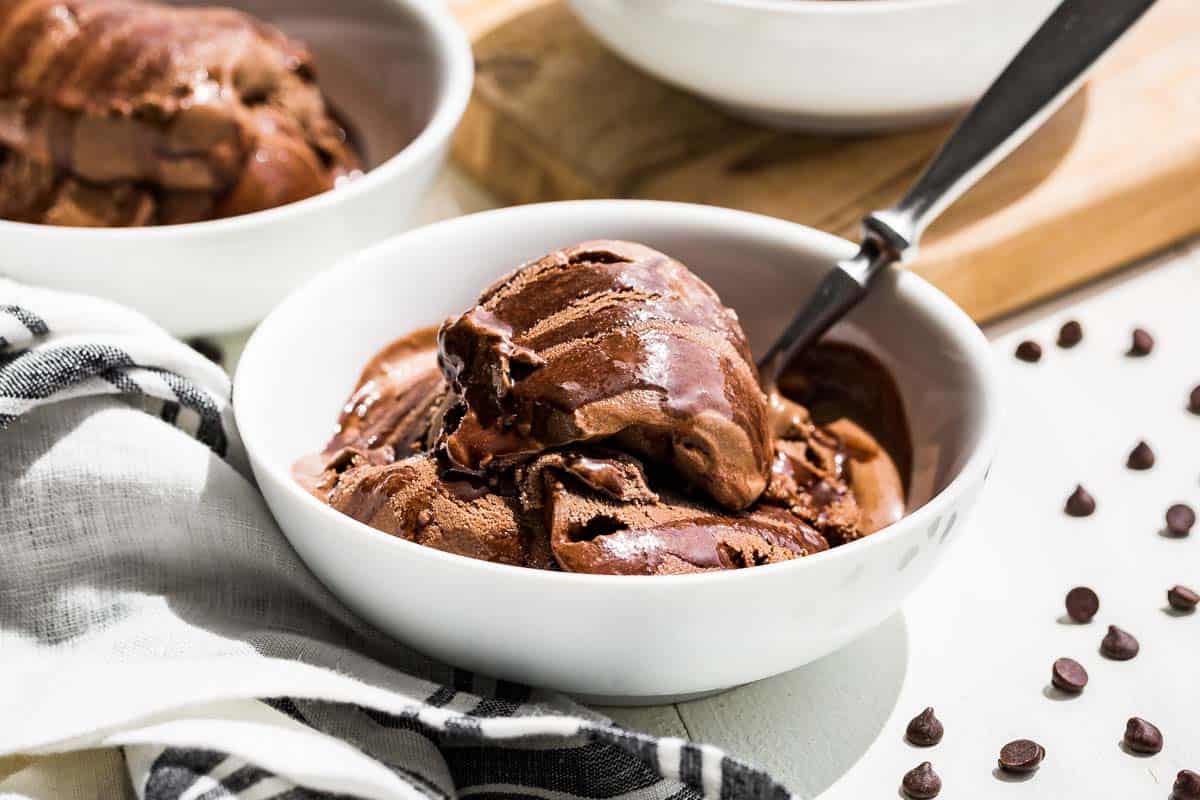
Ways to serve this
- Scoop this chocolate avocado ice cream into a bowl with fresh strawberries or raspberries in the summer months. Or top it with my Berry Sauce in the winter.
- My Vegan Salted Caramel Sauce is the perfect pairing with this ice cream. Top with chocolate chips for an extra treat.
- Try this ice cream as a filling in my Chocolate Cherry Ice Cream Tart, or in my Cookie Dough Ice Cream Sandwiches.
- If you’re crazy about chocolate try this scooped over my Chocolate Fudge Skillet Cake or my Flourless Brownies.
- Add 1/4-1/2 cup of peanut butter to taste to the ice cream base before freezing. This will give you an even more creamy texture and peanut butter cup flavor.
FAQ’s
Yes, you can make this ice cream without an ice cream maker. There are two options for how to make this with a blender or with a food processor listed step by step in the blog post.
I don’t recommend using any kind of boxed coconut milk because it tends to be thin, watery, and lacking in flavor. You want to look for full-fat coconut milk or coconut cream that is unsweetened.
Storing leftovers
- To store – place the leftover ice cream into a freezer-safe container and freeze for up to 6 weeks. This ice cream will become more icy over time in the freezer.
- To serve from the freezer – this ice cream will freeze to a rock-hard texture when fully frozen because it’s lower in fat than dairy ice creams. Defrost in the refrigerator for 45-60 minutes for the best texture, or on the counter for 20-30 minutes.
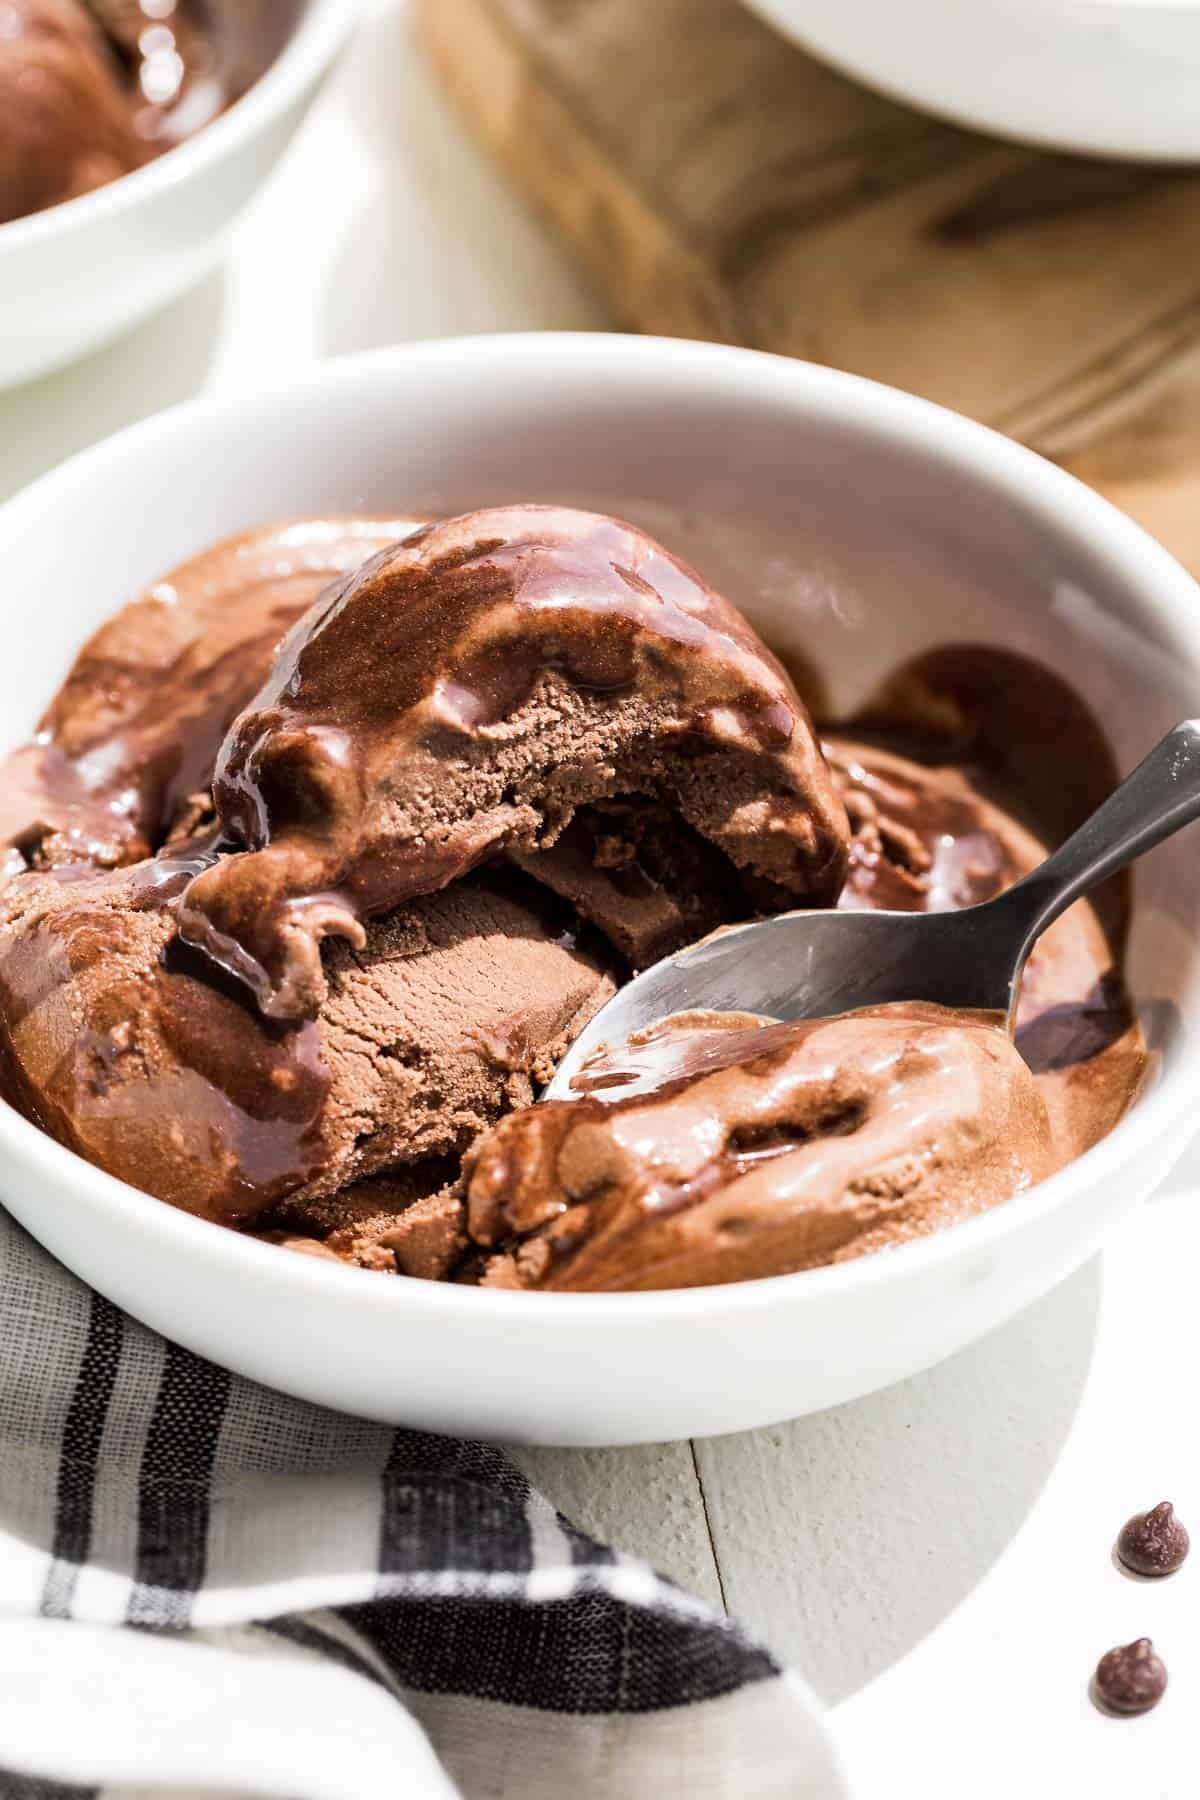
How to make this ice cream without an ice cream maker
- First, blend together all the ingredients.
- Next freeze the mixture in ice cube trays, keeping back about 1/2 cup of liquid.
- When the ice cream cubes are frozen, add them to the blender with your reserved, (refrigerated) 1/2 cup liquid ice cream base.
- Blend on low speeds using the tamper until you have a thick and creamy ice cream.
- Serve immediately, or freeze for a couple of hours for a firmer texture.
How to make ice cream without an ice cream maker is the most frequently asked question I get, so I wanted to write down the exact method for you. This is how I used to make ice cream before I had an ice cream maker.
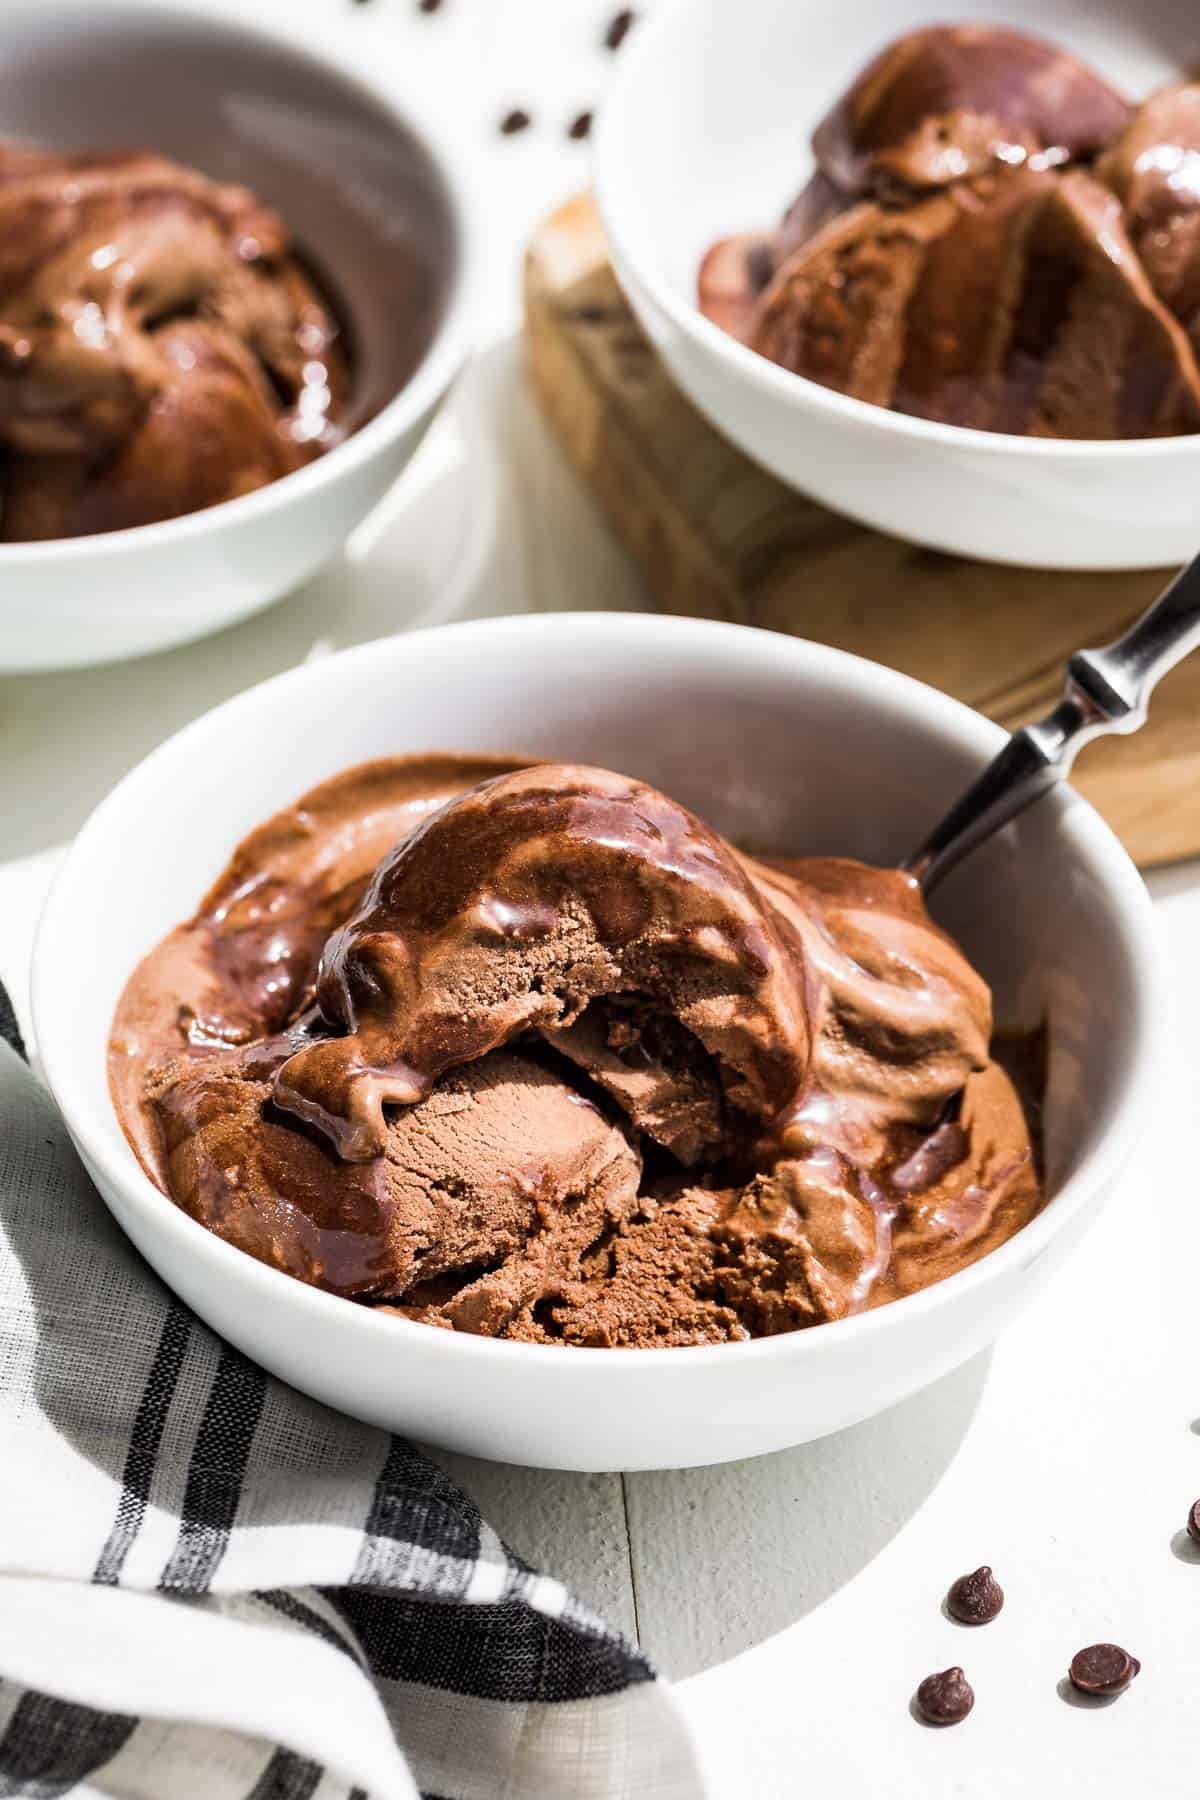
If you don’t have a high-speed blender or food processor, you can place the mixture in the freezer. Then stir it every 30 minutes until it freezes. The texture will be icy, but that’s the only other way I know to make ice cream without a machine.
The reason this method is icy is that there’s only the stirring to break up the size of the ice crystals while they form. When you manually stir it every 30 minutes, the ice crystals form larger creating an icy texture.
Tips for success blending this ice cream
- This method only works with a high-powered blender, and it’s hard work even for them. If you don’t have a high-powered blender, I absolutely wouldn’t attempt to blend ice cream. You can try the same method in a food processor instead – I use my Cuisinart.
- It’s super important to monitor the blending constantly. Don’t step away for a moment because blending ice cream is hard on a blender. By monitoring and using the tamper, everything ‘should’ be fine. I have a Vitamix and it has a safety feature that turns the blender off if it starts to overheat. So that definitely gives you some peace of mind.
For even more recipe inspiration, you can check out our favorite ice cream treats! And you can read more about my dairy-free ice creams in my Inspired Ice Creams post.
More Dairy-Free Ice Cream Recipe Inspiration
Chocolate Avocado Ice Cream
INGREDIENTS
- 1 can full fat coconut milk - 13.5 ounces
- 1 avocado - peeled and pitted yielding 4.5 ounces
- 1/2 cup cocoa powder - (Dagoba brand)
- 1/2 cup maple syrup - Grade A for lightest flavor
- 1 tbsp vanilla extract
- 1/2 cup water - leave this out for a creamier texture, I only included it because it helps the ice cream base to blend more easily.
Fudge Sauce:
- 4 tbsp maple syrup - Grade A
- 2 tbsp cocoa powder
INSTRUCTIONS
- Place all the ingredients in a blender and blend until smooth.
- Chill the ice cream base in the refrigerator for a 2 hours before freezing.
- Freeze the ice cream according to the manufacturer’s instructions for your machine.
- The easiest way to tell if the ice cream is done, is when it stands up on a spoon instead of sliding right off.
- After the ice cream’s done, remove it from the machine and serve immediately or freeze for a harder texture.
- The fudge sauce is optional, but I highly recommend adding it.
- Using a flat bottom whisk, whisk together the maple syrup and cocoa powder until smooth. I like to store my fudge sauce in a squeeze bottle in the refrigerator. It will keep for at least 1 month.
NOTES
nutrition facts
This recipe was originally published in 2014 and updated in 2023 with more tips, information and photos.

This is super good! I made the chocolate sauce, but found I didn’t need it! Tastes like double Dutch chocolate!
So glad you enjoyed it!