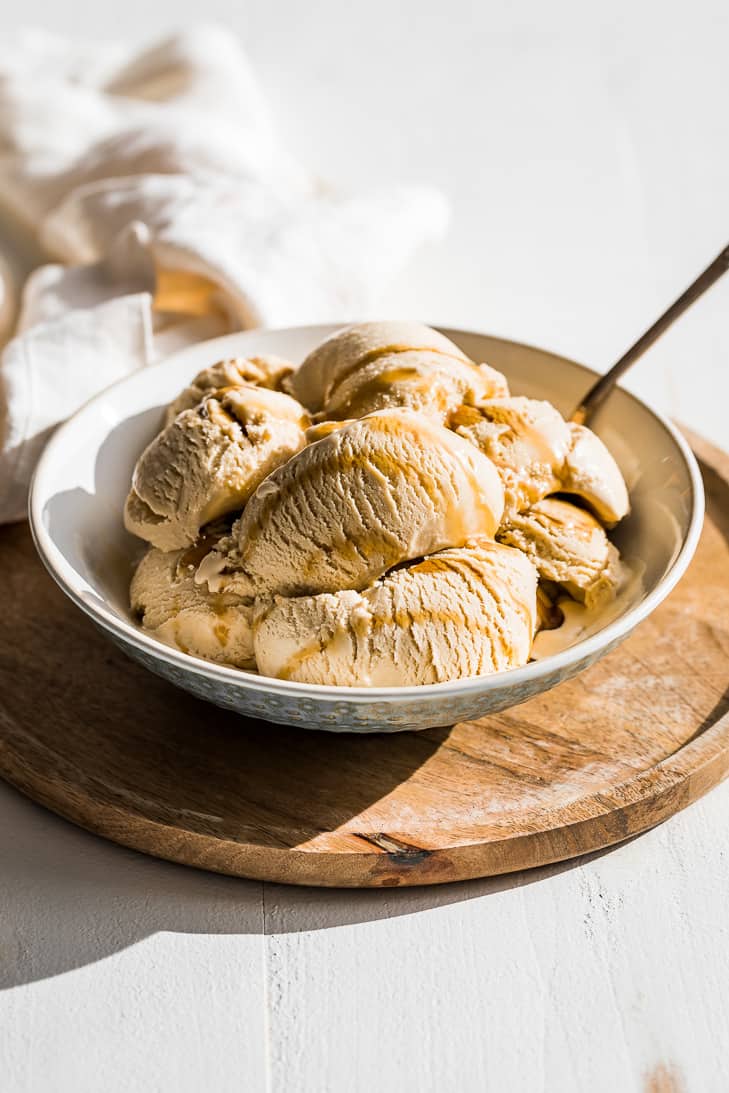
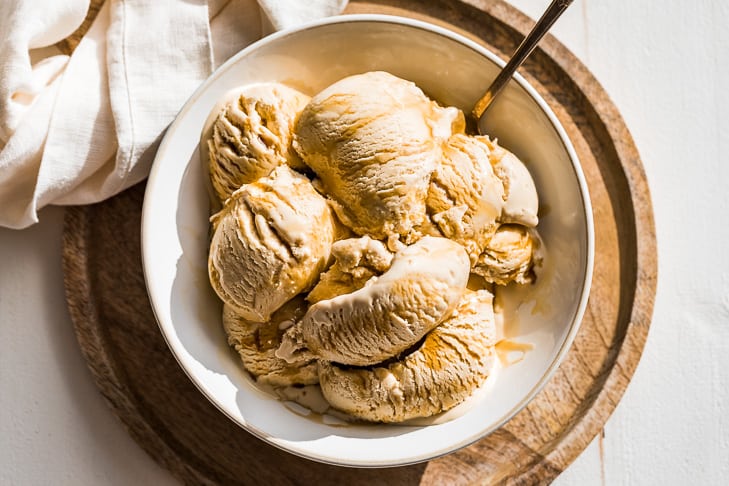
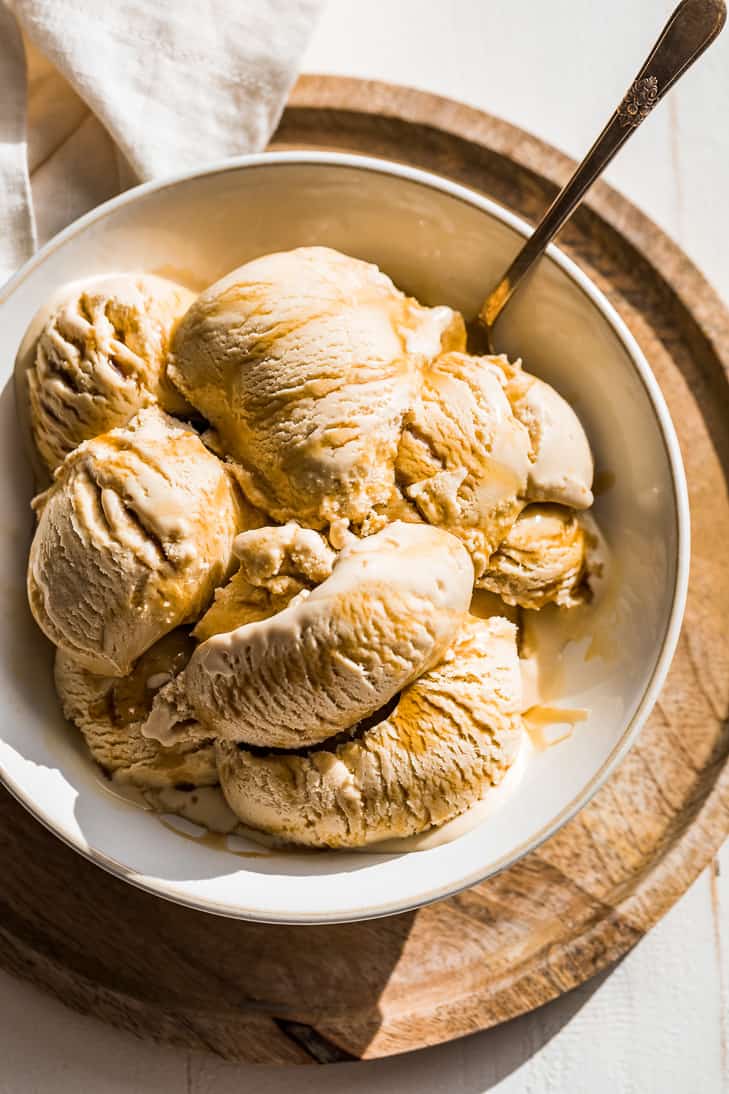
This Homemade Maple Ice Cream is perfectly creamy and simply silky smooth. It has a wonderful maple flavor that pairs well with so many desserts, but especially with my Gluten Free Apple Crisp. It’s simple and can be made ahead and frozen to be a firmer texture. Or enjoy it right out of the ice cream machine for a soft-serve texture. And as a bonus, there’s no refined sugar in this recipe, just pure maple syrup!
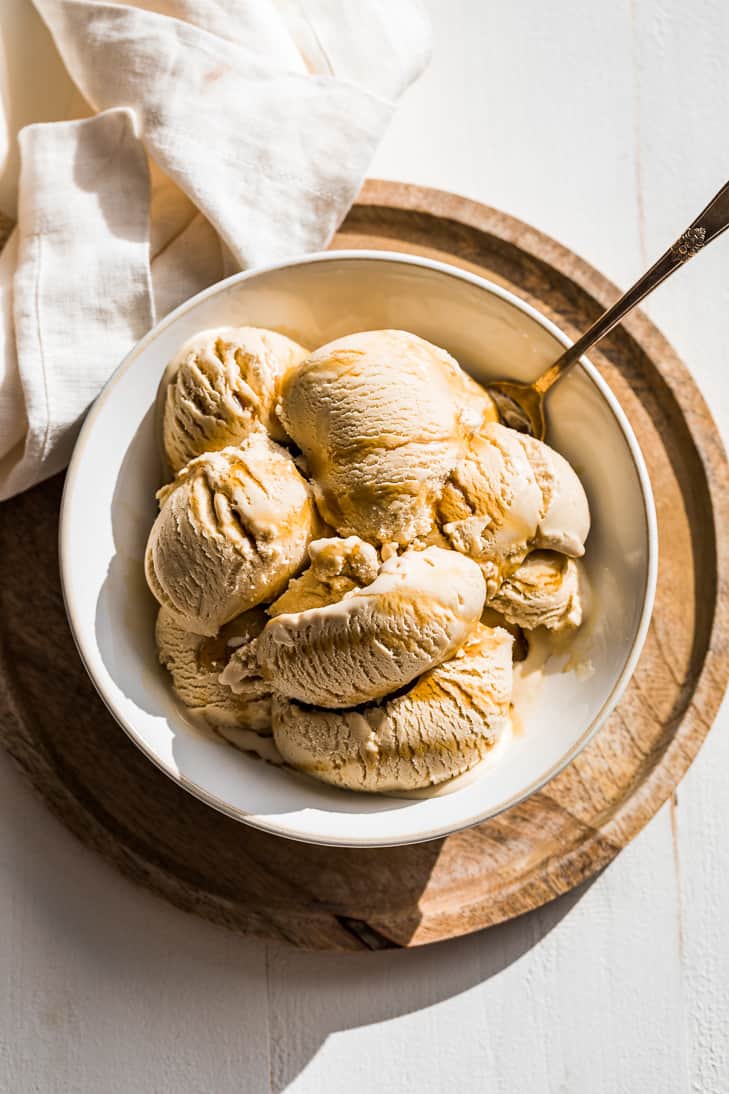
This Homemade Maple Ice Cream is my first choice to pair with my favorite holiday desserts. It’s so perfect with apple pie or crisp, pecan pie, or the traditional pumpkin pie.
The only dessert that I prefer vanilla over maple is of course with cherry pie. But, overall maple ice cream definitely wins in my book. I absolutely love the combination of the creamy maple flavor with the flavors of fall, particularly apple desserts.
If you’re looking for a dairy-free ice cream for the holidays, try my Coconut Ice Cream. Even though it has a clear coconut flavor, it pairs with almost anything, much to my surprise.
top 5 tips for making homemade ice cream
- All the books I’ve ever read say to cook it your custard to 175°F, but every time this scrambles the eggs. I always cook the custard until just thickened. If it starts to bubble at all, take it off the heat immediately and add the cold cream to cool it down.
- Making your own ice cream isn’t very hard, once you get the hang of it. It’s also insanely delicious, and you may never go back to store-bought.
- They also say to cook your custard in a double boiler. Well… if you have the better part of 45 minutes to stand there stirring over low heat – go ahead, but I cook my custard in a saucepan over direct medium heat, and it’s not a problem.
- Never walk away or turn your back on the stove. Making ice cream custard only requires a few minutes but it’s easily wrecked if you’re multi-tasking. Stirring constantly for 6-10 minutes yields great results every time.
- Finally, don’t worry if you overcook it a little. The slightly scrambled taste isn’t the end of the world. I like to ere on the side of not quite thick enough as opposed to overdone. If you’re not sure, take it off the stove and spoon a bit out. If it stands up a bit on its own, it’s done. But if it immediately spreads out on the counter, cook it for a little longer. Refer to the picture below to show you the finished texture – it’s not as thick as you might think – it’s a thin custard, not pudding thickness.
How to make this recipe step by step
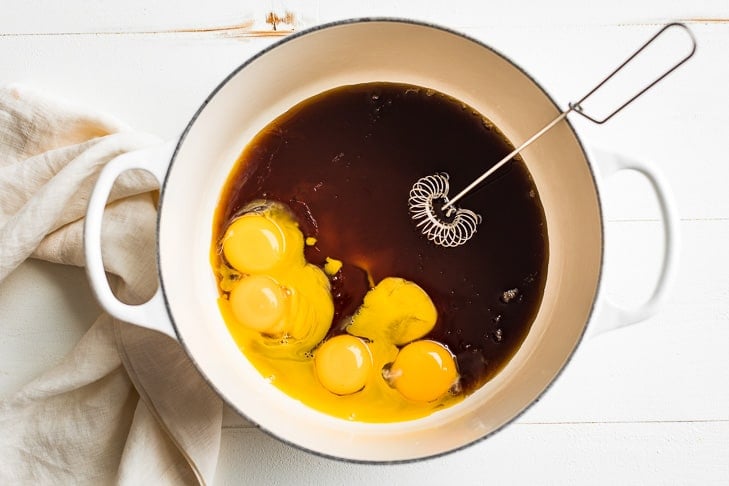
Step 1: Start by whisking together the egg yolks and maple syrup in a medium saucepan.
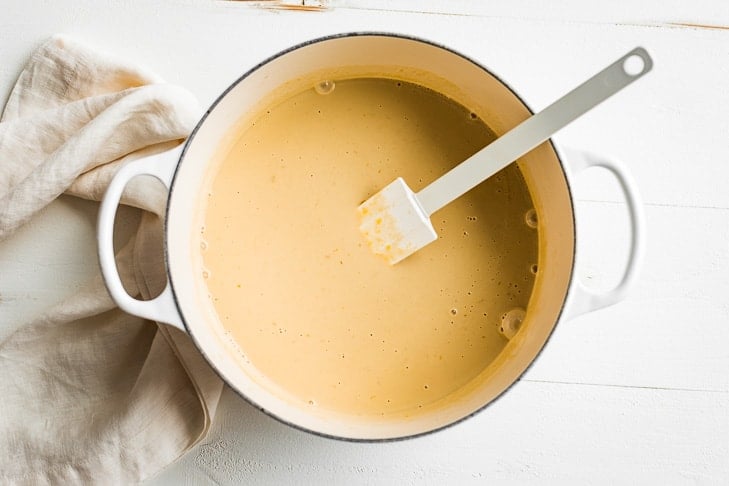
Step 2: Stir in the half and half. Place the mixture on the stove and cook over medium high heat until the mixture begins to thicken, stirring constantly. You don’t want it to come to a full boil, but you’ll know it’s done when it begins to bubble around the edges slightly.
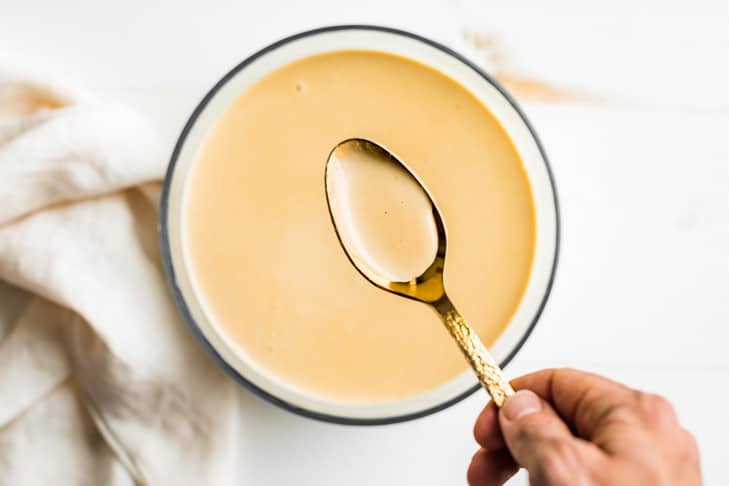
Step 3: Next strain the custard mixture and refrigerate until fully chilled. The texture of the maple ice cream base is still runny but noticebly thicker than before you cooked it. The mixture ‘coats a spoon’ like the above photo and has some body.
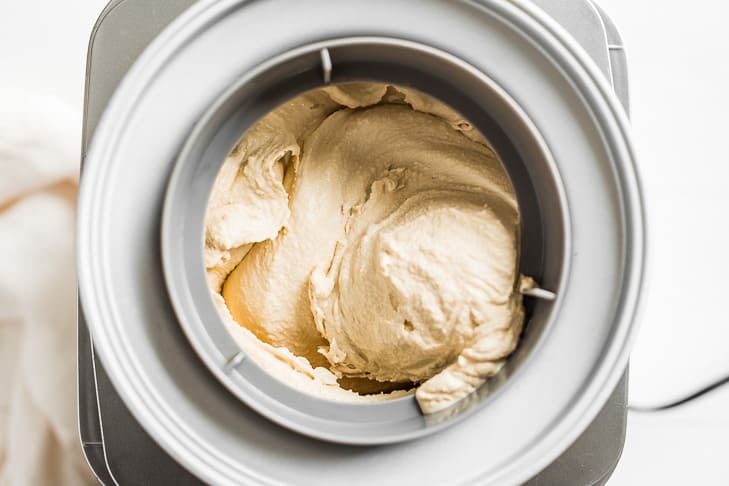
Step 4: finally freeze/churn the chilled ice cream base accordingly the instructions for your ice cream machine. The ice cream should look similar to the above photo and be a soft serve texture.
Tip: Don’t skip chilling the ice cream base! The ice cream base from your ice cream maker will melt before it can properly freeze your ice cream.
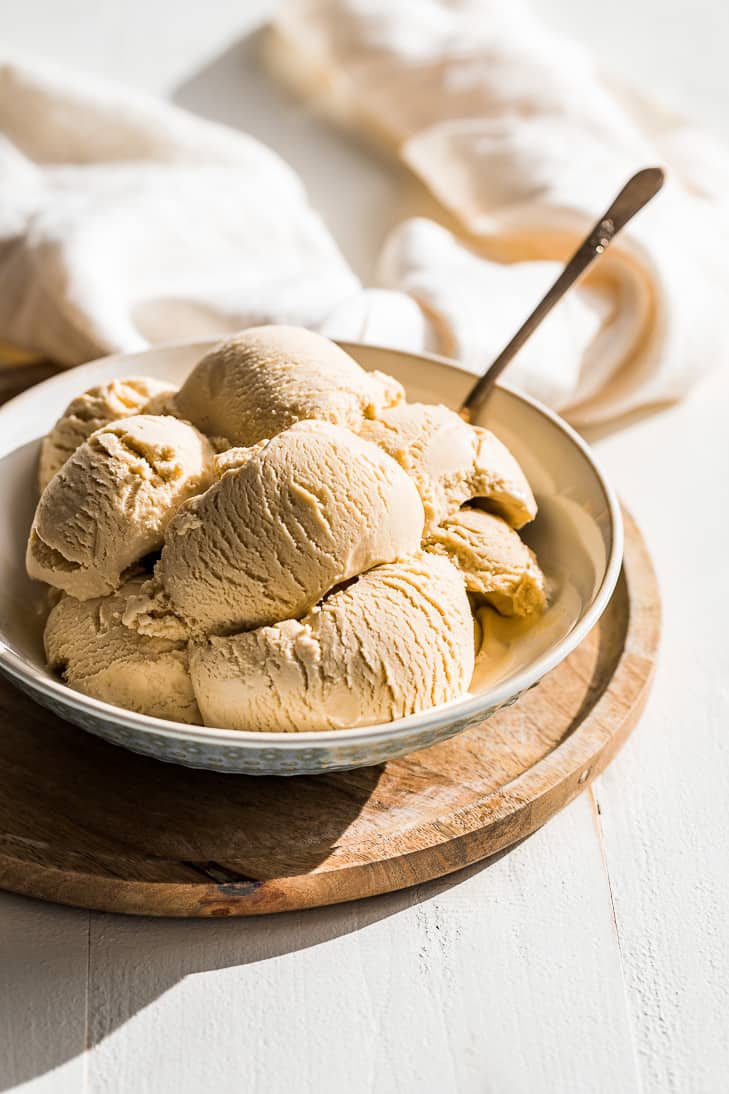
From here it takes about 6-8 hours in the freezer for the soft-serve to freeze solid. The texture of this ice cream is totally fantastic, even after a week in the freezer it doesn’t get icy at all!
Ways to serve this
- My favorite way to serve this ice cream is with my Apple Crisp or Pumpkin Crisp.
- It’s also wonderful with my Sticky Bun Pumpkin Spice Cake, Gluten-Free Caramel Apple Pie Bars, Paleo Pecan Pie Bars, Cinnamon Cranberry Apple Crisp, or my Apple Pie Skillet Cake.
- Try mixing in toasted walnuts or pecans for a few hours before serving it for a maple nut ice cream. The nuts will soften with time in the freezer.
FAQ’s
I don’t recommend it, the blend of half and half and heavy cream in this recipe makes the best smoothest texture. If you sub in milk, the texture won’t be as rich and will tend to be icy.
I recommend Grade B because it has the deepest maple flavor. Grade A or fake syrups don’t have the right flavor for a good maple ice cream. You can use Grade A but you won’t really taste nearly as much maple flavor.
Storing leftovers
- To store – place the ice cream in the freezer for 4+ hours for a firmer texture. Or freeze any leftovers in an airtight container for up to 3 months.
- Make ahead – this ice cream keeps perfectly for at least 2 weeks in the freezer with great texture. It will keep up to 3 months, but the quality of the texture will go down over time, so I recommend making it no more than 2 weeks in advance.
Tips & Tricks
- Pure maple syrup is essential for the best-tasting maple ice cream. I buy mine at Costco because it’s more affordable.
- Also, Grade B will give you the deepest flavor whereas Grade A will give you a light maple flavor.
- Be very careful not to overcook the ice cream custard, it will scramble the eggs which affects the flavor! The custard will only thicken slightly, it’s not the texture of custard you eat like pudding from a bowl.
More Ice Cream Recipe Inspiration
I really hope you enjoy this Maple Ice Cream recipe! If you do get a chance to make this recipe, I’d love to hear from you in the comments.
Homemade Maple Ice Cream
INGREDIENTS
- 6 egg yolks
- 3/4 cup maple syrup - Grade B, see notes
- 1 tsp arrowroot - tapioca starch, or cornstarch
- 1/4 tsp sea salt
- 1 1/2 cups half and half
- 1 1/2 cups heavy cream
- 1 tsp vanilla extract
INSTRUCTIONS
- Whisk together the egg yolks, maple syrup, arrowroot, and sea salt until fully combined.
- Whisk the half and half into the egg mixture and cook over medium-high heat, whisking constantly until the mixture begins to thicken but doesn't come to a boil.
- When the mixture thickens, immediately remove the pan from the heat and whisk in the cream and vanilla.
- Pour through a strainer to remove any stray bits and chill the custard in the refrigerator for at least 4 hours.
- Freeze the ice cream according to the manufacturer's instructions for your 2-quart ice cream machine. The ice cream is done freezing when it stands up on a spoon.
- Remove the ice cream from the machine and place the container in the freezer for 4-6 hours to fully freeze it.


I don’t have an ice cream machine, but I have vitamix, can I use it instead?
Yes you can use a Vitamix to make ice cream, but be careful not to overwork your machine. My mom used to make ice cream in the Vitamix by freezing 3/4 of the custard into ice cube trays, then blend the custard cubes with the reserved 1/4 liquid custard using the tamper to keep it moving. It does work, but be super careful, I’d hate to have anything happen to your blender! If you have a food processor (heavy duty like Cuisinart) you can use that as well. I do all my banana based ice creams in a food processor and it handles it really well. You’ll end up with a soft serve, but you can freeze it to be firmer!
Is it necessary to include arrow root to the recipe^ What does this contribute to the ice cream, please?
I look forward to making it- sounds delicious!
The arrowroot acts as a stabilizer for the egg yolks as you cook the custard to help them not ‘scramble’ and does contribute a tiny bit to a smoother texture. You can leave it out, or you can sub in tapioca or cornstarch in its place. I hope you enjoy this one, and please let me know if you have any more questions!
Hi Kari,
This recipe sounds awesome! Can it be doubled? I have a 4 quart ice cream maker and would love to make a larger batch for family holiday parties. I live in New England and have fond memories of camping in Vermont and visiting “sugar shacks” in the Fall … this recipe could easily become a family “favorite”!
I do think you could double it no problem, it will just take a bit longer on the stove top. That’s so neat you live in maple syrup country, and I sure hope you enjoy this!
This worked out amazing. I used up last year’s maple syrup which was very dark (we tap our own trees here). I paired this with my wife’s pretzel-based caramel pecan cheesecake. Heavenly!
Oh my goodness, this would be amazing with extra dark syrup, so neat you can tap your own trees – and that cheesecake sounds amazing!
Just put the mixture in the fridge! Making ice cream sandwiches for NYE 🙂
Awesome, I sure hope you enjoyed them, ice cream sandwiches sound amazing! 🙂
Kari,
Only the second time I’ve used my ice cream maker and followed your recipe. Of course I had to add my own little twist. One cup of brown sugar caramelized Bacon! Amazing
Oh. My. Word. I love you twist, brown sugar caramelized bacon sounds amazing with the maple flavor!
This recipe is amazingly good. I cut the maple syrup in half and added cinnamon and it was outstanding. I cut the maple syrup to lower the carb count. Even in half it was still very sweet and super creamy.
So glad you enjoyed it, and I’m glad you added sweetener to your taste! I always try and hit a mid-point, but everyone’s sweetness ration is so different. 🙂
In the interest of not saving/storing a gazillion calories around the kitchen for two compulsive calorie cheating adults. Is it possible to halve your recipe, and make in a two quart machine? I love maple syrup…….recipe looks delish.
Thank you……..
Yes you can definitely make a half batch, although it will cook quicker, so just be sure to to curdle it! I sure hope you enjoy it, and I can definitely relate to not wanting too much ice cream around!
Can you use whole milk instead of the half and half?
You can use milk instead of half and half, but the ice cream won’t have as creamy or rich of a texture/flavor.
Is there a way to do this without an ice cream machine? I’m afraid I’ve already accumulated too many kitchen appliances lol
You can make this without an ice cream maker, but it won’t have the same silky smooth texture because the ice cream machine is what prevents it from getting icy in texture as it freezes. But you can just place the blended mixture into the freezer and stir every 30 minutes until it’s frozen. The texture will be a little icy but the flavor will be good. Another thing you can do if you have a high powered blender is to freeze about 2/3 of the mixture in ice cube trays (refrigerating the remaining 1/3), then blend the ice cream ice cubes with the refrigerated mixture until a soft serve forms. I hope this helps and be sure to let me know if you have anymore questions!