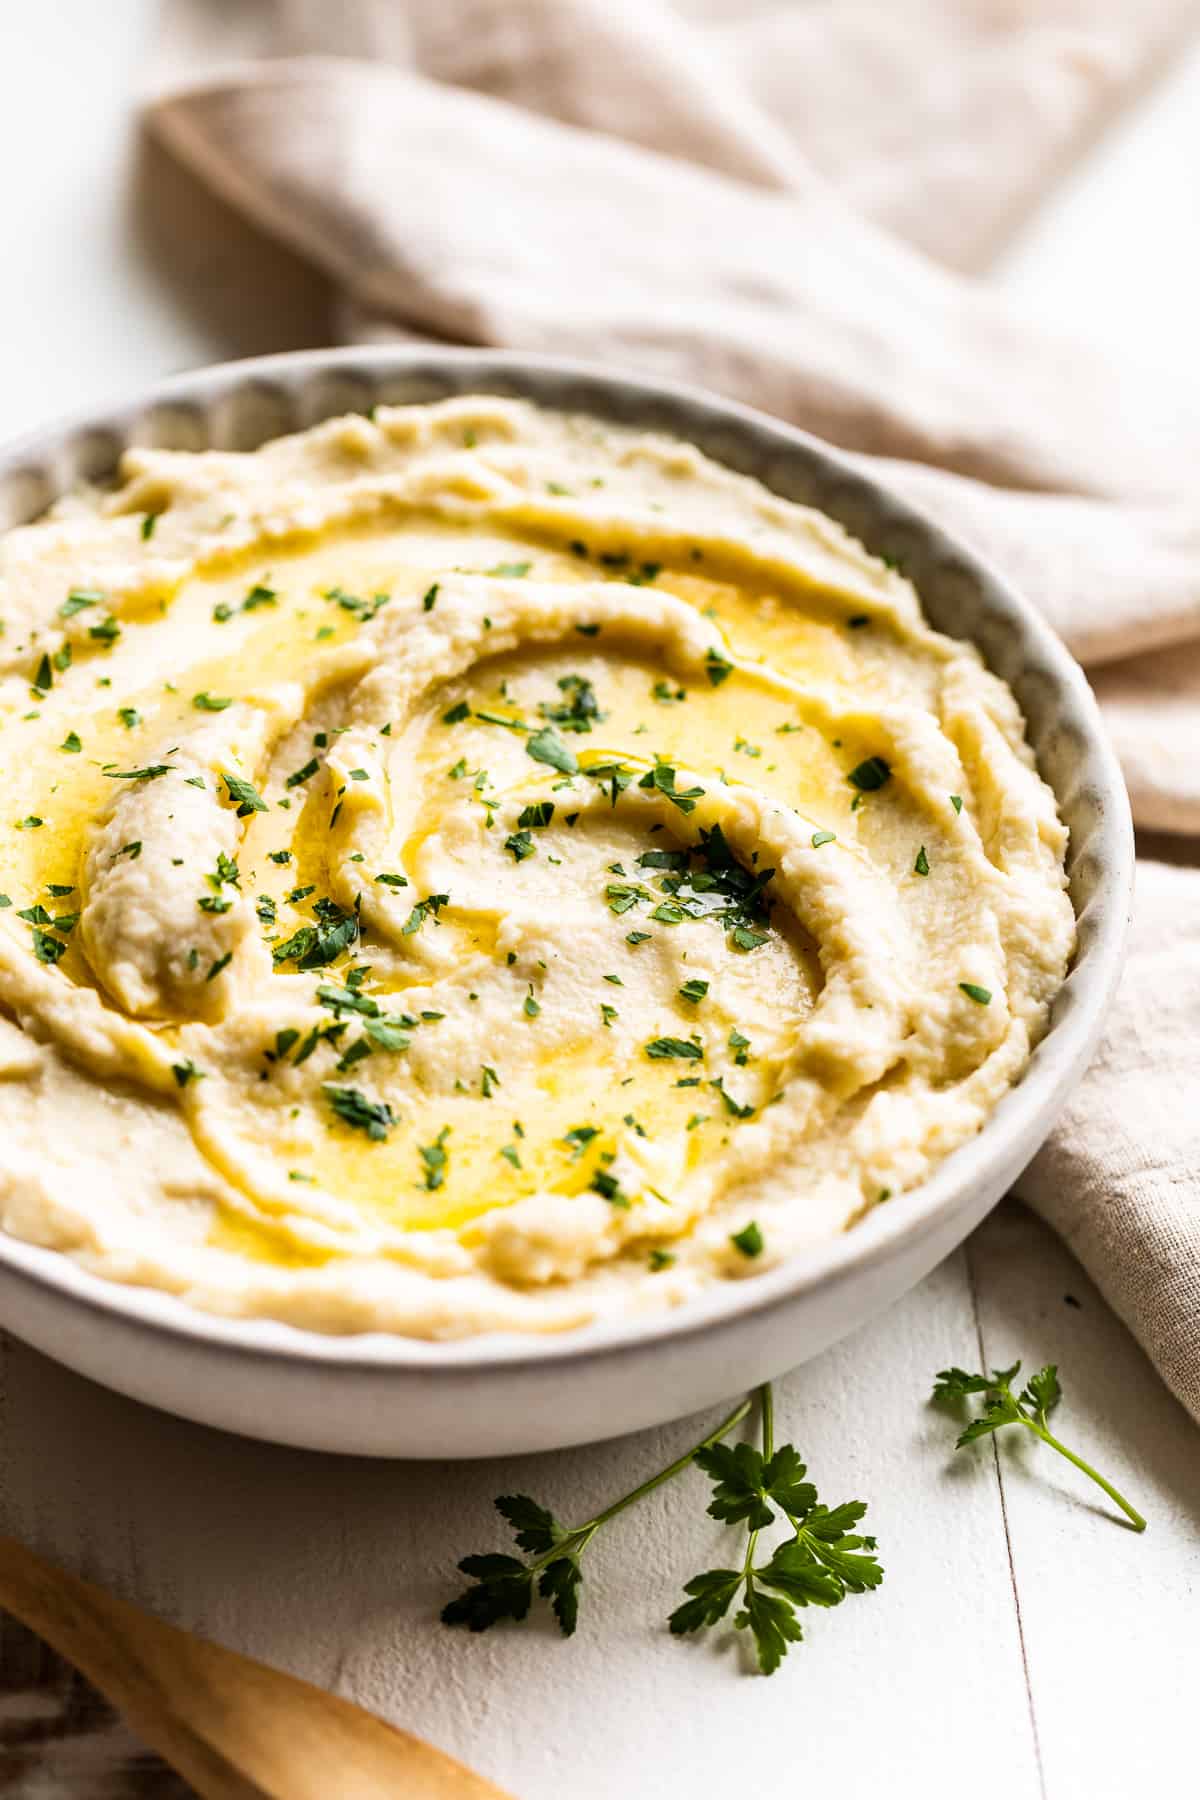
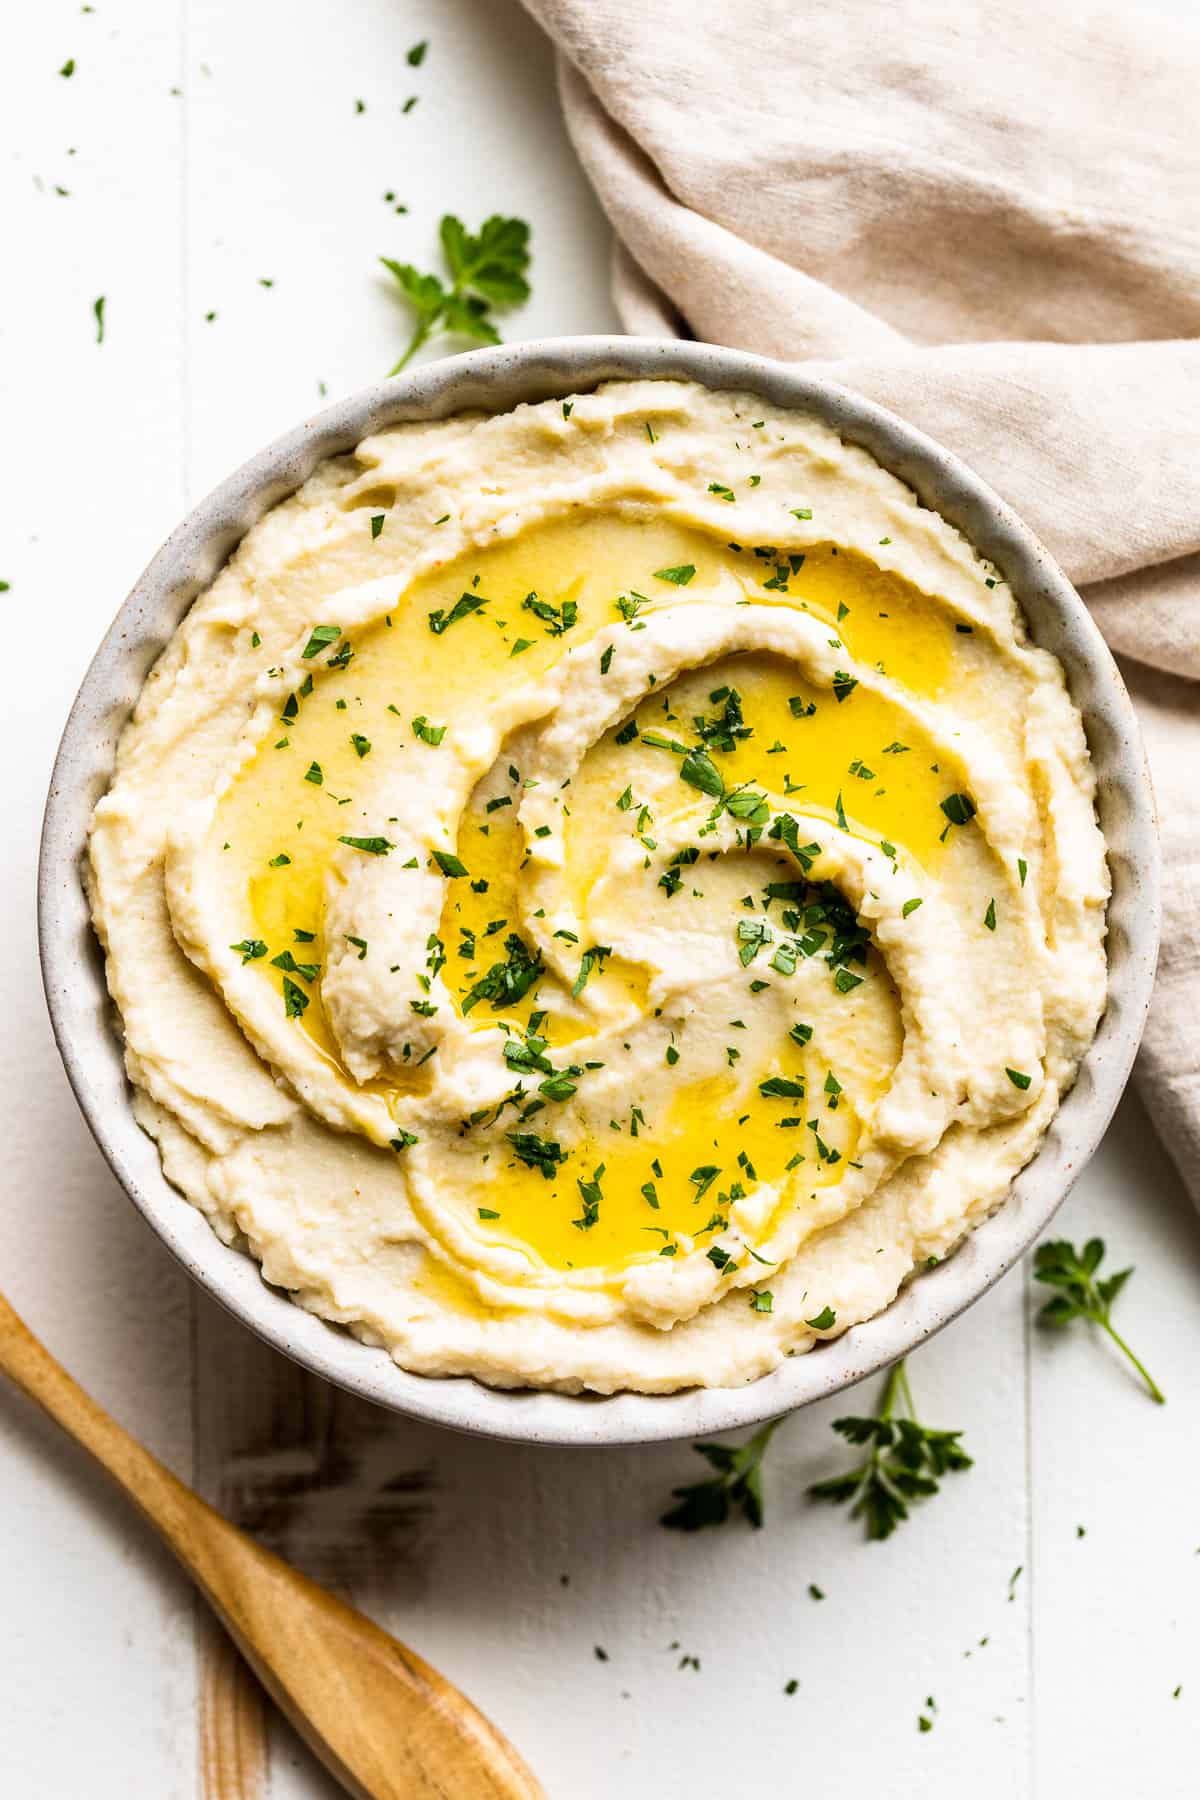
Do you love all things creamy? We sure do, and so today I have another healthy side dish that’s low carb and dairy free, yet creamy and comforting too. This Creamy Cauliflower Mash is the perfect way to add another veggie to the table. And it’s so good you might just want to make it the main course!
How does Creamy Garlic Chicken with mashed cauliflower and sautéed mushrooms sound? Pretty yummy right!? It’s one of our new favorite dinners featuring today’s Creamy Cauliflower Mash.
Mashed cauliflower is super delicious, and not at all meant to replace mashed potatoes in my mind. This version is extra easy to make because you can use frozen cauliflower rice to eliminate most of the prep work.
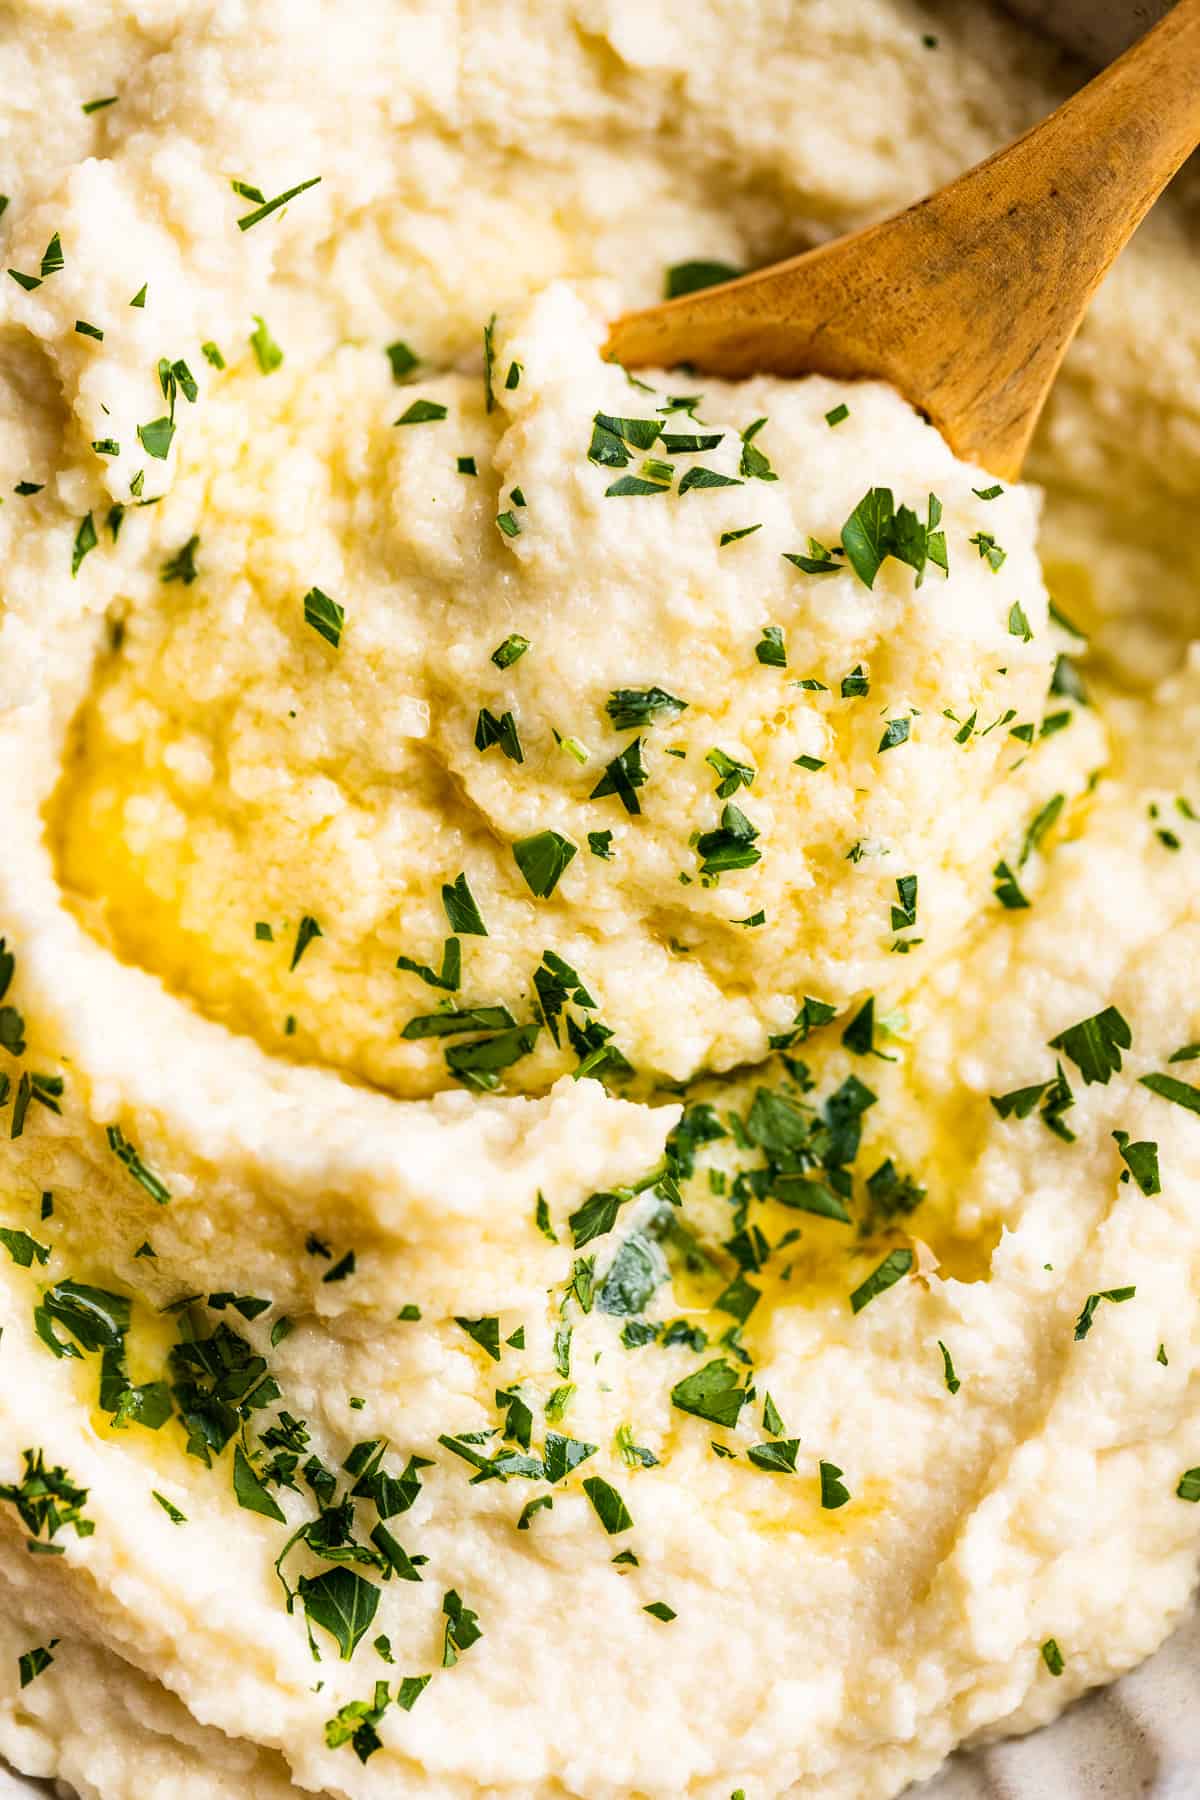
Sometimes I think we’ve gone a bit too far with cauliflower. However, cauliflower simmered together with some flavorful ingredients and then mashed, well… that is something to get excited about!
Ingredients & Substitutions
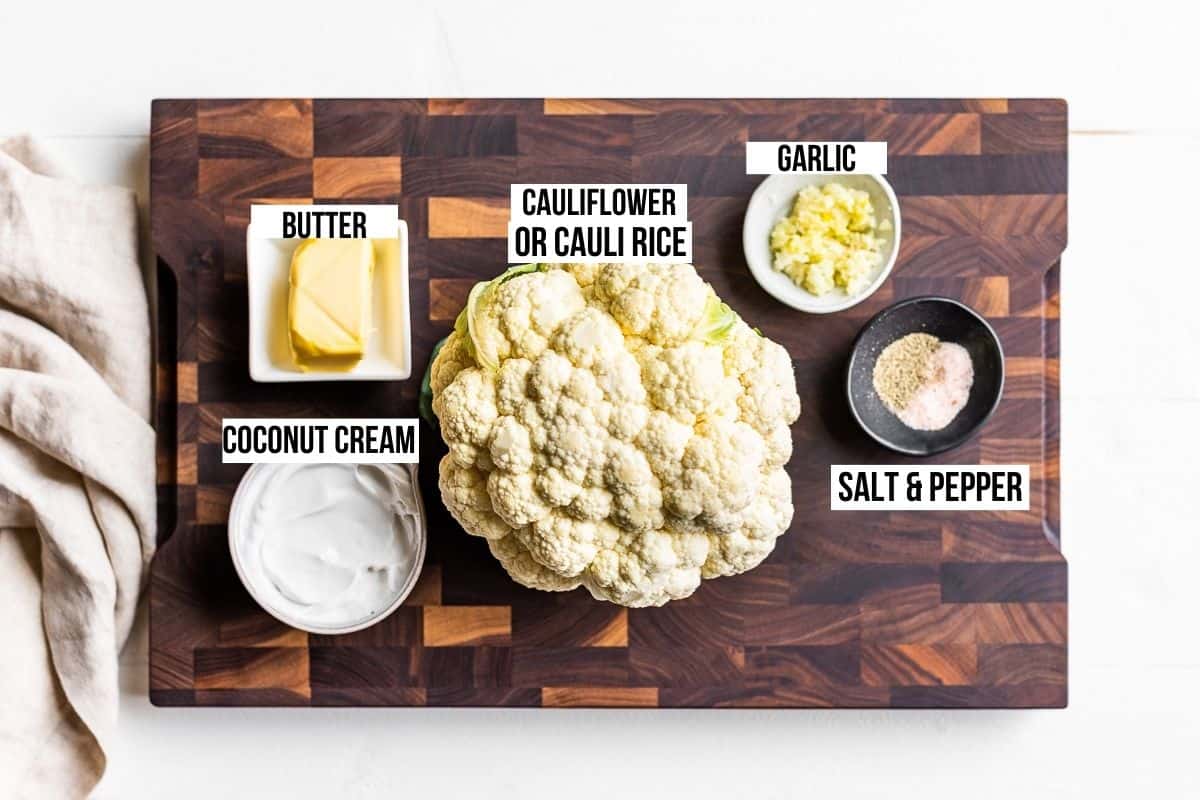
- Cauliflower or Frozen Cauliflower Rice – I’ve used both here and they work great. The cauliflower rice will give you a smoother mashed cauliflower and cuts out the prep work. It’s also more affordable where we live. A head of cauliflower will give you a bit more texture in your mash, so it’s mostly preference.
- Olive oil or Butter – ghee, or vegan butter, whatever your choice is works here. I mostly make this with either olive oil or butter, and both are really tasty.
- Coconut cream or heavy cream – just a touch added while the cauliflower cooks creates a creamier mash.
- Garlic – to add a bit of flavor along with the salt and pepper to keep this a neutral side dish.
- Sea salt & pepper – to taste brings out the flavors and rounds out the creamy ingredients.
How to make this recipe step by step
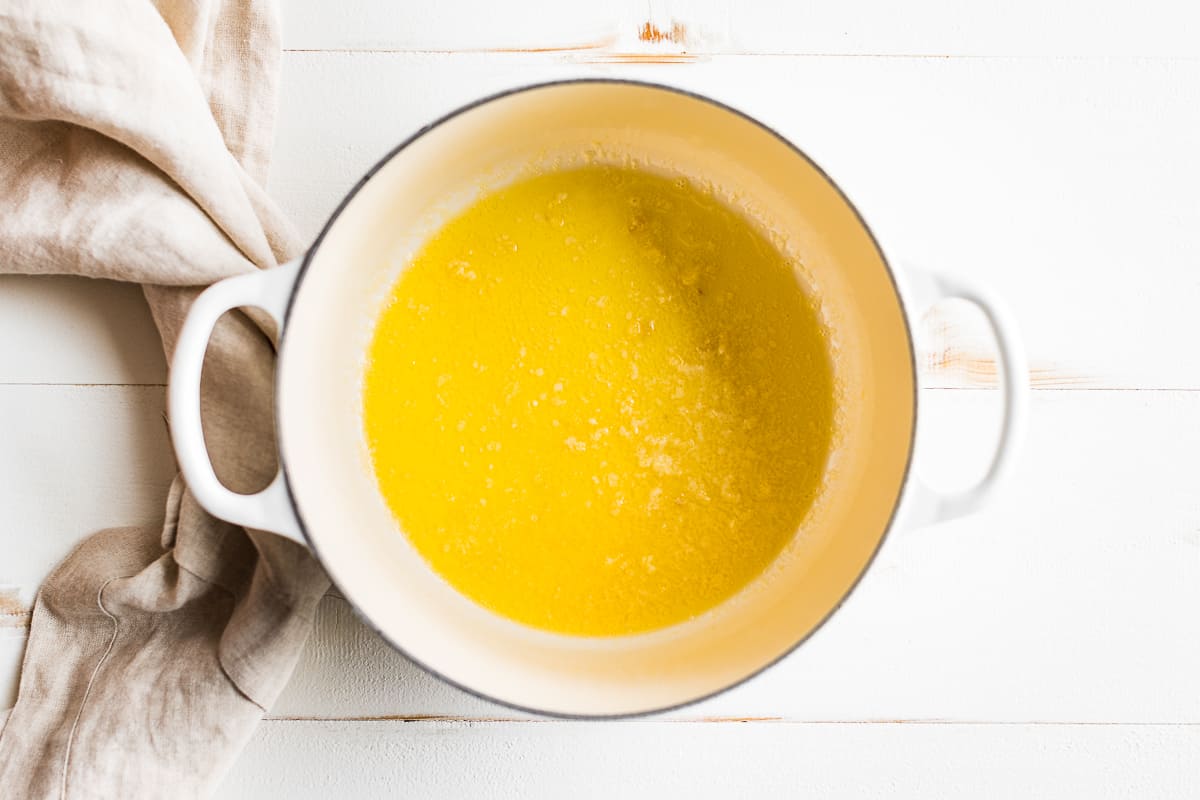
Step 1: Start by briefly sautéing the minced garlic in butter or olive oil in a pot. You just want to cook until it’s fragrant, about 30 seconds. Don’t allow the garlic to brown if you can. This is a personal preference for flavor, if you do brown the garlic you can continue, it just tastes different.
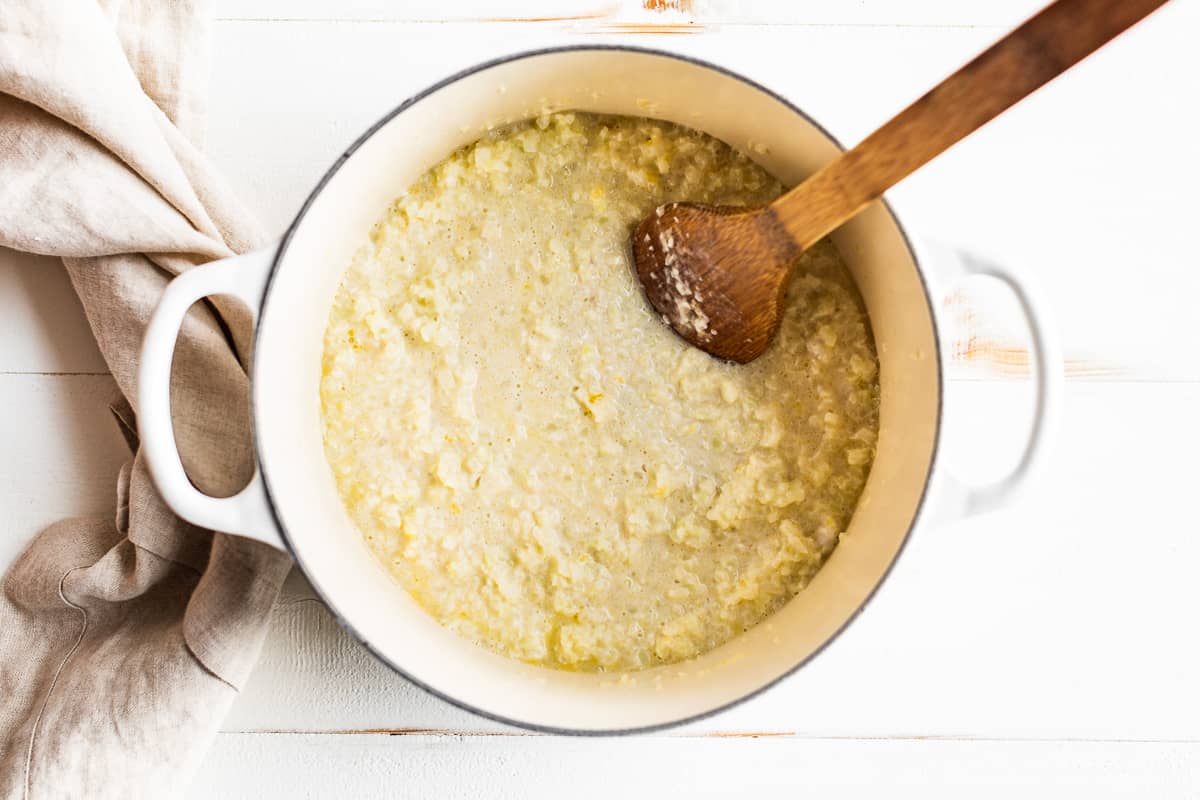
Step 2: Next add the coconut cream or heavy cream along with the cauliflower and cook.
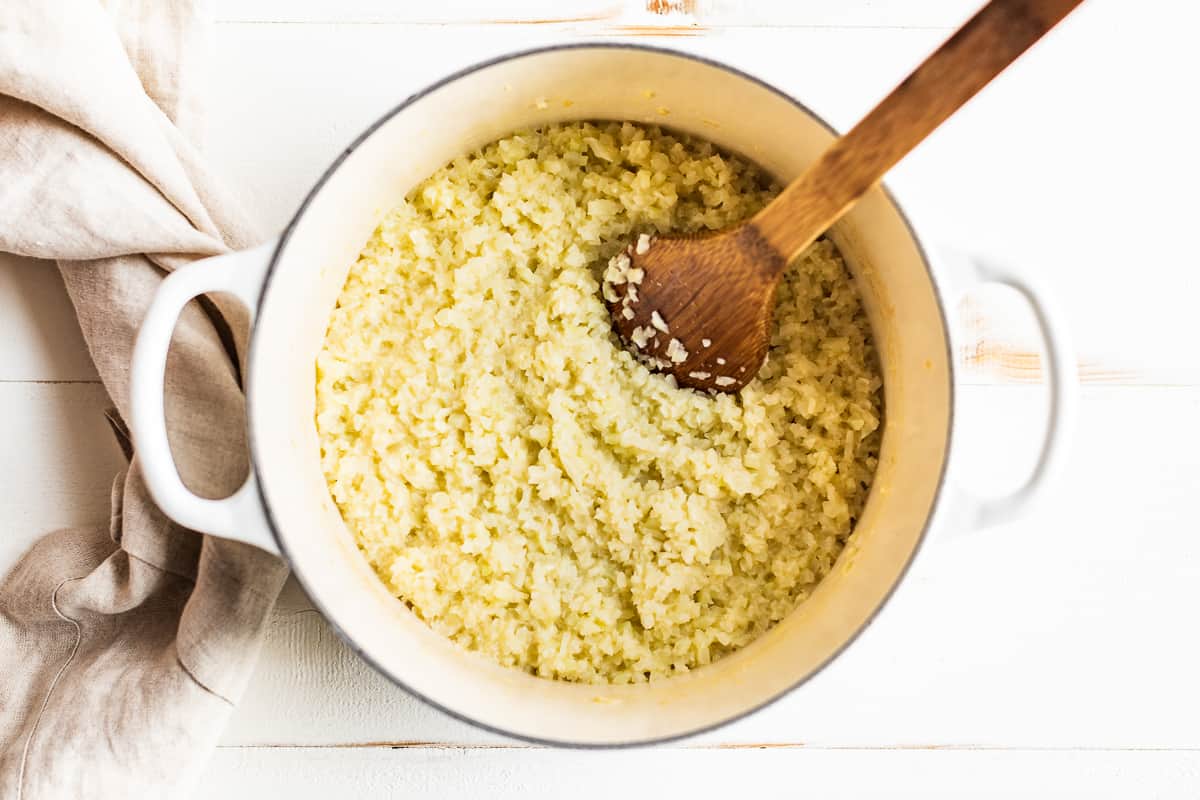
Step 3: When the cauliflower is finished, this is what it will look like. You can see the liquid has absorbed and evaporated to almost nothing, which makes the best creamy desired consistency (no need to drain). This is perfect for a nice and creamy, (never watery) cauliflower mash!
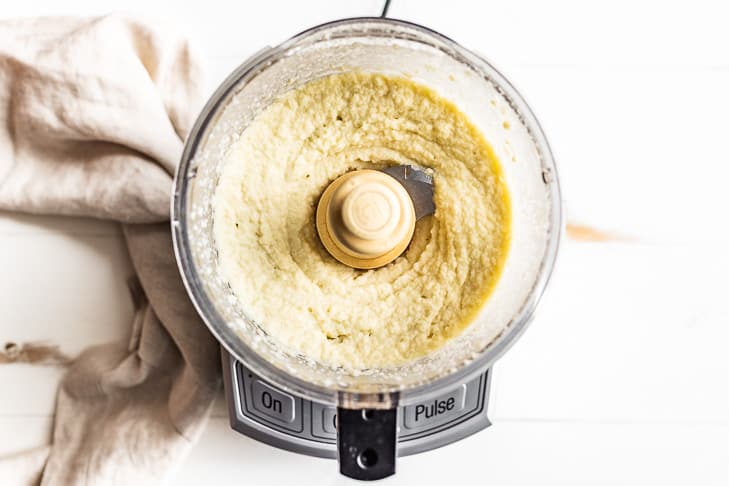
Step 4: Scoop the cooked cauliflower into a food processor and process until chunky or completely smooth. You can also hand mash the cauliflower florets, but it will be very chunky. Hand mashing with a potato masher doesn’t work very well with the riced cauliflower in my experience.
And the mixture is a bit thick for blenders. So if you choose to use your blender, be careful.

Ways to serve this
- This mash pairs well with my Garlic Roasted Green Beans, Garlic Butter Sautéed Mushrooms, and Best Roasted Carrots.
- It is also the perfect side dish for my Easy Roast Chicken, Roast Pork Tenderloin, Air Fryer Ribeye Steak, and Pork Sirloin Roast.
- We love it with these comfort food recipes as well: Creamy Garlic Chicken, Tuscan Chicken, Pizza Chicken, or my Sausage and Peppers.
FAQ’s
Cauliflower naturally contains more water content and less starch than potatoes. That’s why with this recipe you simmer the cauliflower together with the liquids in the recipe.
You don’t want to boil the cauliflower before adding liquids to mash it, this is why cauliflower mashes tend to be so watery. Also If you steam the cauliflower then add liquids, it can get watery as well but it’s much better.
But with my method below in the recipe, you’ll have a super creamy cauliflower mash!
You can store this mashed cauliflower in the refrigerator for up to 3 days, or you can freeze it in an airtight container for 1 month.
No! You definitely want mostly florets with a small amount of stem because you will end up with some tougher chewy bits in your final mash. There are 2 ways to help with waste, first, you can save the stems for something like soup. And secondly, you can use frozen riced cauliflower as mentioned and there’s no waste!
Storing leftovers
- To Store – place the leftovers into a sealed container and refrigerate for 3-4 days.
- Reheat – I reheat mine over low heat in a skillet on the stovetop stirring constantly. You can also microwave this too.
- Freeze – mashed cauliflower can be frozen in an airtight container for up to 3 months. Thaw in the fridge overnight and reheat.
Tips & Tricks
- We make this with butter/ghee and coconut cream most of the time. But if you want to go all out, definitely try the heavy cream, it’s so tasty!
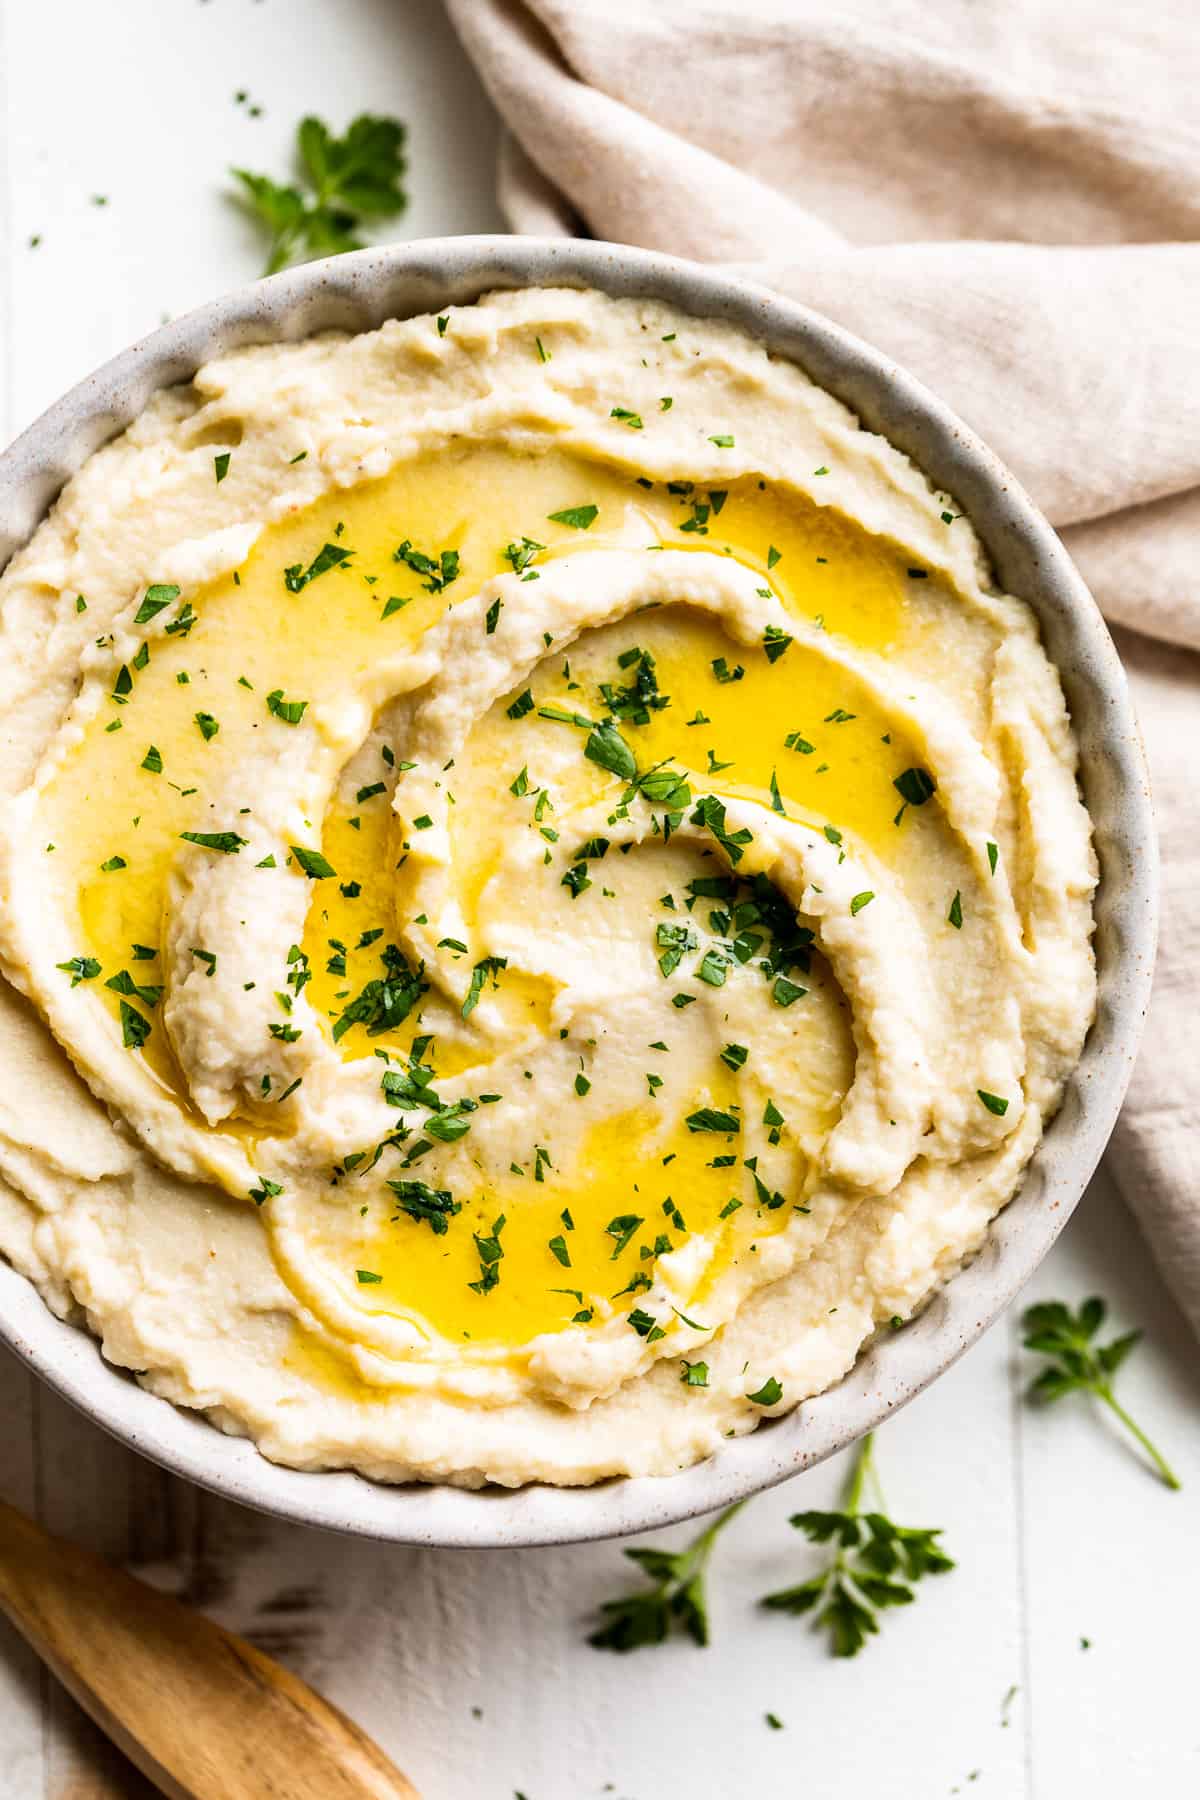
- You can also try adding different herbs here. I’ve used dried Italian seasoning, but I’ve also made this with chopped rosemary and also thyme. For fresh flavor, garnish this creamy mashed cauliflower with chopped parsley or chives.
- And finally, try adding some grated parmesan cheese or some grated cheddar, gouda, etc.
More easy side dish recipe inspiration
I really hope you enjoy this simple and easy side dish. And if you do get a chance to make this, I hope you’ll leave me a comment/rating below. I always love hearing from you here!

Creamy Cauliflower Mash
INGREDIENTS
- 1 pound frozen cauliflower rice - (6 cups) or 1 head cauliflower, (1 1/2 pounds) cut into 2" florets
- 1/4 cup olive oil - or 4 tablespoon butter or ghee
- 2 cloves garlic - minced
- 1/2 cup coconut cream - or heavy cream, see notes
- Sea salt and pepper to taste
- Optional: 1 teaspoon chopped fresh rosemary or thyme - or 1/2 teaspoon Italian seasoning
INSTRUCTIONS
- Prep the cauliflower if you’re using a whole head.
- Place a medium sized saucepan over medium heat. When the pan is hot, add the olive oil or butter along with the garlic. Sauté until fragrant, about 30 seconds, then add the coconut cream and cauliflower.
- If you’re using fresh cauliflower florets, cover the pan while they steam until tender, about 6-8 minutes. Remove the lid for the last 2-3 minutes of the cooking time to reduce the liquid.
- If you’re using the cauliflower rice, bring to a boil and stir frequently while the cauliflower defrosts. Then briskly simmer it without a lid until tender, about 4-5 minutes. Stir occasionally to make sure it’s not sticking.
- Carefully transfer the cooked cauliflower mixture to a food processor and process until chunky or smooth to your liking.
- Season to taste with sea salt and pepper and serve.
- If you’re using the optional herbs, add them in right after you sauté the garlic.
NOTES
nutrition facts
This post has been recently updated in November 2021 with new information, tips, and photos.

